
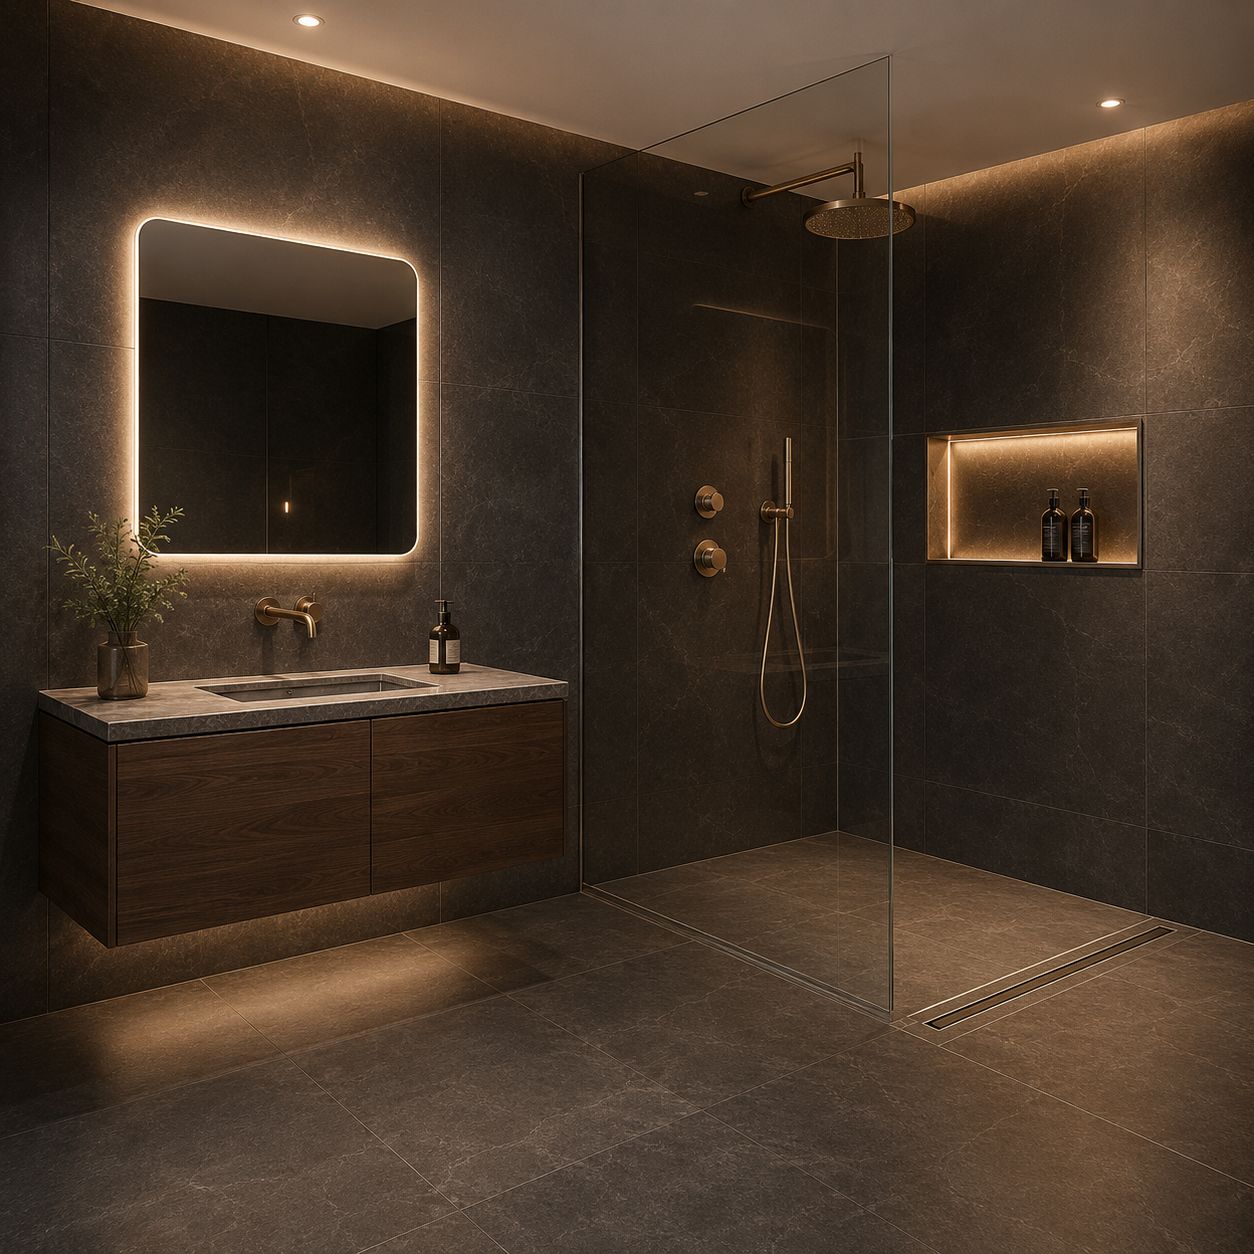
Luxury Walk-In Shower Bathroom with 120×120 Tiles, LED Niche & Floating Vanity
by Makeit_official
A complete guide to building a modern walk-in shower room clad in 120×120 cm large-format porcelain, featuring a linear channel drain, an LED-lit corner niche, concealed push-to-open fittings, and a floating 2026-style vanity with hidden wall hangers. Ideal for a confident DIYer with basic tiling and plumbing experience who wants a high-end, screwless finish.
Finishing
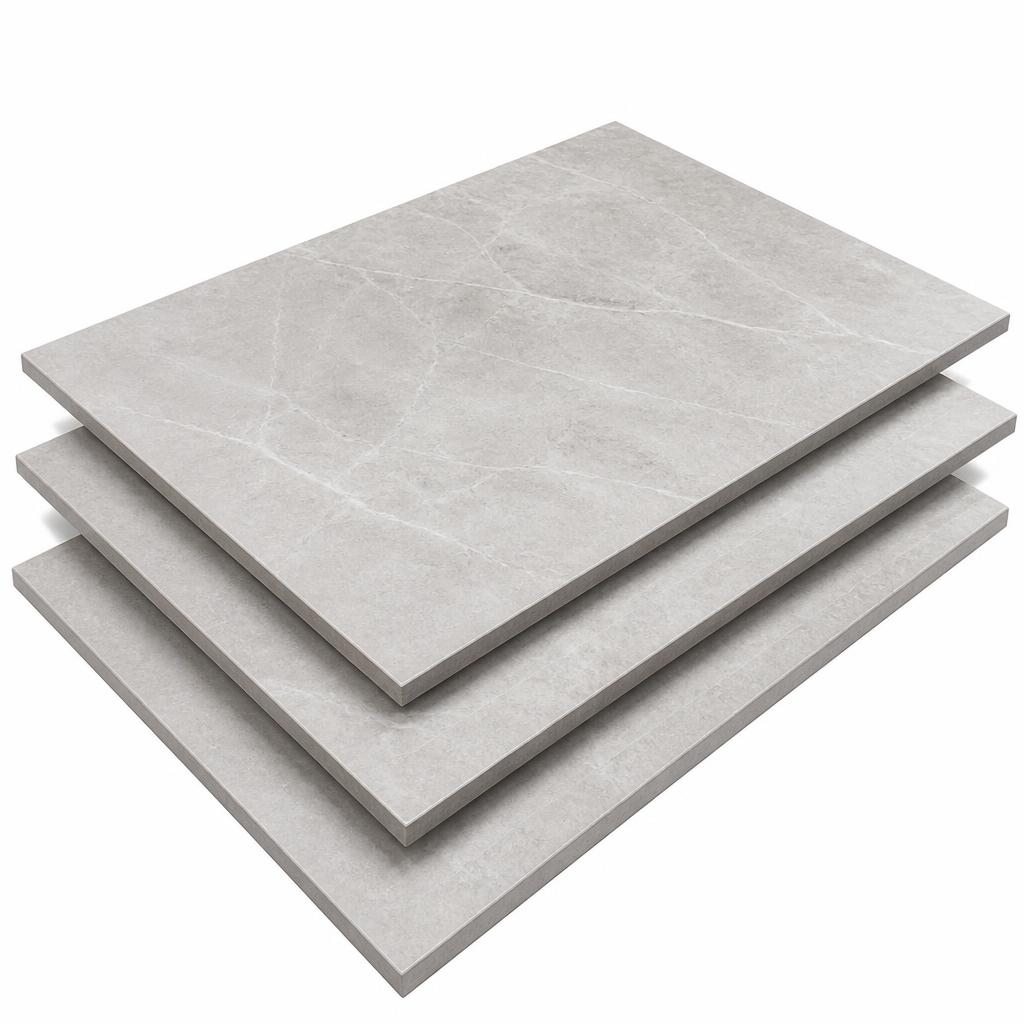
Large-format porcelain tiles
12× tiles 120×120 cm, 6 mm thick (walls + floor field). Buy 15% extra for cuts
1080
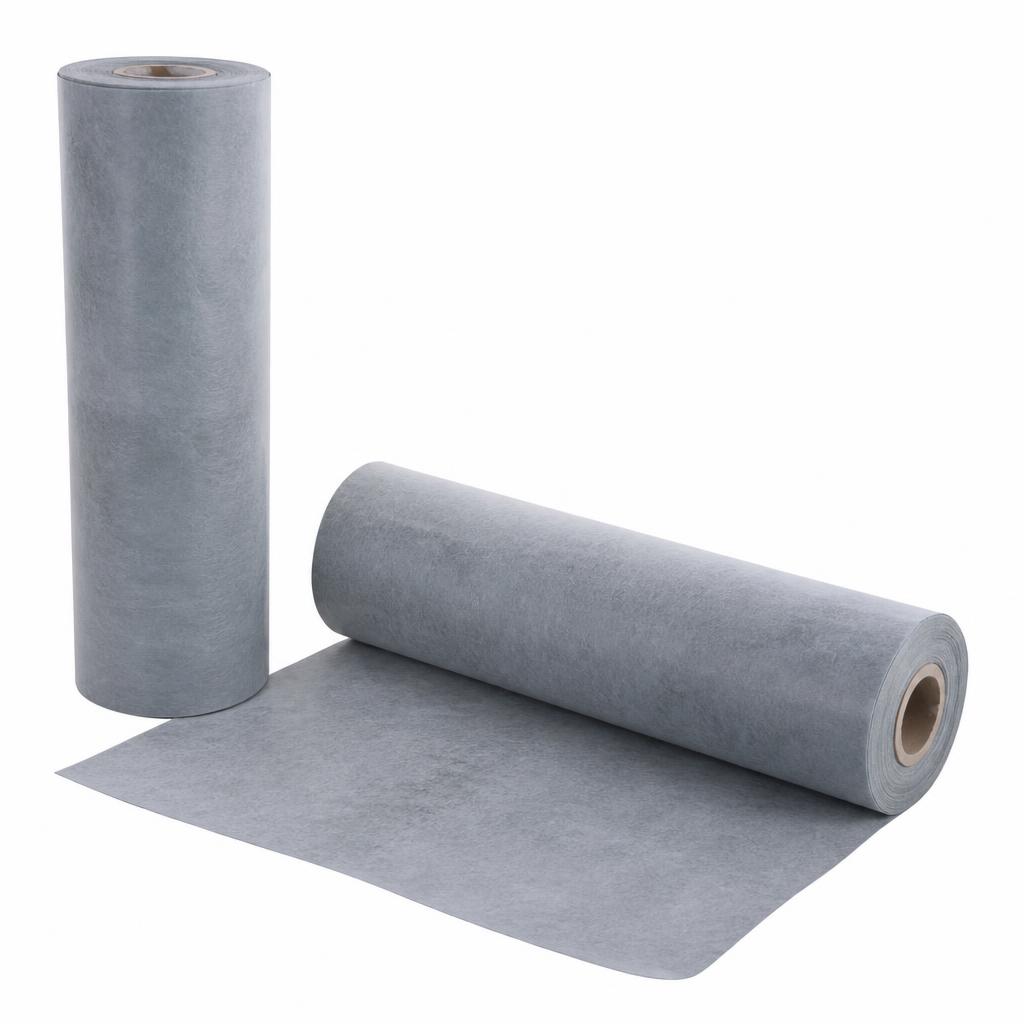
Anti-fracture waterproof membrane
1 roll liquid membrane 15 L + reinforcing tape roll 50 m (seals shower zone)
95
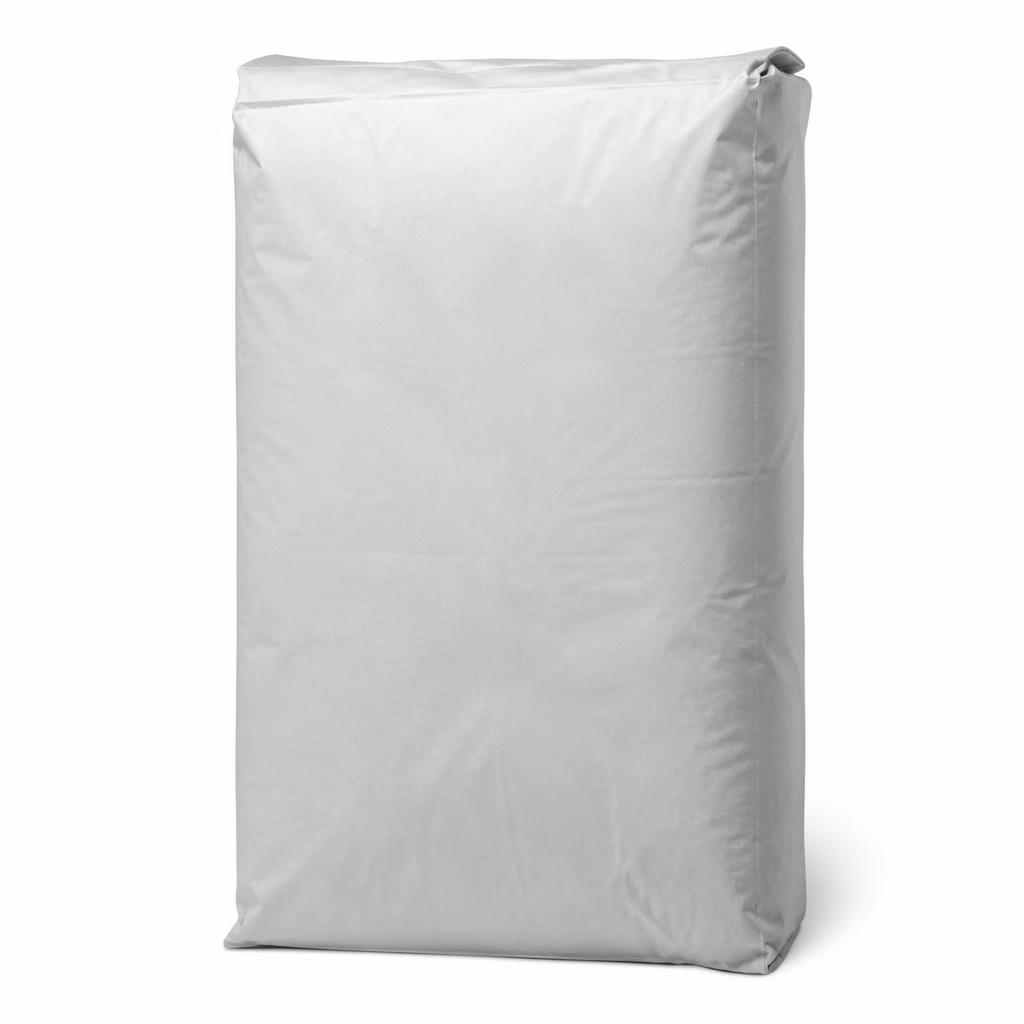
Large-format tile adhesive
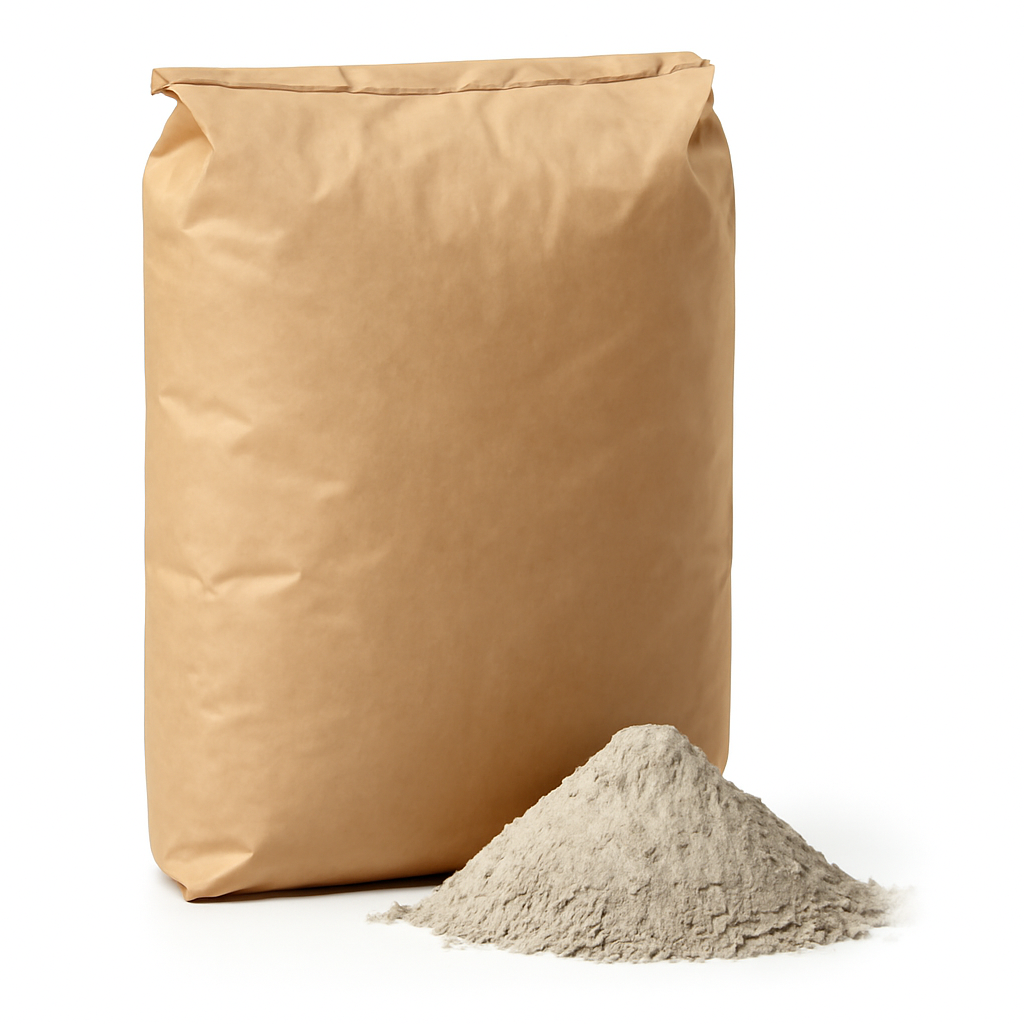
4× 25 kg bags white flexible C2TE S1 adhesive (bonds 6 mm slabs)
140
Grout
2× 5 kg bags flexible epoxy-modified grout, colour to match (2 mm joints)
90

Sanitary silicone
3× 310 ml tubes neutral-cure, colour-matched (internal corners + drain edges)
27
Hardware
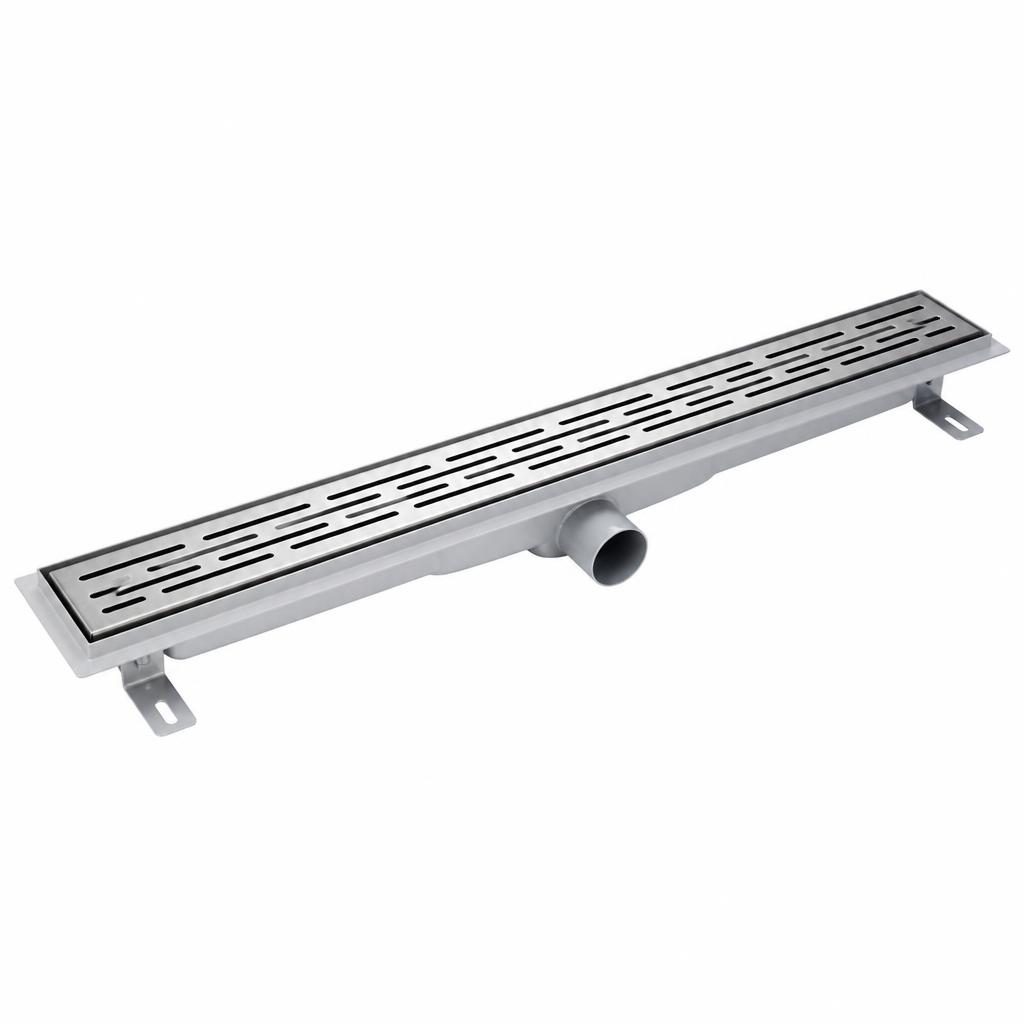
Linear channel drain
1× stainless linear drain 90 cm long, 50 mm outlet, tileable-insert type (shower edge)
220
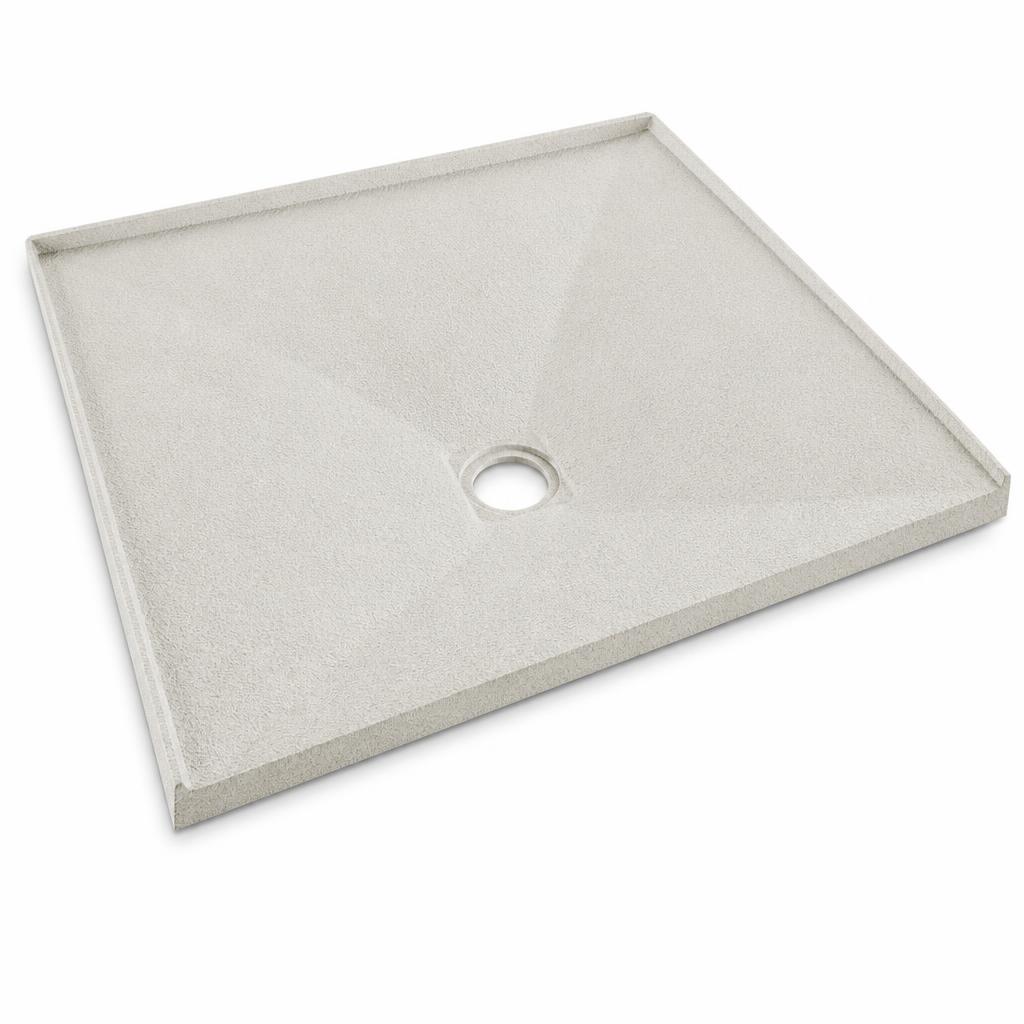
Shower tray former / sloped base
1× ready-sloped waterproof shower former 120×120 cm, 1.5% fall to one edge
260
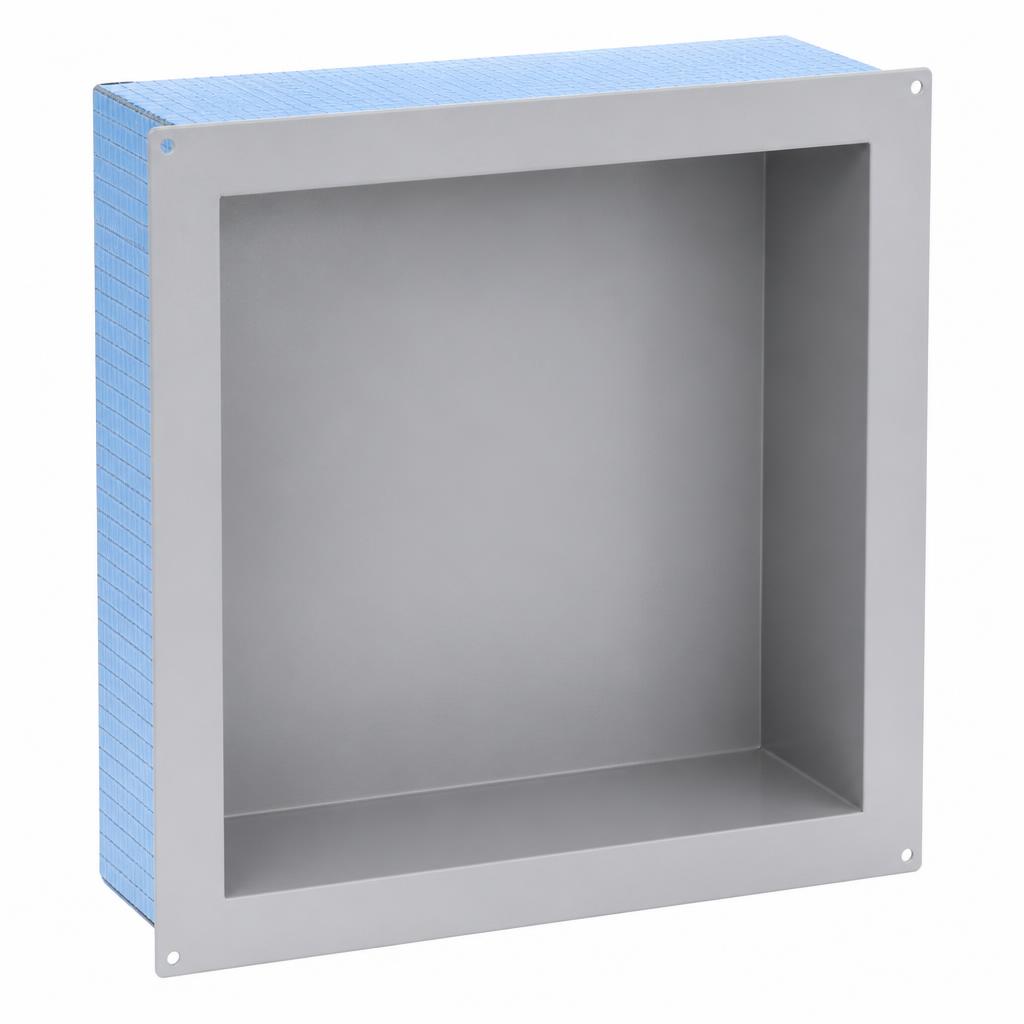
Prefabricated niche box
1× waterproof tile-ready niche 60×30×10 cm deep (corner recess)
110
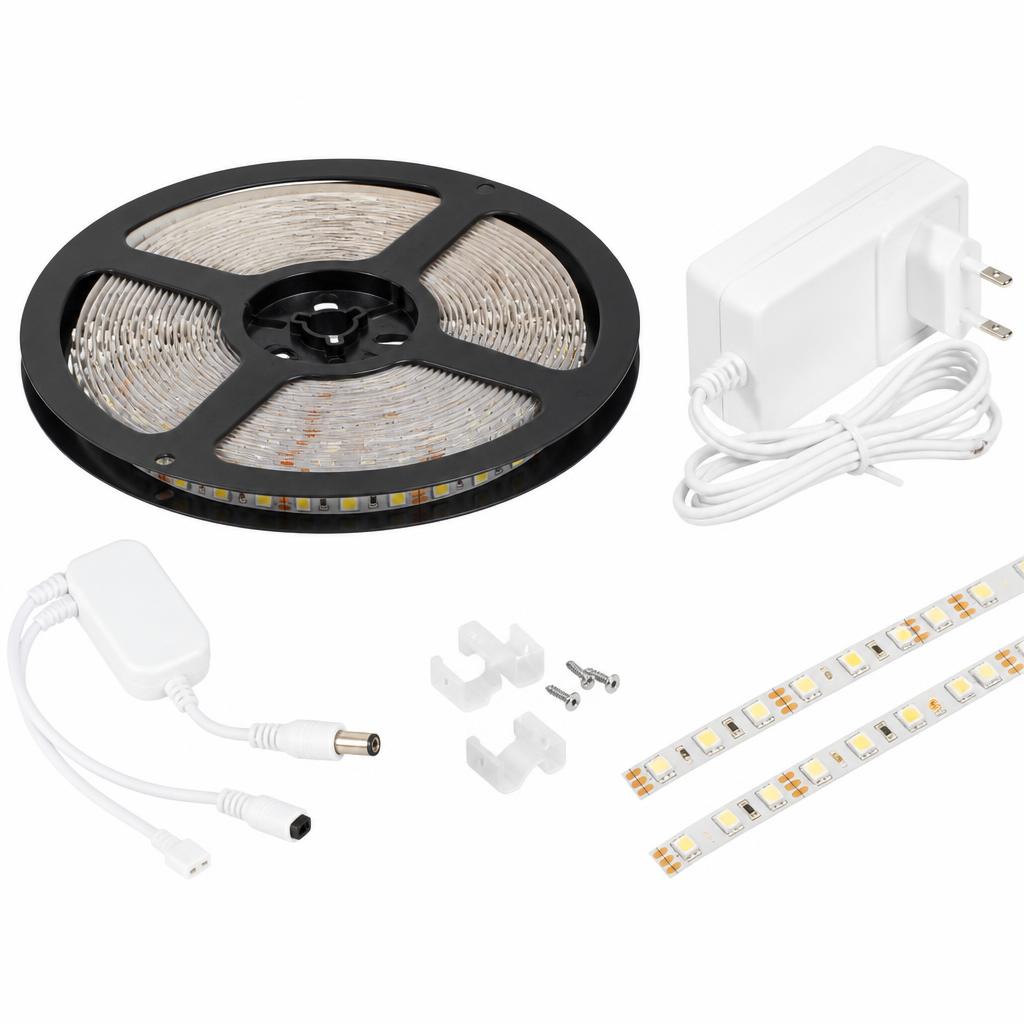
12 V LED strip
1× warm-white waterproof IP65 LED strip, 2 m, 12 V + 12 V 30 W driver (niche lighting)
45
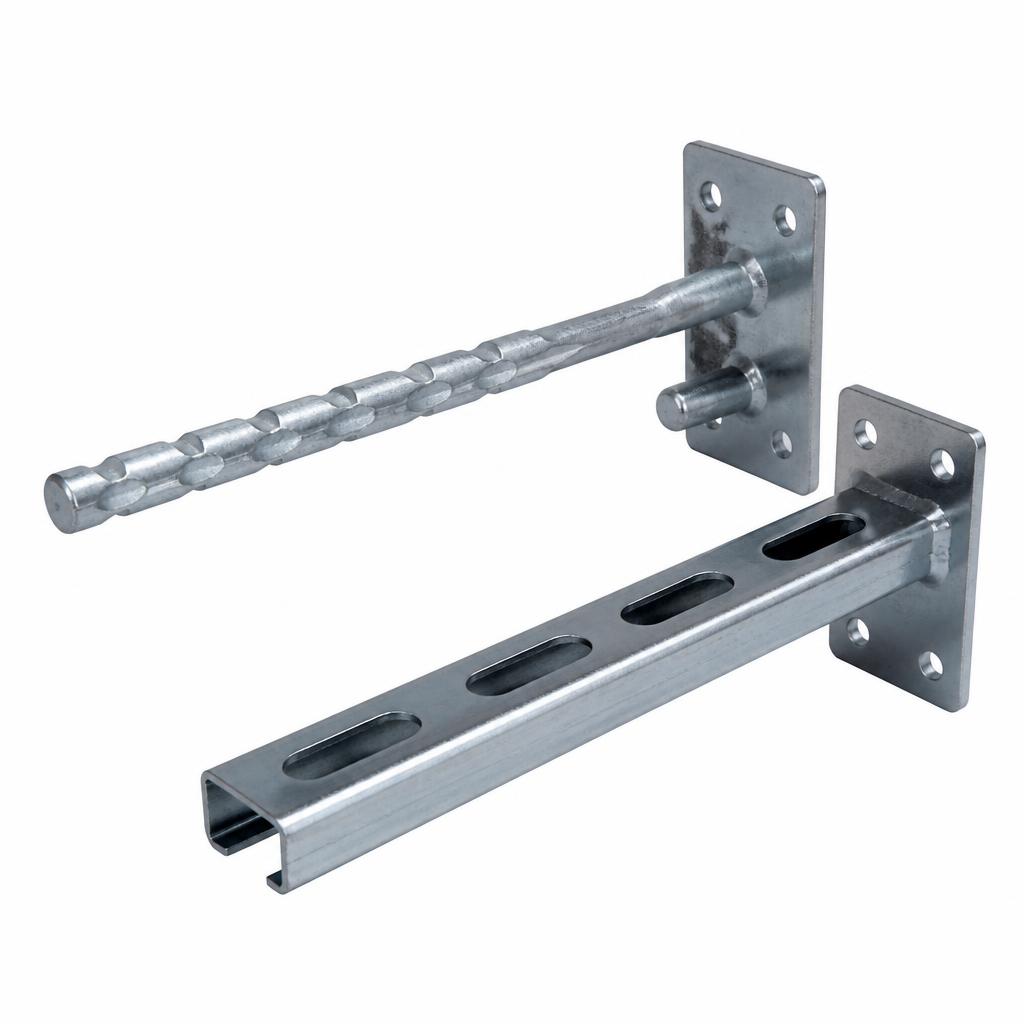
Concealed wall hanger brackets
2× hidden French-cleat brackets rated 80 kg pair (floating vanity + hooks, no visible screws)
40
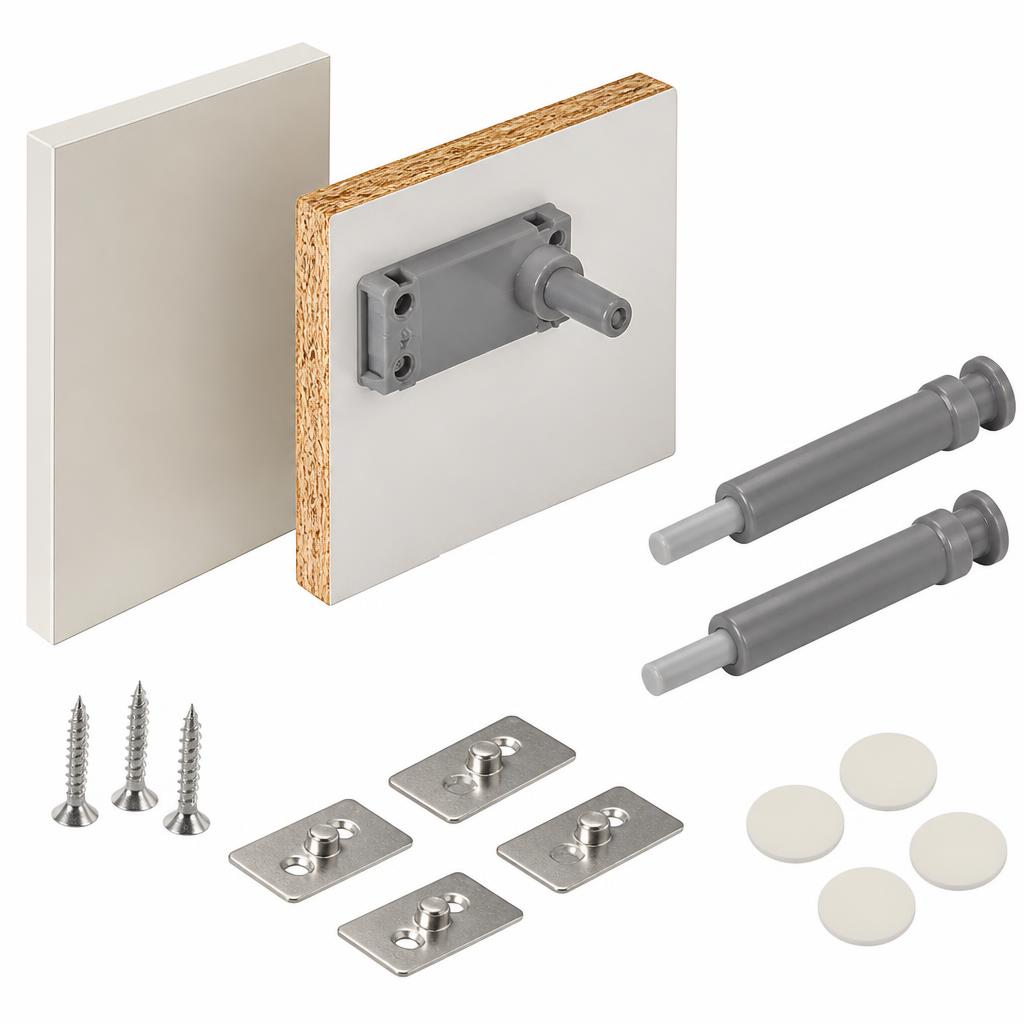
Push-to-open cabinet system
1× set of 4 push-latch magnetic catches + soft-close hinges (screwless door front)
55
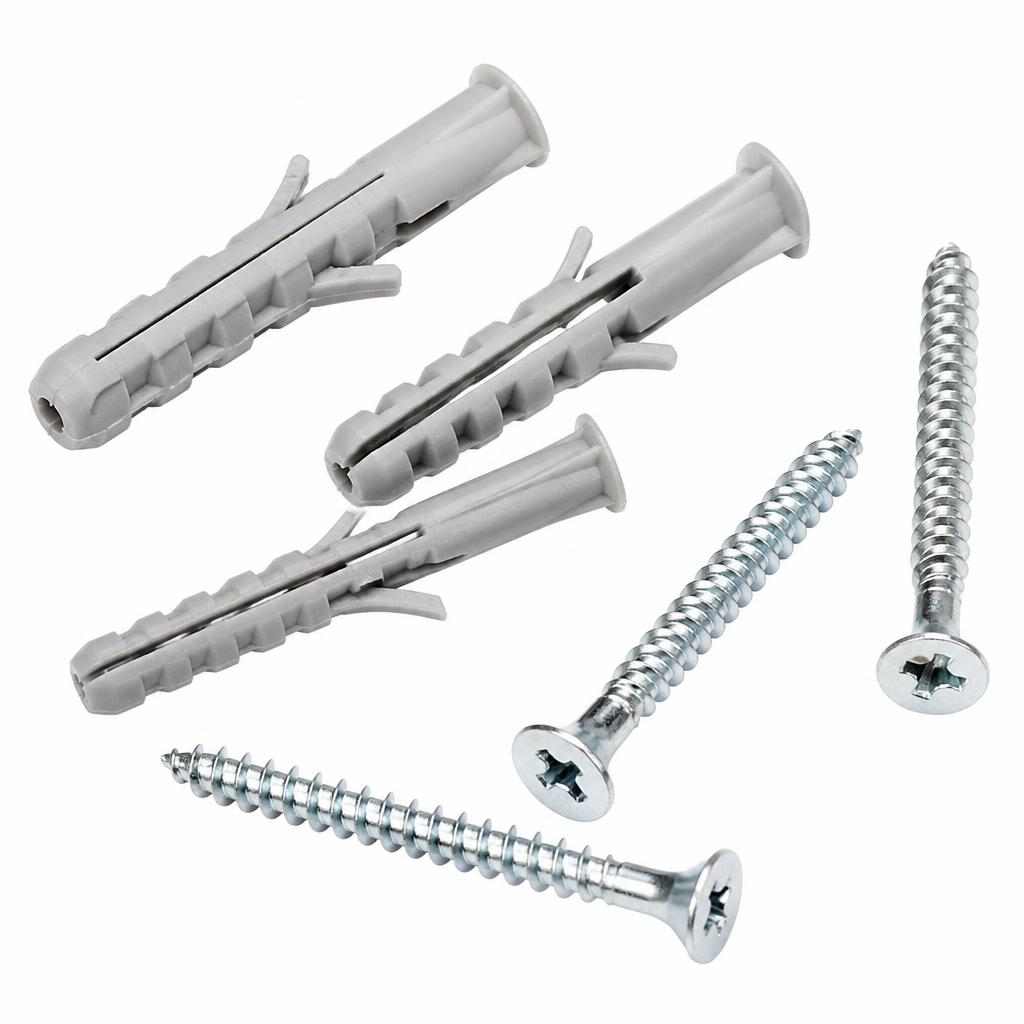
Wall fixings
20× M8 heavy-duty frame anchors, 100 mm, for solid/masonry walls (brackets + former)
30
Wood
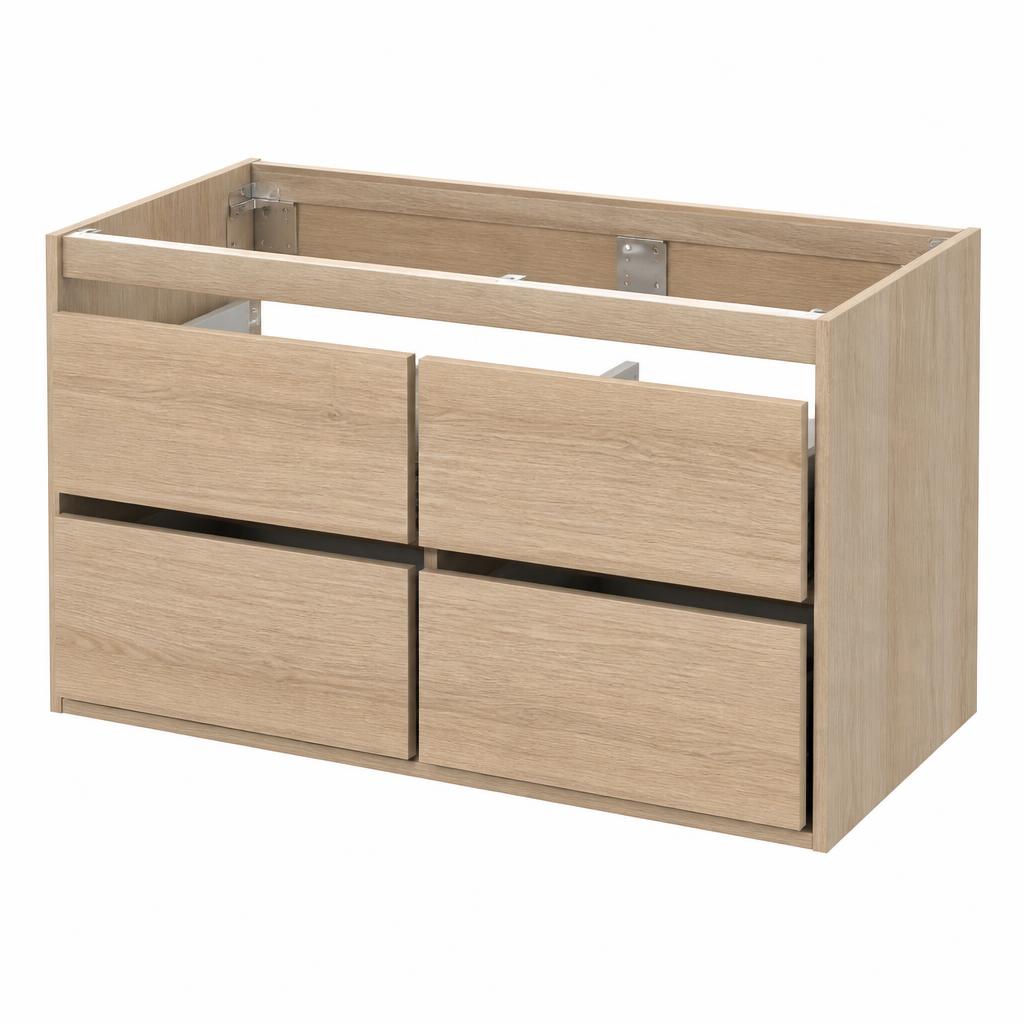
Floating vanity carcass
1× moisture-resistant MDF cabinet 100×45×40 cm, pre-lacquered or veneered (storage below sink)
320
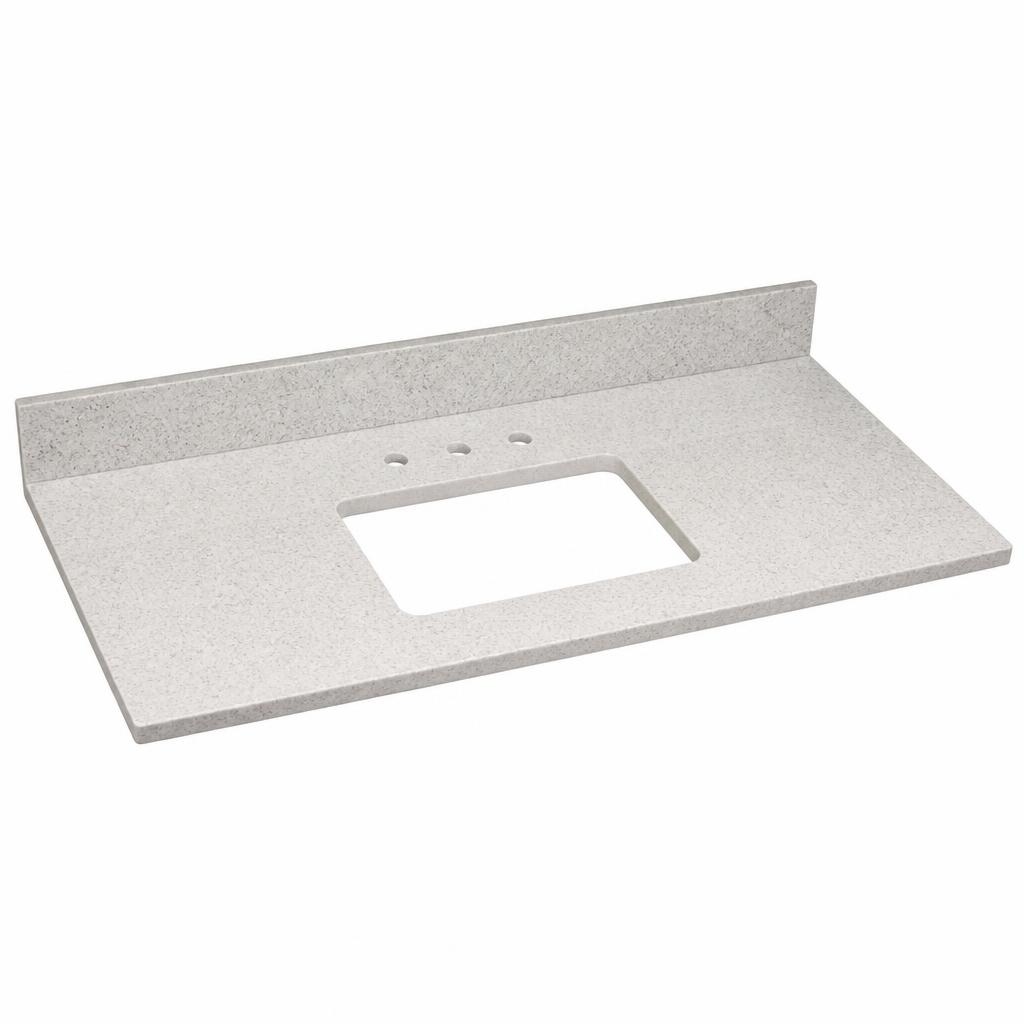
Vanity worktop
1× solid-surface / porcelain worktop 100×46 cm with integrated or under-mount basin
450
Step 1 of 10
Full cut list, layout and materials check
TOOLS
Spirit level / laser level
LAYOUT, CUT LIST & MATERIALS CHECK
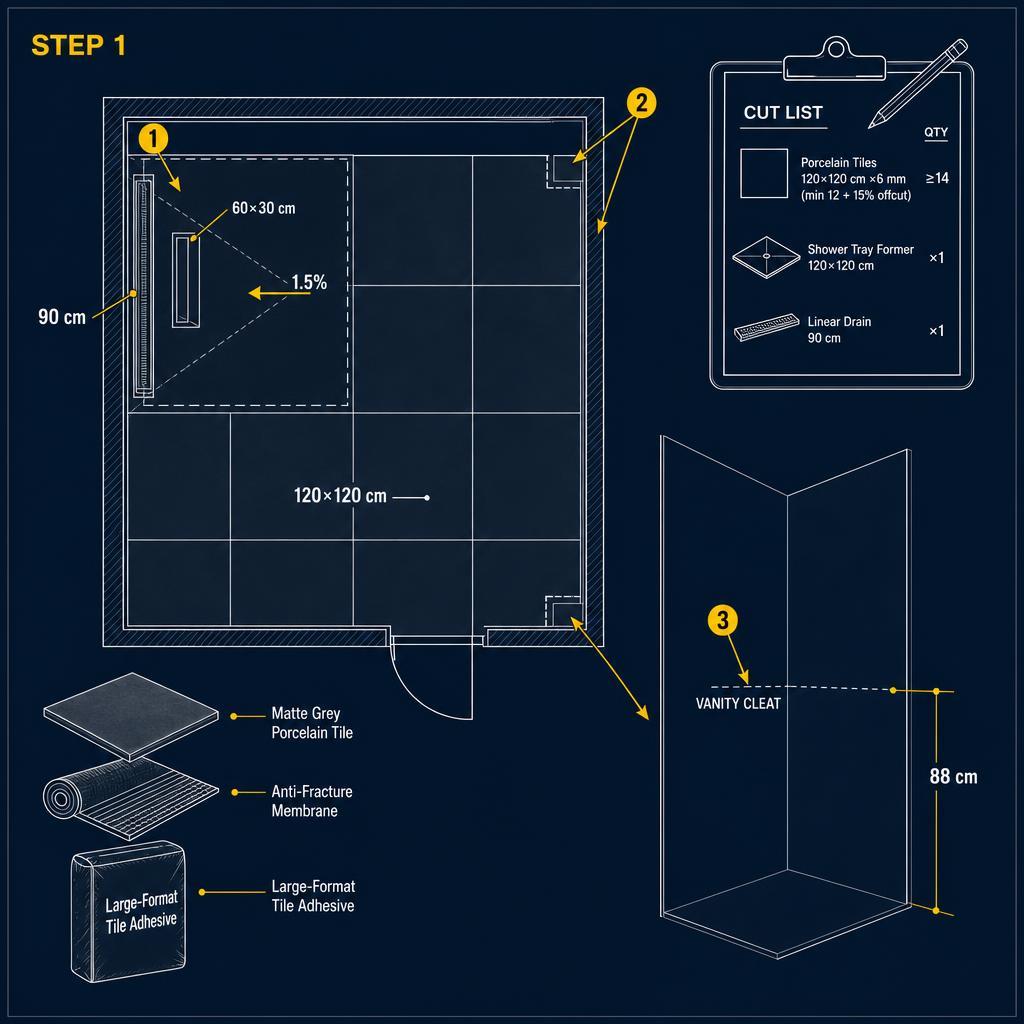
- ✓Plan tile grid avoiding centred cut edges
- ✓Mark shower zone with 1.5% fall direction
- ✓Verify full cut list before ordering materials
Instructions
• Set tile grid: plan 120×120 slabs so cut edges fall in corners, not centre of walls. • Mark shower zone 120×120 cm with 1.5% fall to the linear drain edge. • Cut list — every piece used in this build: (a) Large-format porcelain tiles 120×120 cm × 6 mm — 12 tiles minimum plus 15% offcut allowance; (b) Shower tray former / sloped base 120×120 cm — 1 unit; (c) Linear channel drain 90 cm — 1 unit; (d) Prefabricated niche box 60×30×10 cm — 1 unit; (e) Floating vanity carcass 100×45×40 cm — 1 unit; (f) Vanity worktop 100×46 cm — 1 unit. • Mark niche at 110 cm centre height, 60×30 cm opening, in the corner wall. • Mark vanity at 100 cm top height (floor to worktop), cleat line at 88 cm. • Confirm walls are solid enough for 80 kg concealed brackets before proceeding.
Time & Waiting
Active work
2-3 hours
People
1 person
Swipe or use ← → keys
Want to follow this guide step by step or log your own build?
Open in the Makeit App