
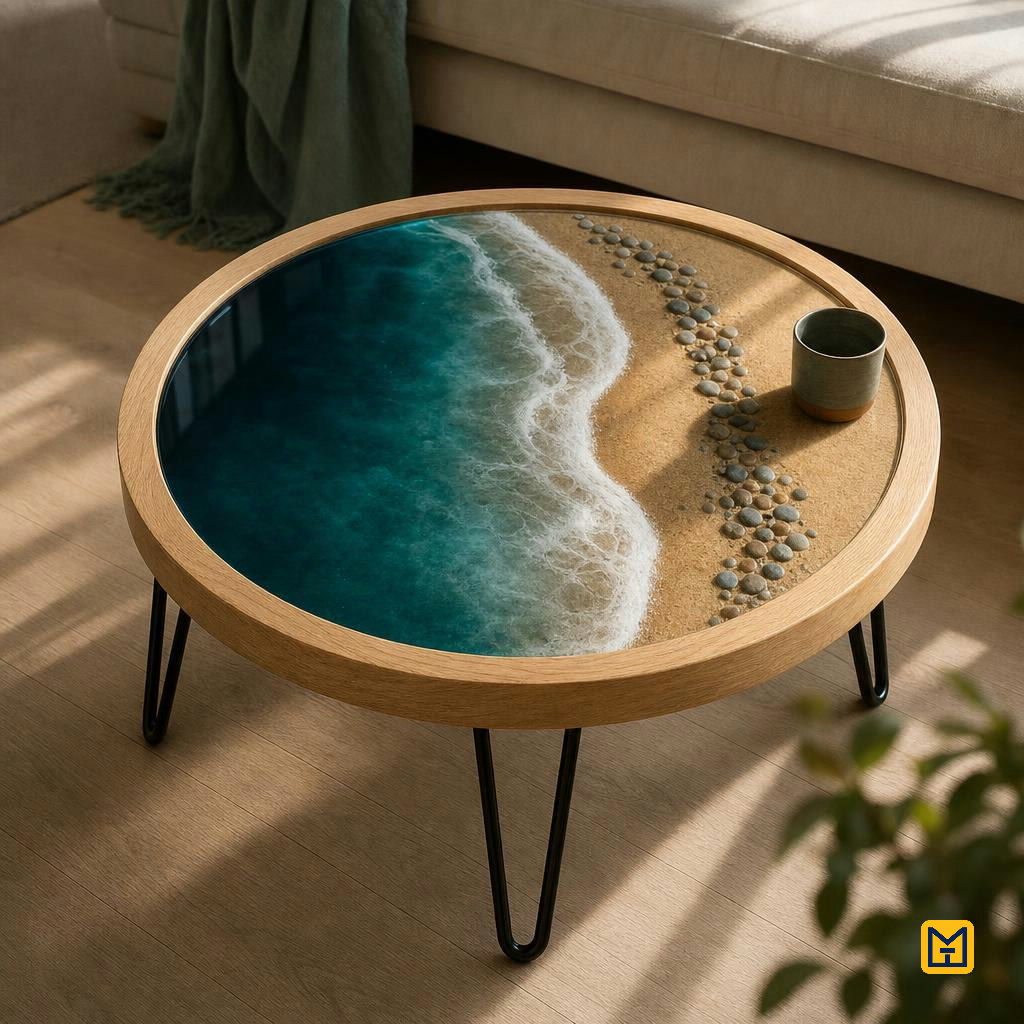
Round Epoxy Beach Table — 90 cm
by Makeit_official
Build a 90 cm round coffee table with a thick laminated oak rim that doubles as the casting mould, filled with a real sand-and-pebble shoreline and layered teal epoxy ocean polished to a glass finish. It is for a patient maker with basic woodworking tools who wants a showpiece piece of furniture and is willing to work slowly through multi-day epoxy cures.
Wooden Round Frame
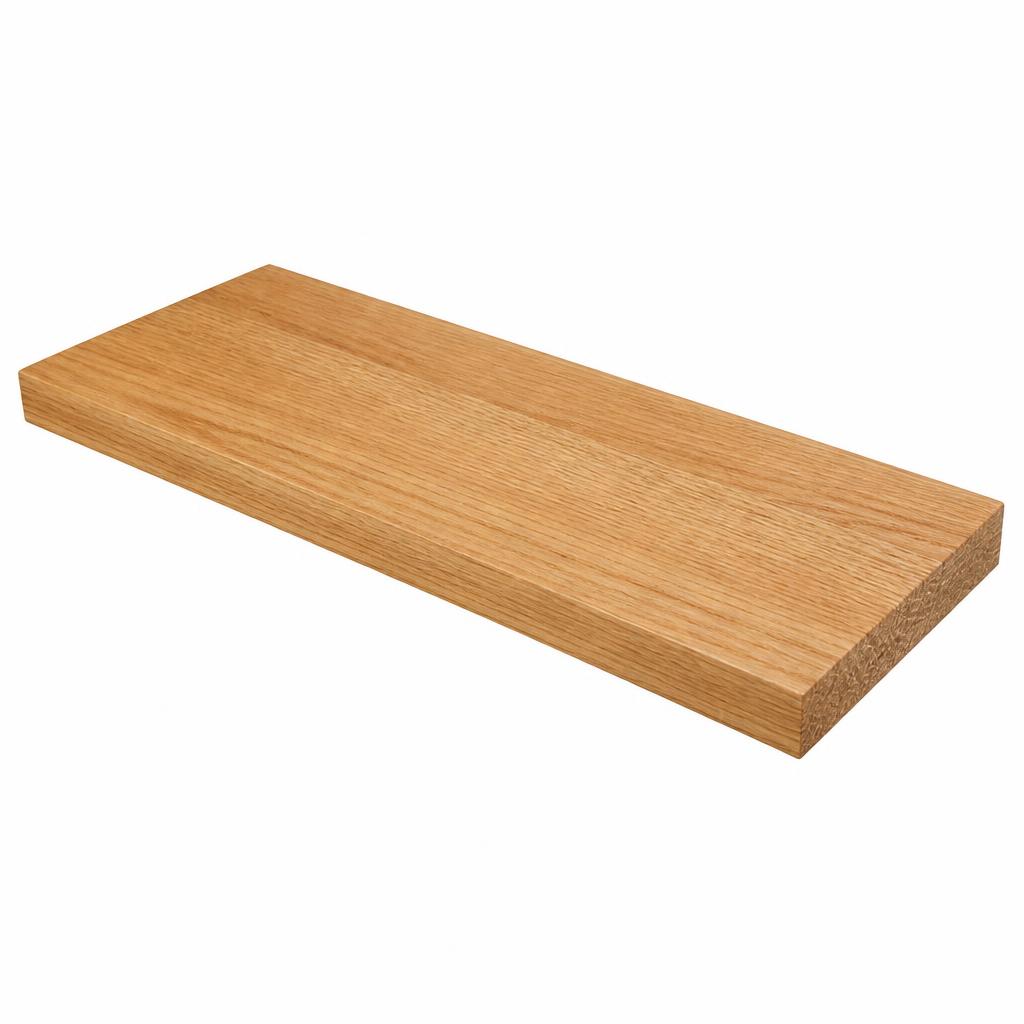
Solid oak boards
7 m total of 20 mm thick × 10 cm wide oak (cut into 16 rim segments forming two laminated rings)
80
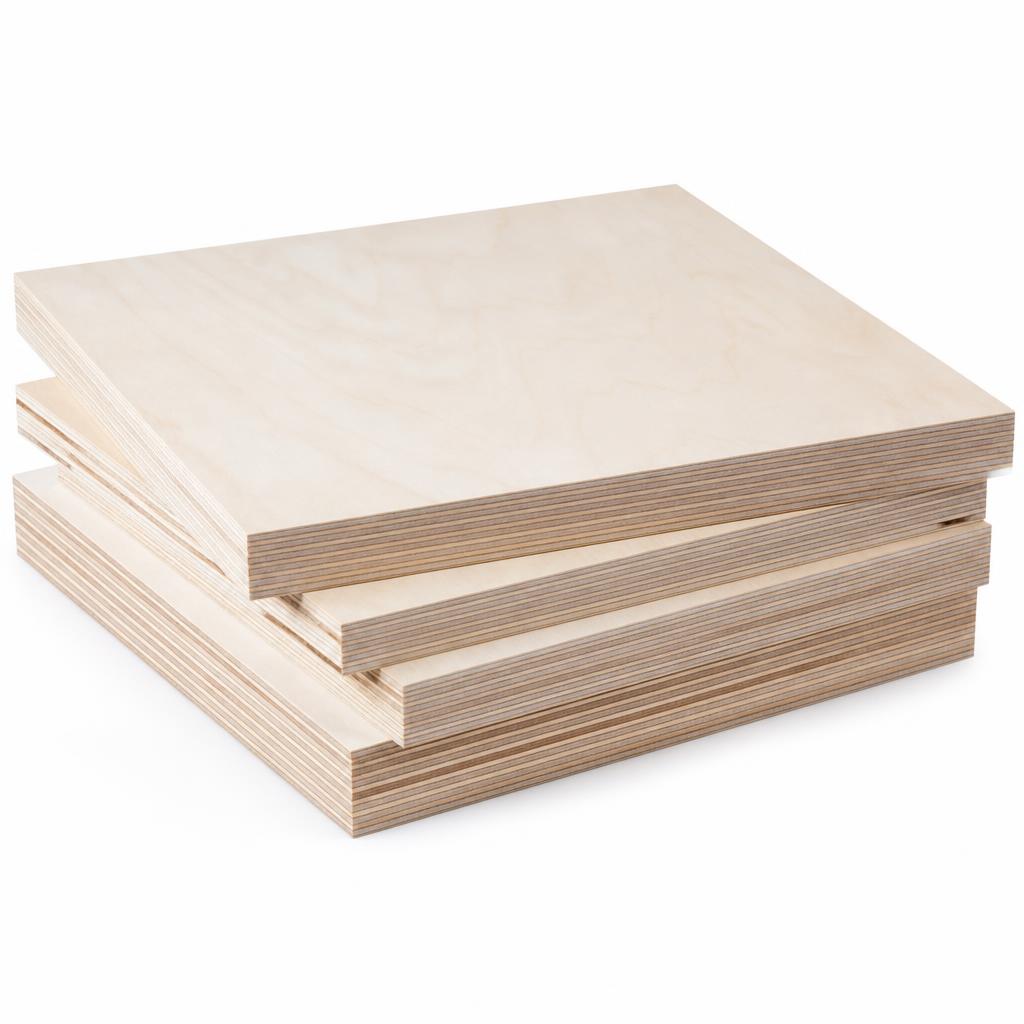
Birch plywood sheet
one sheet 100 × 100 cm, 18 mm thick (the 90 cm base disc that stays as the table underside)
35
Waterproof wood glue
500 ml D3 PVA (rim segment joints and bonding the rim to the base disc)
8
Clear silicone sealant
one 300 ml cartridge (seals the inner corner between rim and base so resin cannot leak)
6
Packing tape
one 50 mm wide roll (mould-release on the glue-up board and clamp faces)
3
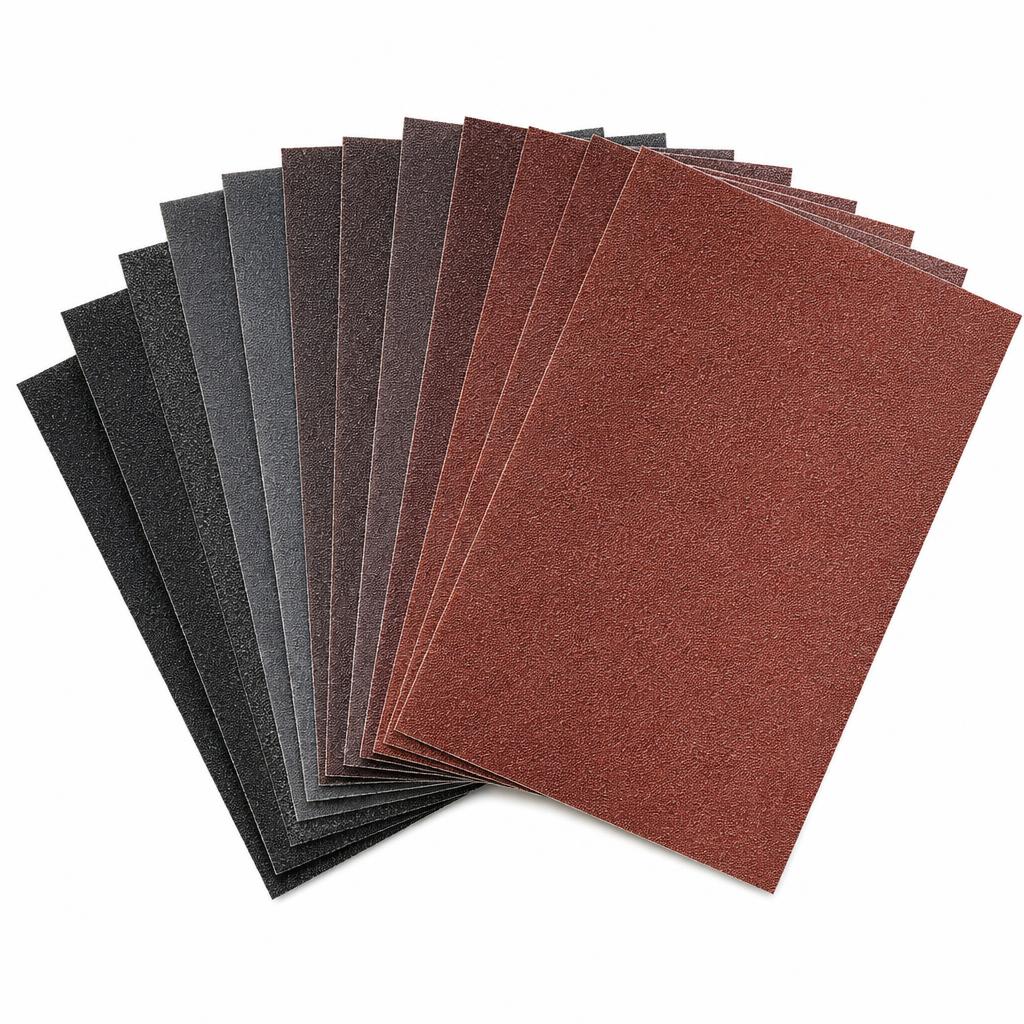
Sandpaper assortment
80, 120, 180 and 240 grit discs and sheets (shaping and finishing the oak rim)
15
Tung oil
500 ml clear tung oil (two coats on the finished oak rim)
15
Beach Scene — Sand and Rocks
Fine beach sand
2 kg washed, bone-dry play or beach sand (the sloping beach bed and shoreline)
5
River pebbles
3 kg smooth rounded pebbles, 15–40 mm across, grey/tan/brown mixed (the pebble band on the right side)
15
Small shells
a handful of small flat shells, optional (scattered accents near the waterline)
5
Epoxy Ocean Pour
Slow-cure casting epoxy resin
9–10 kg resin plus hardener combined, low viscosity, UV-resistant, 24–48 h cure (seal coat, three ocean pours and the flood coat)
215
Epoxy pigment pastes
set of four: teal, turquoise, deep blue and opaque white (ocean gradient and wave foam)
33
Isopropyl alcohol 99%
500 ml in a spray bottle (cleaning tools, thinning the white foam mix)
6
Disposable mixing cups and stir sticks
20 graduated 1 L plastic cups and 30 wooden stir sticks
12
Nitrile gloves
box of 100, medium or large (resin handling)
10
Plastic sheeting
4 × 5 m dust sheet (protects floor and bench from drips)
6
Sanding and Polishing
Wet-and-dry sandpaper
5 sheets each of 400, 800, 1500 and 2000 grit (levelling and refining the cured resin)
15
Polishing compound
250 ml medium cut and 250 ml fine finish (brings resin to mirror gloss)
20
Microfibre cloths
pack of 10 (compound removal and final wipe)
8
Table Legs / Base
Hairpin legs
set of 4, 40 cm tall, three-rod black steel with pre-drilled bolt plates (table base)
55
Oak mounting pads
4 offcuts of the rim stock, each 12 × 12 cm × 20 mm thick (spread leg load under the plywood base)
12
M8 T-nuts and bolts
4 M8 T-nuts and 4 M8 × 20 mm bolts with washers (leg fixing)
6
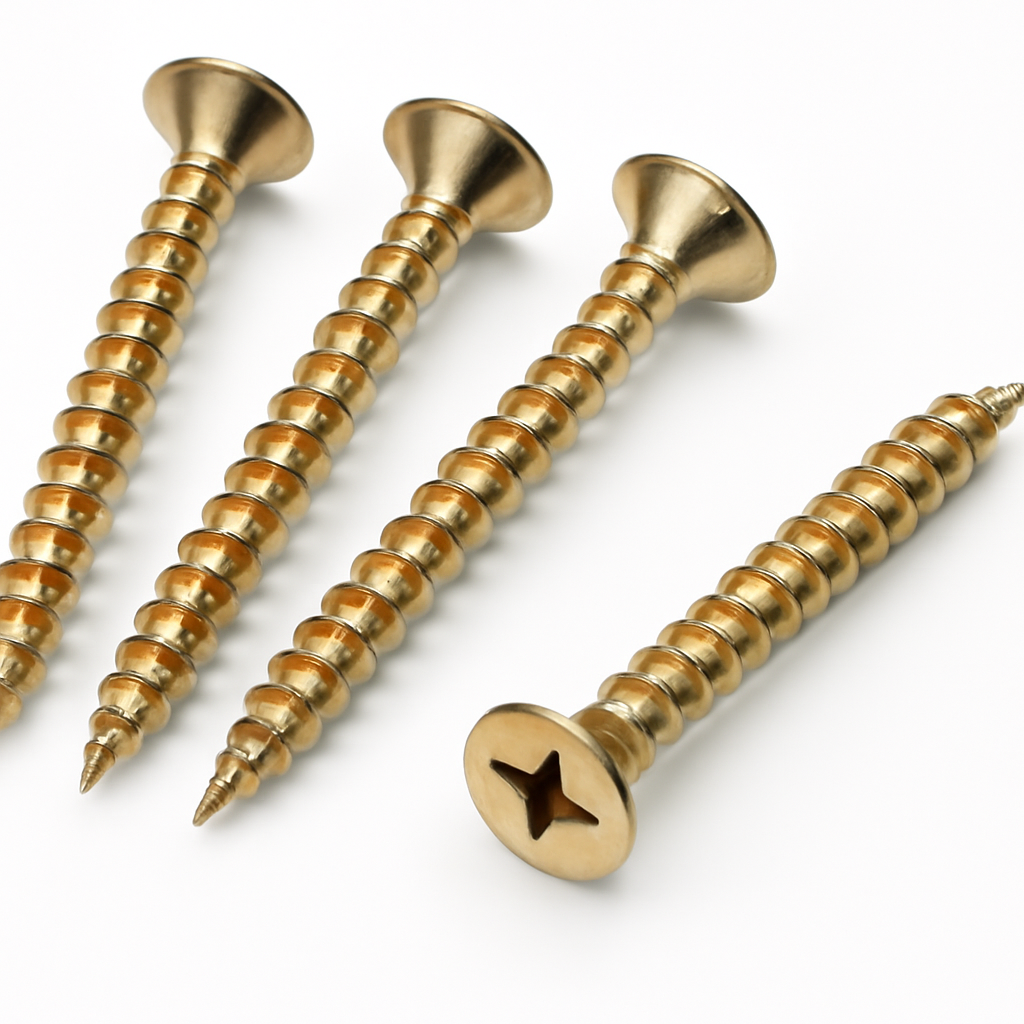
Wood screws
16 screws, 4 × 25 mm (fixing the oak mounting pads to the plywood base)
4
Step 1 of 8
Cut list, measurements and workshop set-up
TOOLS
Spirit level
PLAN, MEASURE AND SET UP
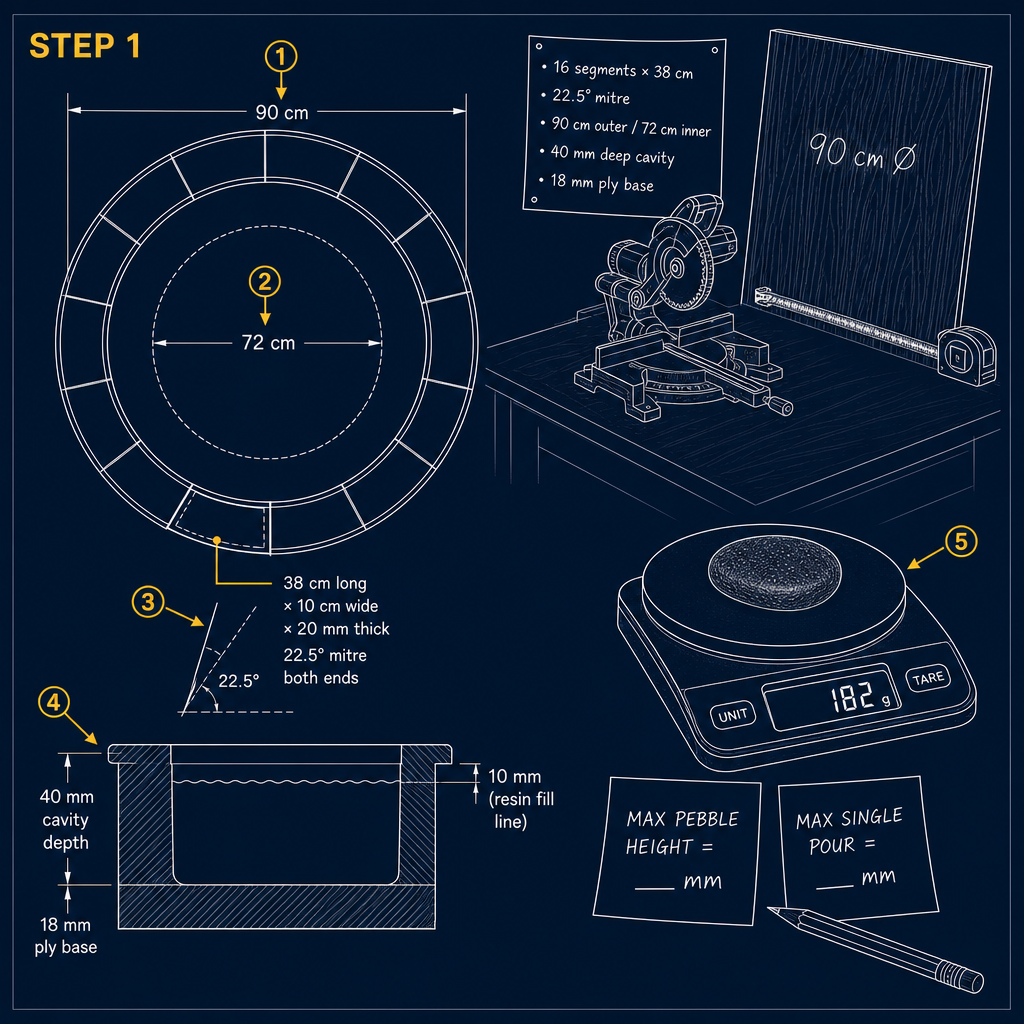
- ✓Sketch plan with all key dimensions
- ✓Measure tallest pebble and record
- ✓Confirm resin maximum single-pour depth
Instructions
• Oak rim: 16 segments, each 38 cm long × 10 cm wide × 20 mm thick, both ends mitred 22.5°. • Base: one birch plywood disc, 90 cm diameter, 18 mm thick — stays as the permanent underside. • Finished geometry: 90 cm outer, 72 cm inner cavity, 40 mm deep; resin surface ends 10 mm below rim top. • Confirm on site: [MEASURE: height of your tallest pebble] and [MEASURE: your resin's maximum single-pour depth]. • Sheet the floor in plastic, level the bench with the spirit level, hold the room at 18–24 °C.
Time & Waiting
Active work
1 hour
People
1 person
Swipe or use ← → keys
Want to follow this guide step by step or log your own build?
Open in the Makeit App