
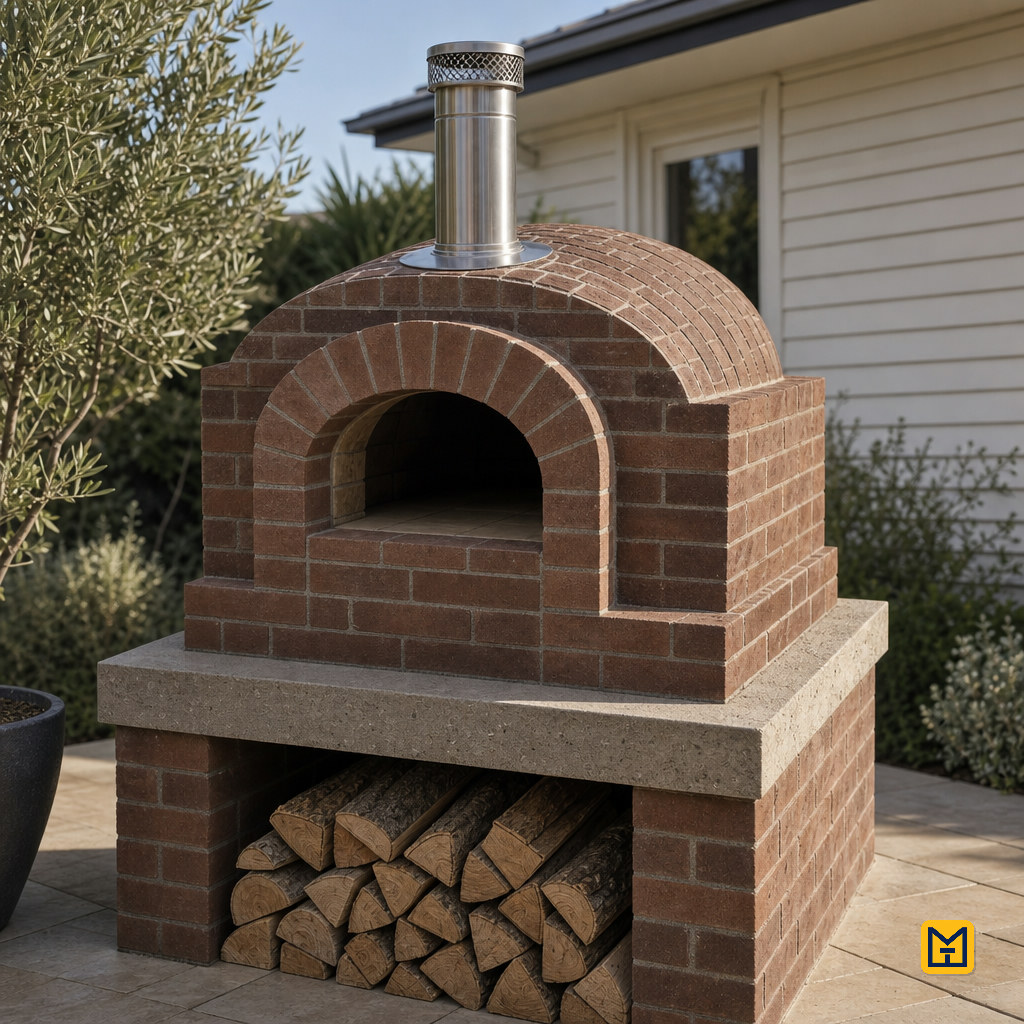
Wood-Fired Brick Dome Pizza Oven (Ball-Formed) on Existing Base
by Makeit_official
Build a proper wood-fired brick dome pizza oven over a 75cm inflatable ball former, sitting on an existing concrete/stone base. Suited to someone comfortable with basic masonry who wants a real high-heat cooking oven, not a decorative shell.
Hearth & Floor
Calcium silicate insulation board
1x 80 x 80cm sheet, 40mm thick, cut to fit inside the plinth
70
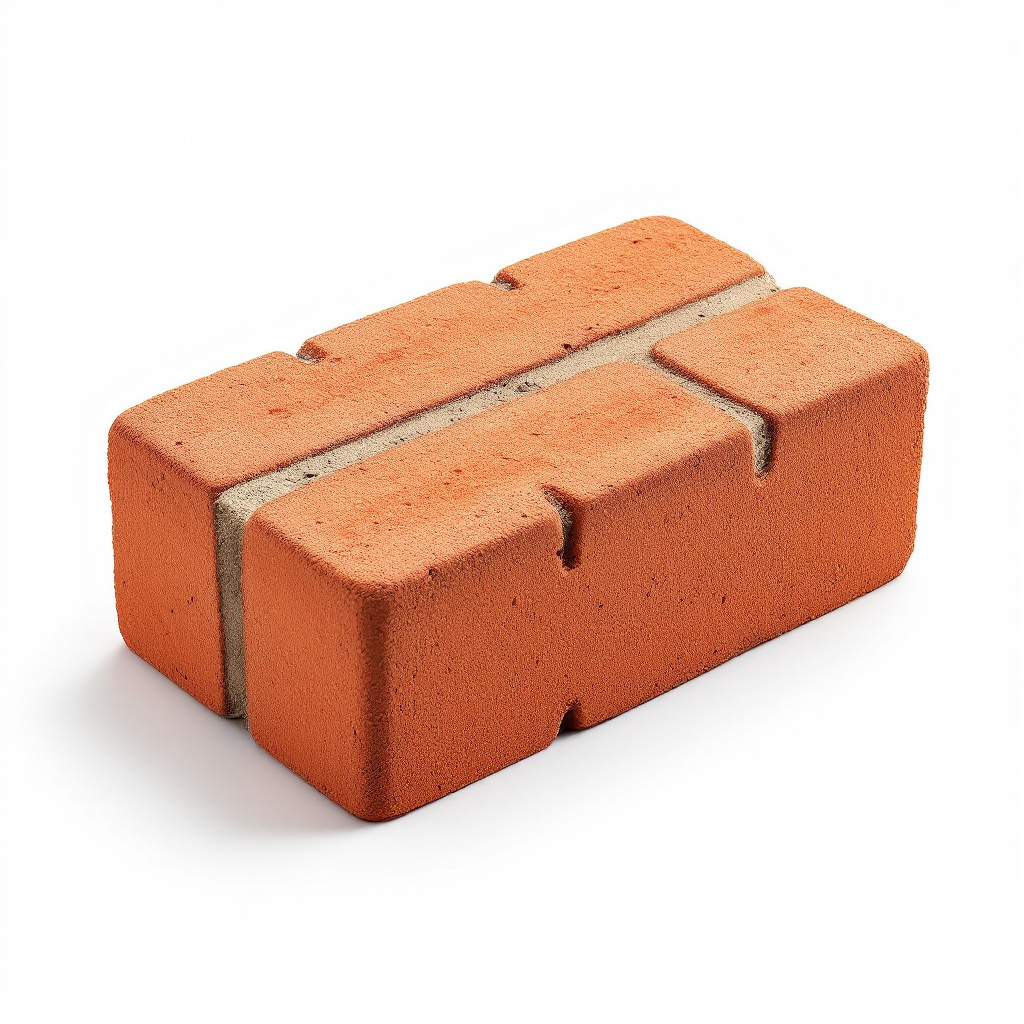
Fire bricks (hearth & plinth)
60 dense low-duty refractory bricks, 23 x 11.5 x 6.5cm
90
Refractory mortar
1x 20kg bag fireclay/refractory mortar
35
Vermiculite (exfoliated)
100 litres (2 x 50L bags), plinth fill
Cement (for vermiculite fill)
1x 25kg bag
Dome & Arch
Fire bricks (dome & arch)
180 dense low-duty refractory bricks, 23 x 11.5 x 6.5cm
325
Refractory mortar (dome)
2x 25kg bags fireclay/refractory mortar
70
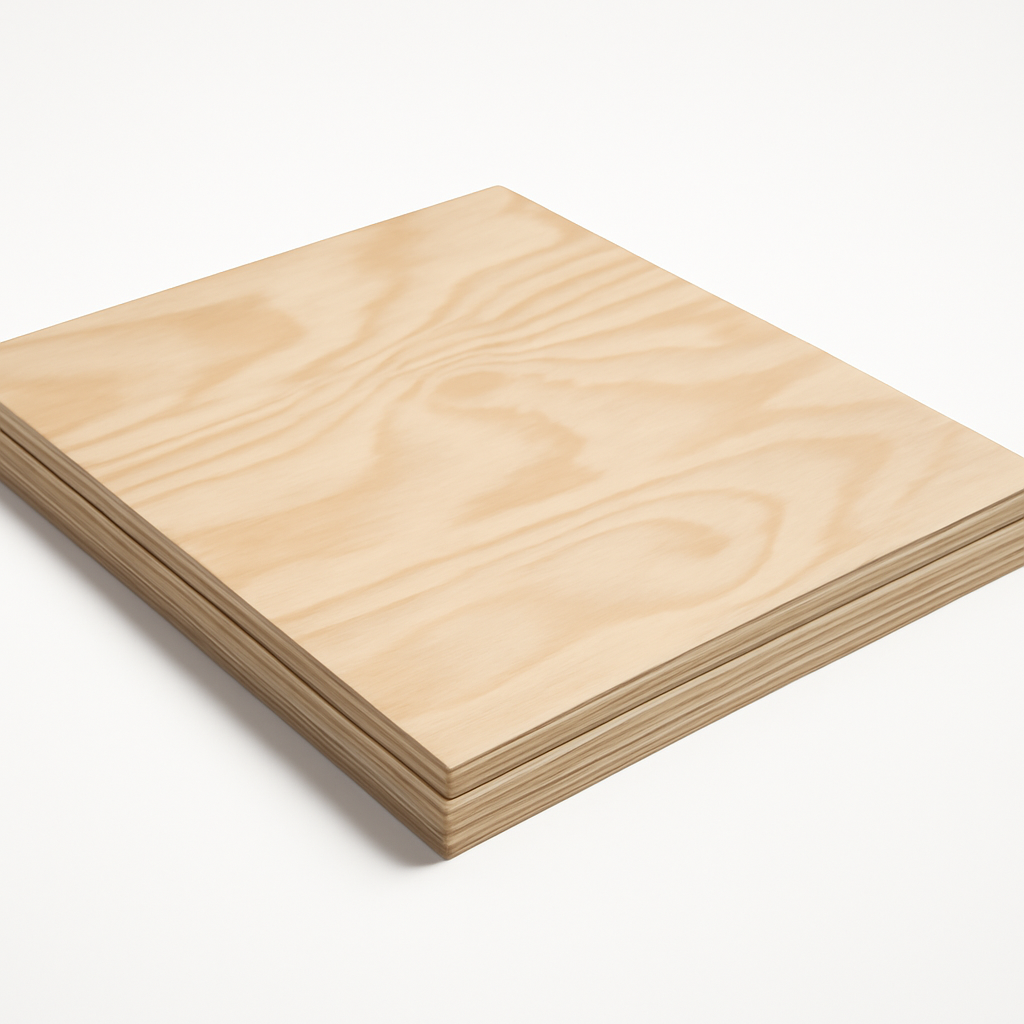
Plywood arch template
1 sheet, 50 x 40cm, 12mm plywood
13
Inflatable exercise ball
1x 75cm diameter ball
18

Plastic sheeting
1 roll, 2 x 3m
8
Damp sand
1x 25kg bag (packing under ball)
10
Insulation & Outer Skin
Ceramic fibre insulation blanket
1 roll, 1m x 7m, 25mm thick (two layers = 50mm total)
90
Facing brick
150 standard facing bricks, 21.5 x 10 x 6.5cm
175
Weatherproof mortar
3x 25kg bags standard weatherproof mortar
45
Flue & Finishing
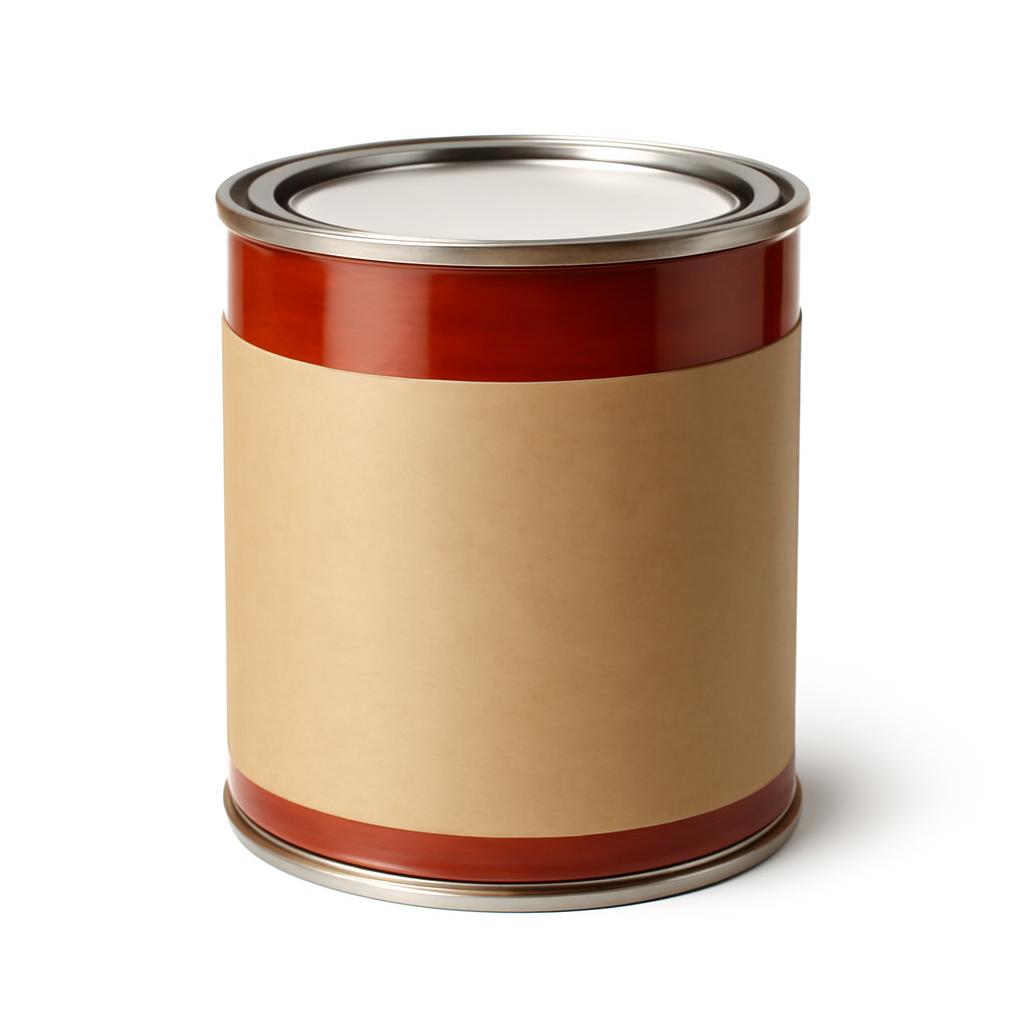
Stainless flue pipe with collar
1x 15cm diameter, 50cm length, with flashing collar
70
Fire-rated sealant
1 tube, high-temperature silicone/mortar sealant
13
Stainless wire ties or high-temp tape
1 roll (secures insulation blanket)
10
Step 1 of 12
Confirm the base, mark out and gather materials
TOOLS
Tape measure
Straight edge
CHECK BASE AND MARK CIRCLE
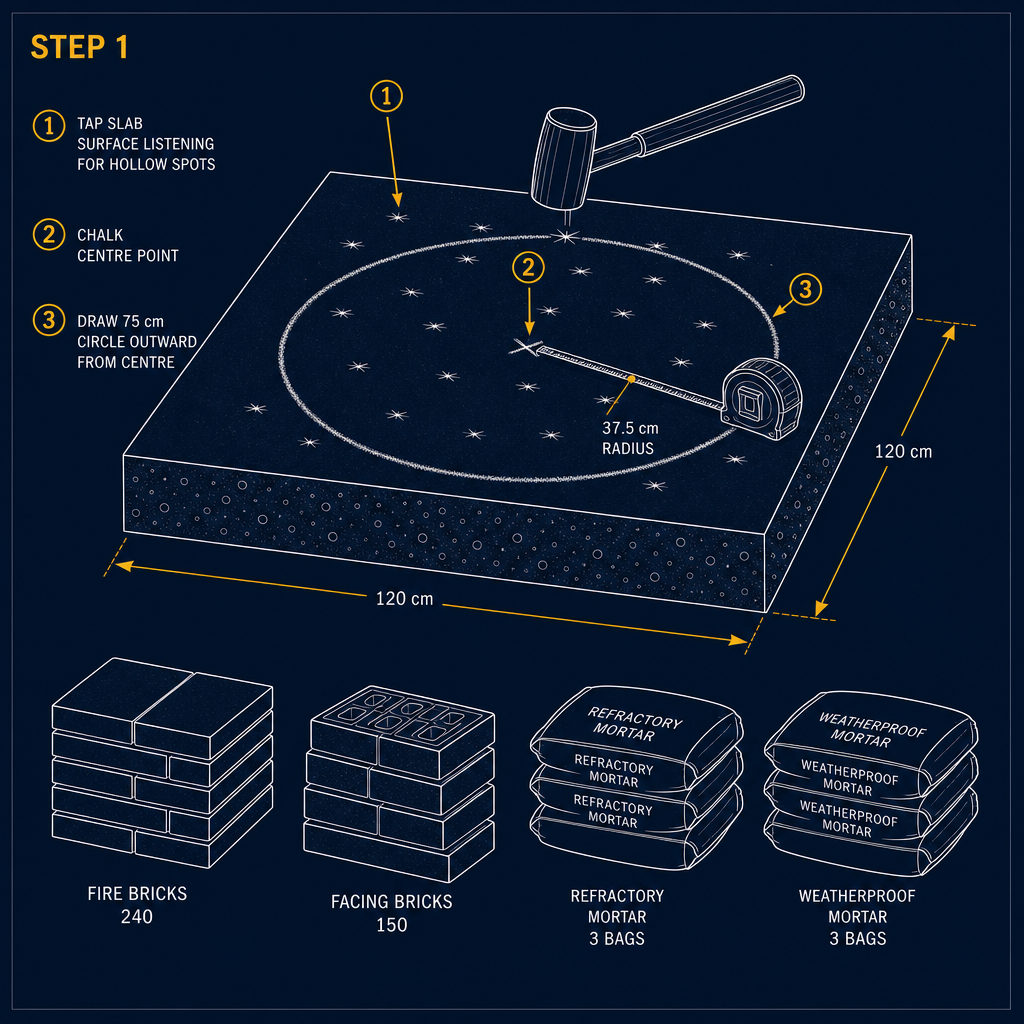
- ✓Tap slab checking for hollow cracks
- ✓Chalk 75cm circle centred on slab
- ✓Count and stack all materials listed
Instructions
• Tap the existing 120 x 120cm slab with a rubber mallet across its surface, listening for hollow or cracked spots. The finished oven weighs roughly 1,100-1,300kg (about 220 fire bricks, 150 facing bricks, fill, insulation and mortar), so the slab and whatever carries it must be sound and bearing on firm ground. • If in doubt about the base's condition or capacity, have it assessed before continuing; this build assumes it is sound. • Mark out a 75cm diameter circle on the slab with chalk, centred with margin on all sides for the outer skin — the dome is formed over a round ball, so the ring it rises from is round too. • Lay out and count the materials before starting: 240 fire bricks (60 for the hearth and plinth, 180 for the dome and arch), 150 facing bricks, 3 bags of refractory mortar and 3 bags of weatherproof mortar.
Time & Waiting
Active work
1-2 hours
People
1 person
Swipe or use ← → keys
Want to follow this guide step by step or log your own build?
Open in the Makeit App