
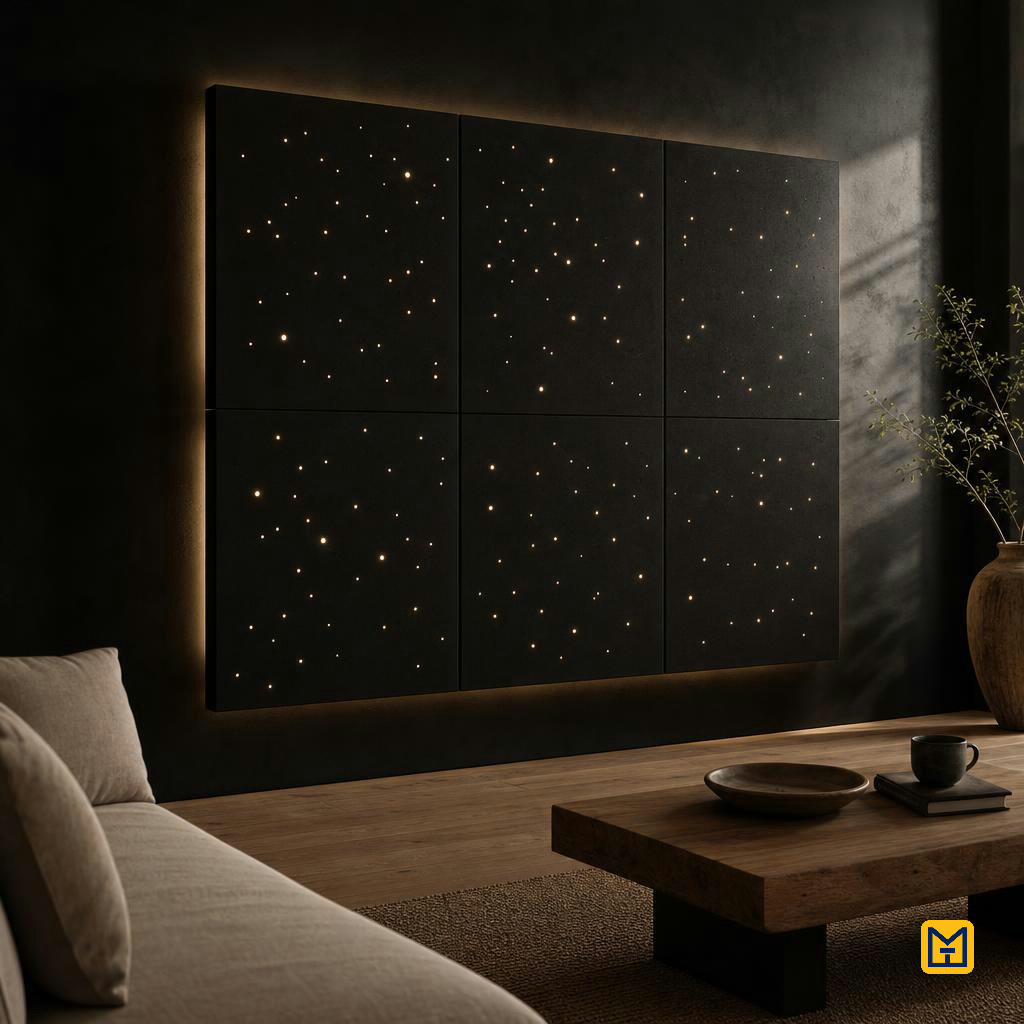
Fiber-Optic Starfield GFRC Panelled wall
by Makeit_official
Build a set of lightweight 60 x 60 x 4 cm black GFRC (glass-fiber-reinforced-concrete) panels embedded with hundreds of polished optical fiber tips, mounted on a backlit French-cleat frame so the wall glows like a starfield after dark. Suited to a confident DIYer comfortable with concrete casting, grinding and basic low-voltage wiring.
Panel Formwork & Molds
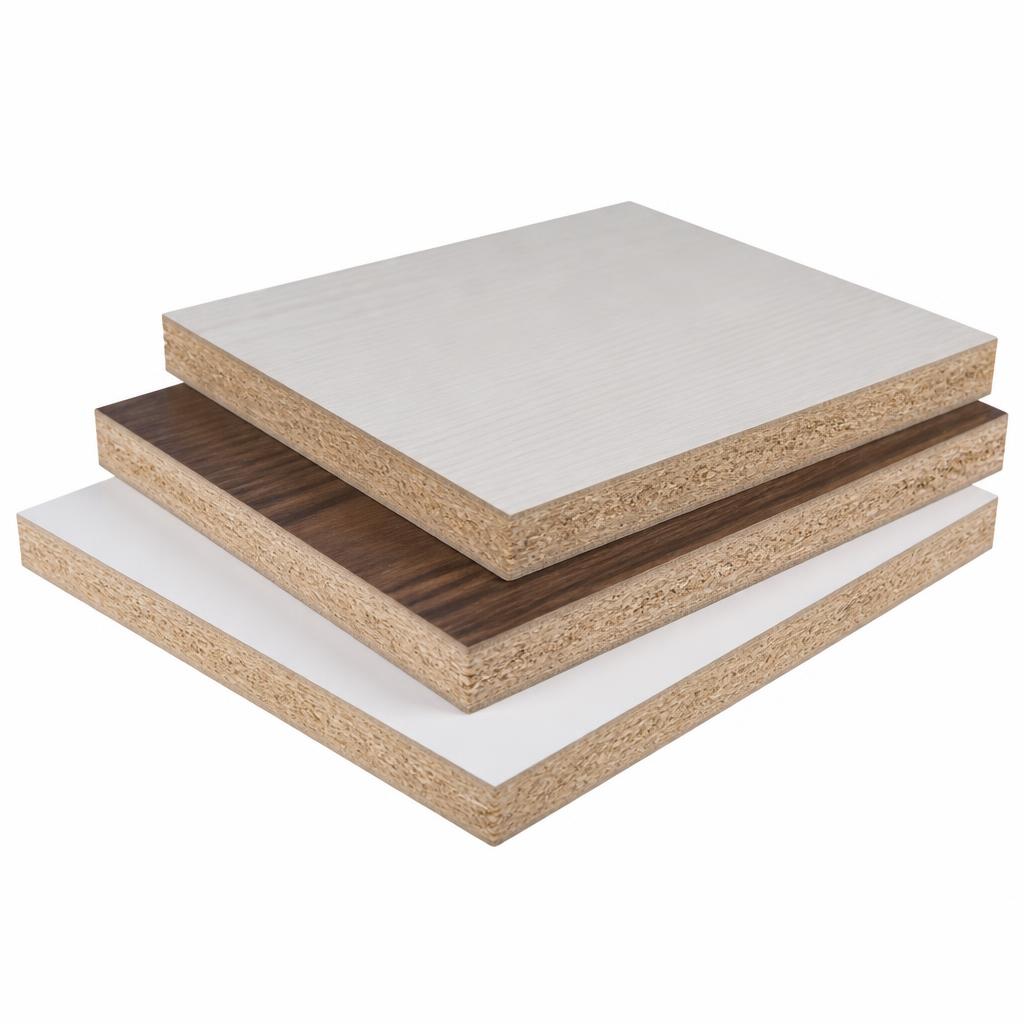
Melamine-faced MDF board
1 sheet per panel, 60 x 60 x 18 mm (the flat mold base, reusable)
Release agent spray
1 can, 500 ml (stops GFRC sticking to the mold)

Wood screws
1 box, 4 x 40 mm (assembling the mold frame)
Melamine edge strips
4 strips per panel, 60 cm long x 45 mm high (mold side walls, 4 cm panel depth plus tolerance)
Fiber Positioning Jig
Perforated hardboard sheet
1 sheet, 60 x 60 x 6 mm (drilled template that holds fibers in place)
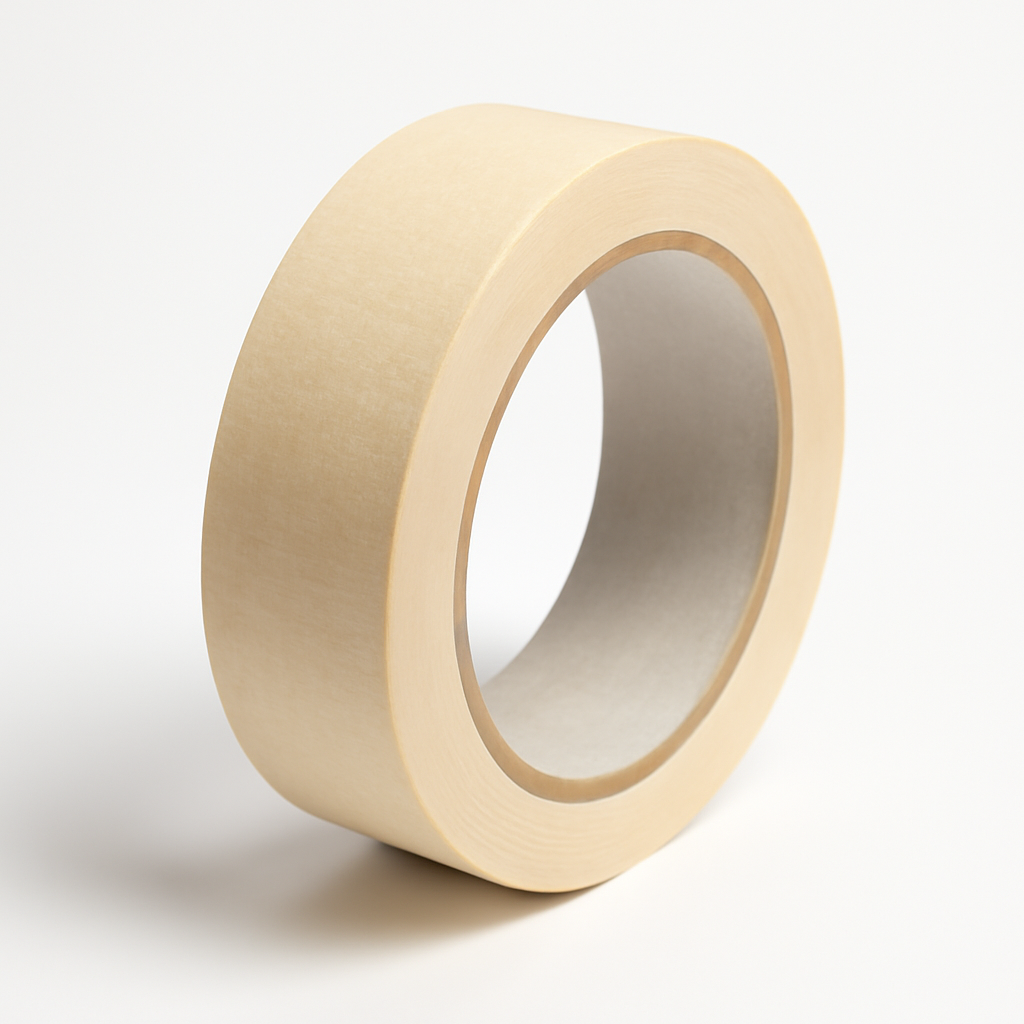
Masking tape
1 roll (marking random point layout and securing fibers)
Foam grommets
1 pack, assorted small sizes (seal fiber entry points so the mix doesn't leak in)
Optical Fibers
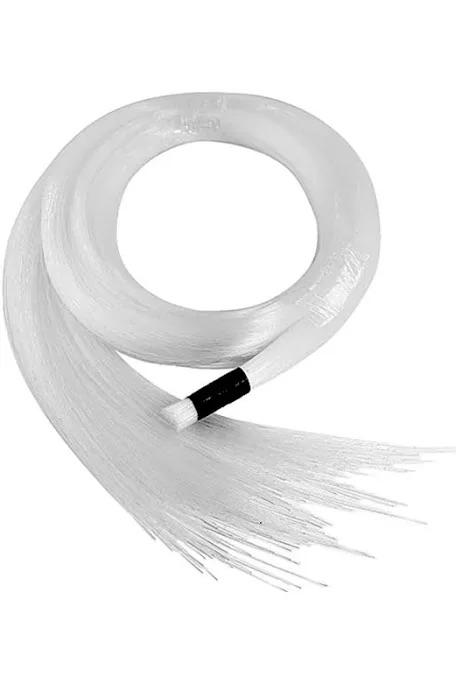
End-glow optical fiber
2 spools of 10 m per panel, mixed diameters 0.75 mm / 1 mm / 1.5 mm (roughly 20-30 fibers per panel at ~15cm each) — multiply spools by total panels planned
GFRC Panels (Cast)
Black pigmented GFRC premix
1.5 bags of 25 kg per panel (~35-38 kg premix, yielding ~30 kg mixed for one 60 x 60 x 4 cm panel) — round up to whole bags and multiply by total panels planned
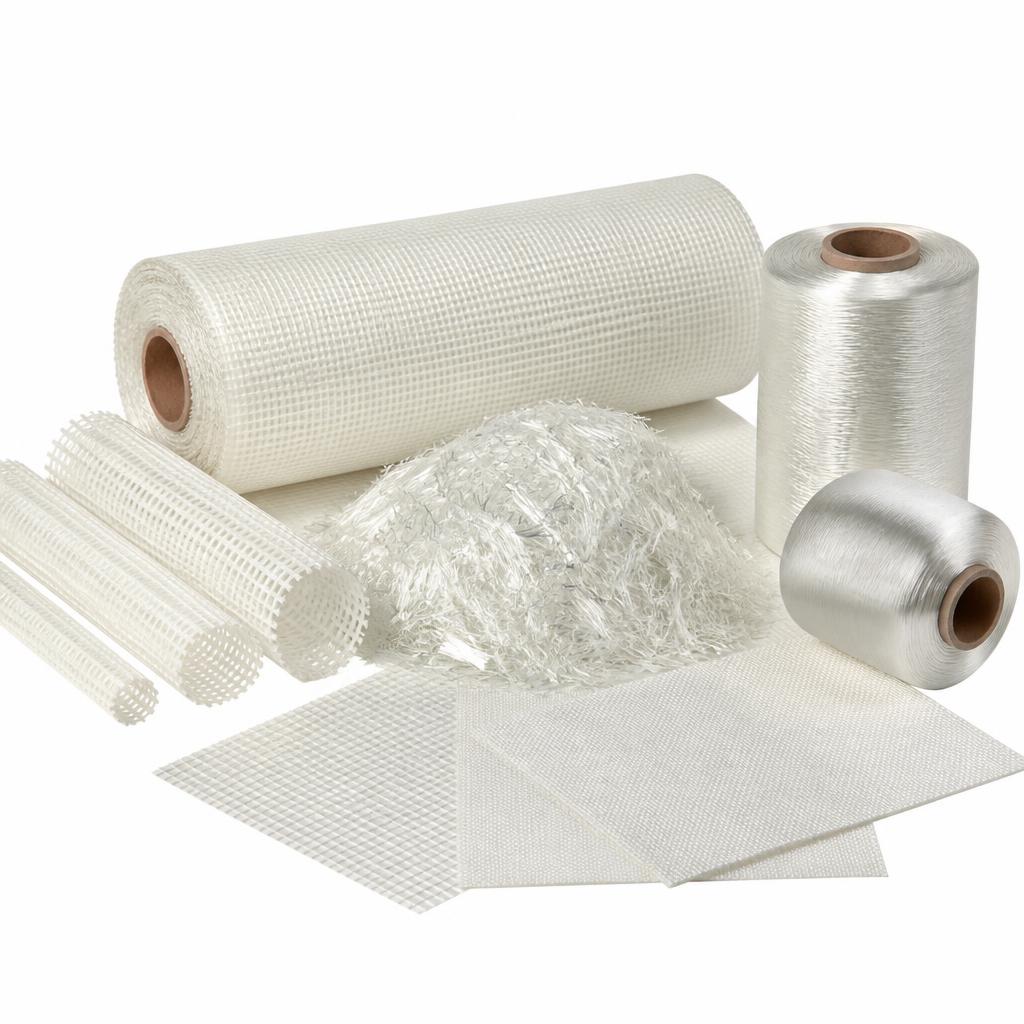
Alkali-resistant (AR) glass fiber strands
1 pack, chopped AR-glass fiber blended into the mix (this is what makes it GFRC and lets it stay thin and light)
Fiber Finishing (Grinding & Polishing)
Fine grit sanding discs
1 assorted pack, 400 / 800 / 1200 grit (flush-cutting and polishing fiber ends)
FFP2 dust masks
1 pack of 10 (silica dust protection while grinding)
Safety glasses
1 pair
Mounting Frame & Standoff System
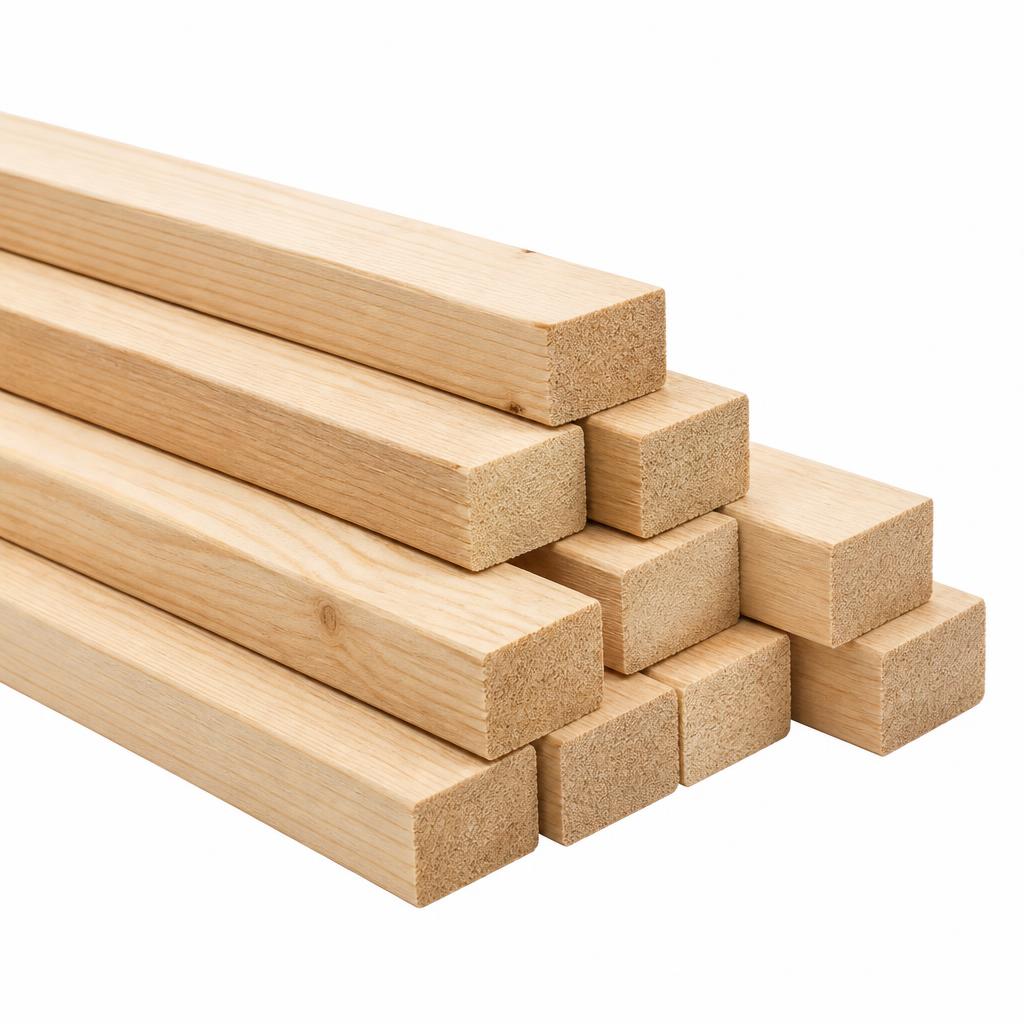
Timber battens
2.4 m of 40 x 40 mm per panel (standoff frame fixed to the host wall, on a grid matching each 60 x 60 cm panel)
Panel mounting clips / French cleat set
1 set per panel (holds the lightweight panel to the frame)
Heavy-duty wall anchors
6 per panel, rated for masonry — multiply by total panels planned
Backlighting System
12V warm-white LED strip
1 reel per panel, 2 m, high-density — multiply by total panels planned
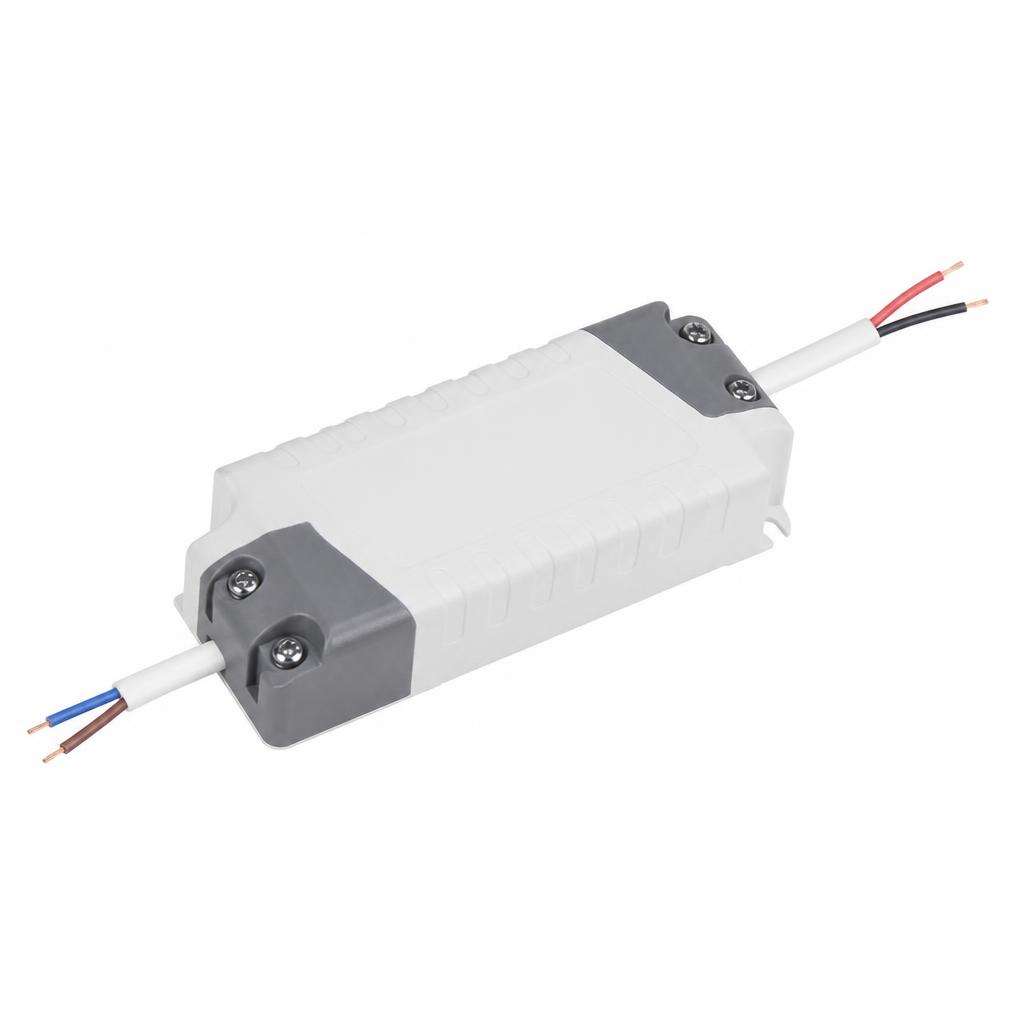
LED driver / power supply
1 unit, 12V 60W (converts mains to low-voltage, feeds multiple panels)
Diffuser acrylic sheet
1 sheet per panel, 60 x 60 x 2 mm, white translucent (evens out the light behind the panel)
Wiring and connectors kit
1 kit (low-voltage cable, strip connectors, splices)
Final Assembly & Install
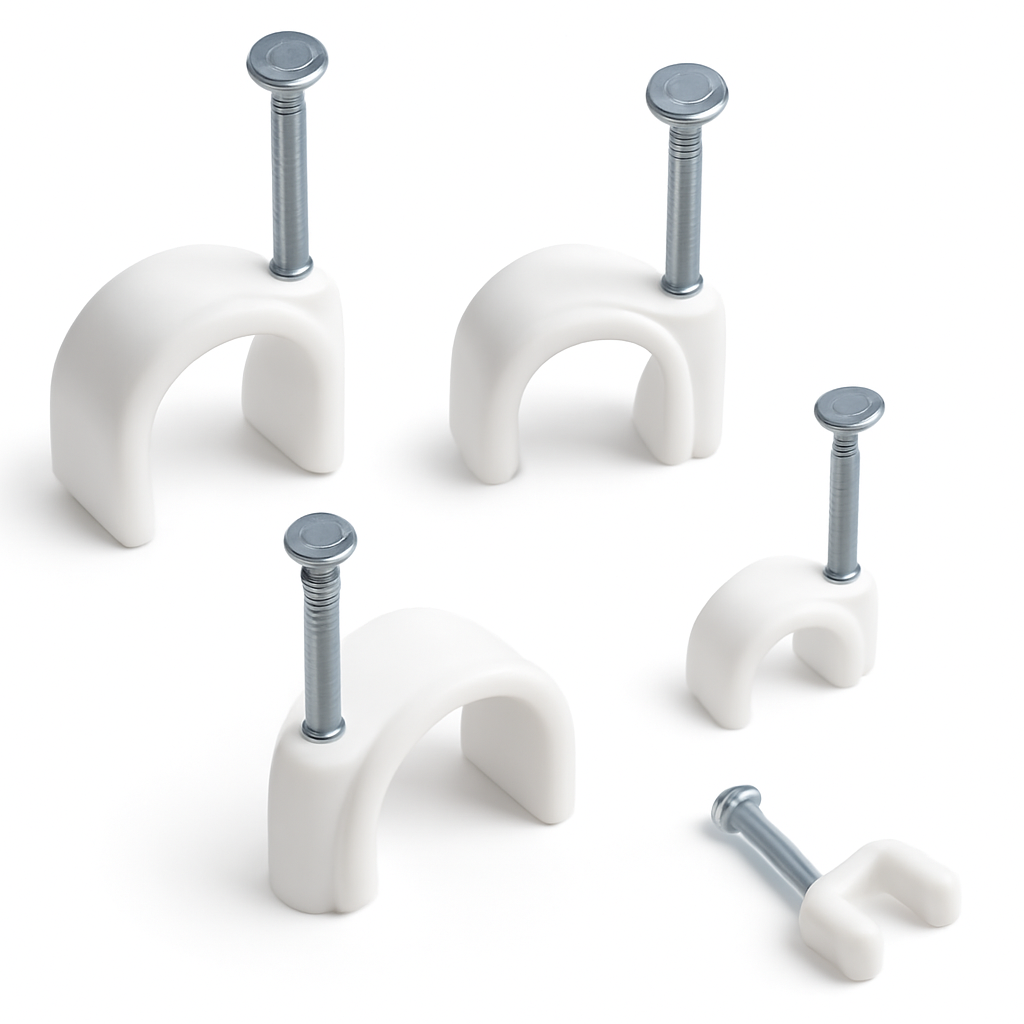
Cable clips
1 pack of 20 (routing wiring neatly behind the frame)
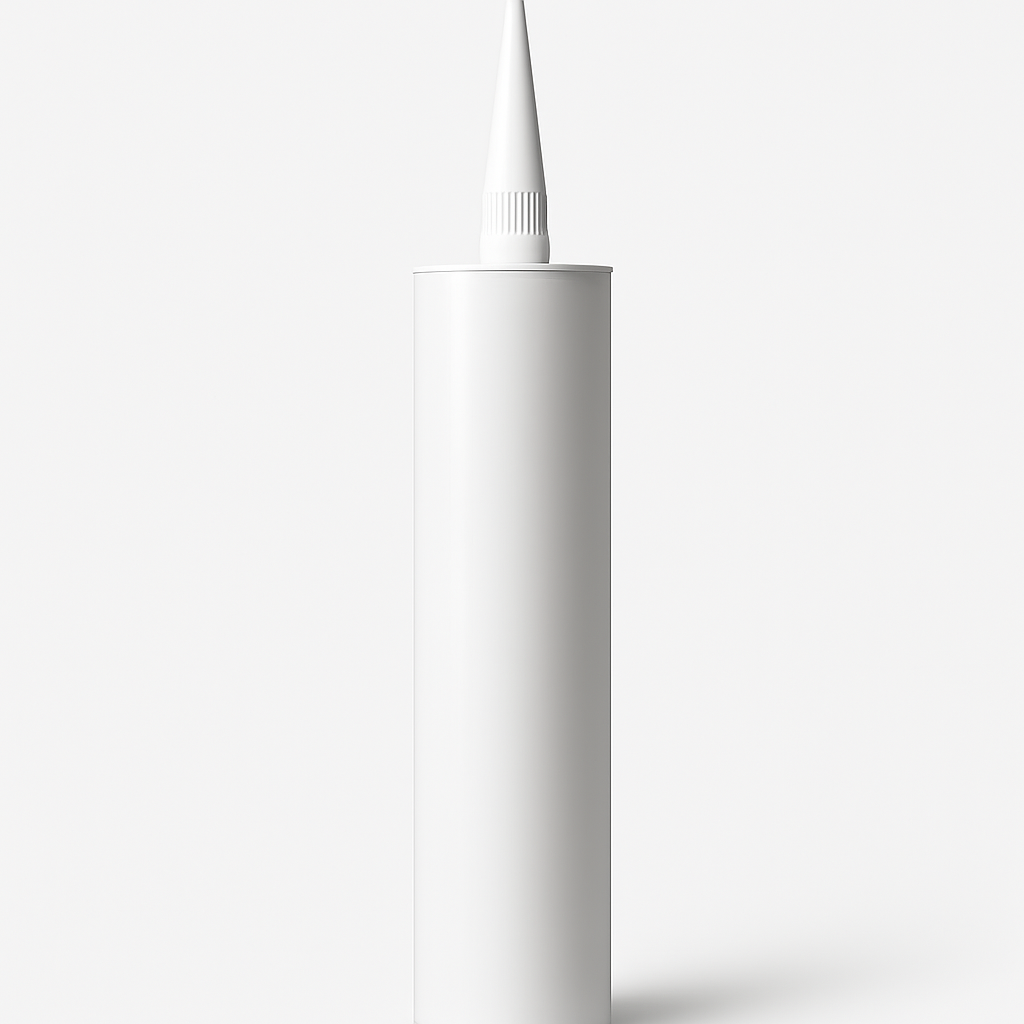
Silicone sealant
1 tube (sealing joints between panels)
Step 1 of 11
Plan the panel and gather materials
PLAN THE PANEL AND GATHER MATERIALS
Instructions
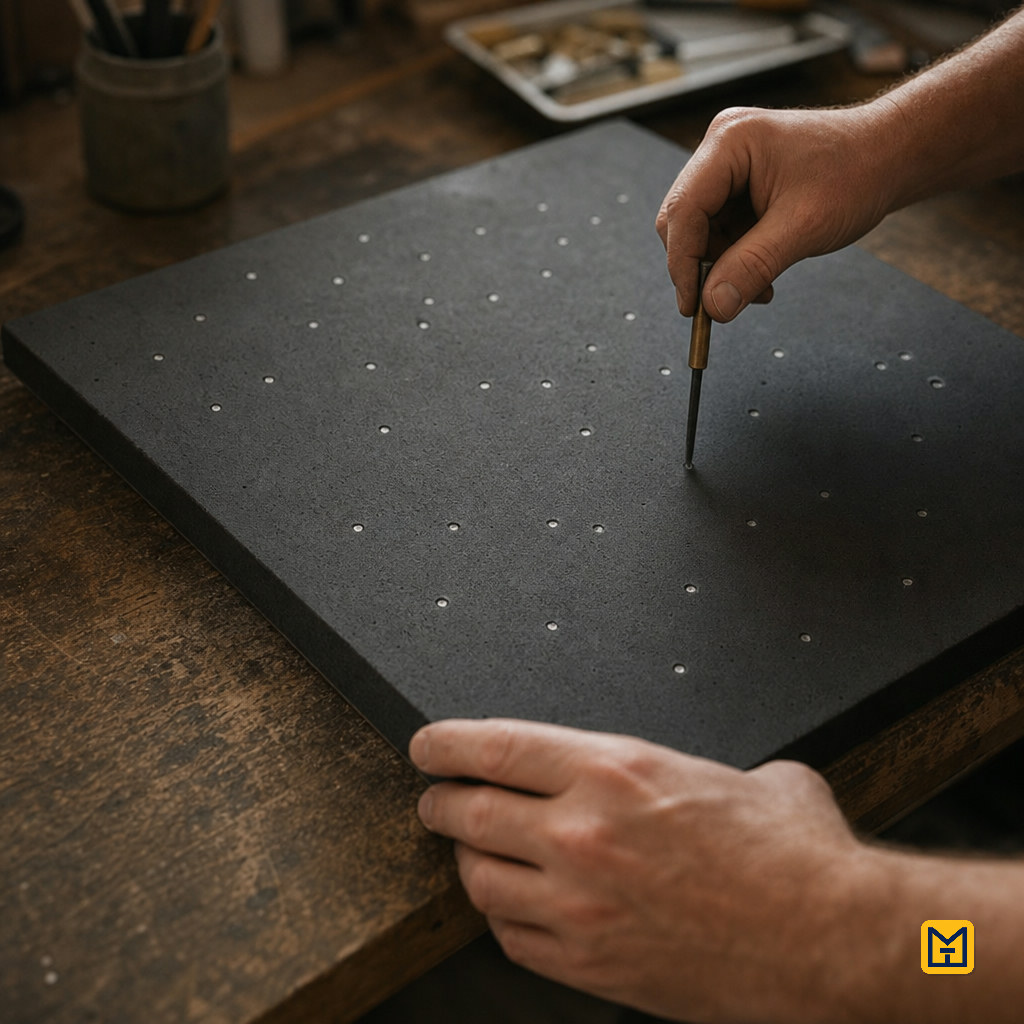
• Confirm panel size: 60 x 60 x 4 cm per unit, and decide total panel count for your wall. • Lay out all formwork, jig, fiber and GFRC materials for one panel on a bench before starting. • Plan a scattered star layout on paper first: sketch 20–30 fiber positions randomly across the 60 x 60 cm face.
Time & Waiting
Active work
30 minutes
People
1 person
Swipe or use ← → keys
Want to follow this guide step by step or log your own build?
Open in the Makeit App