
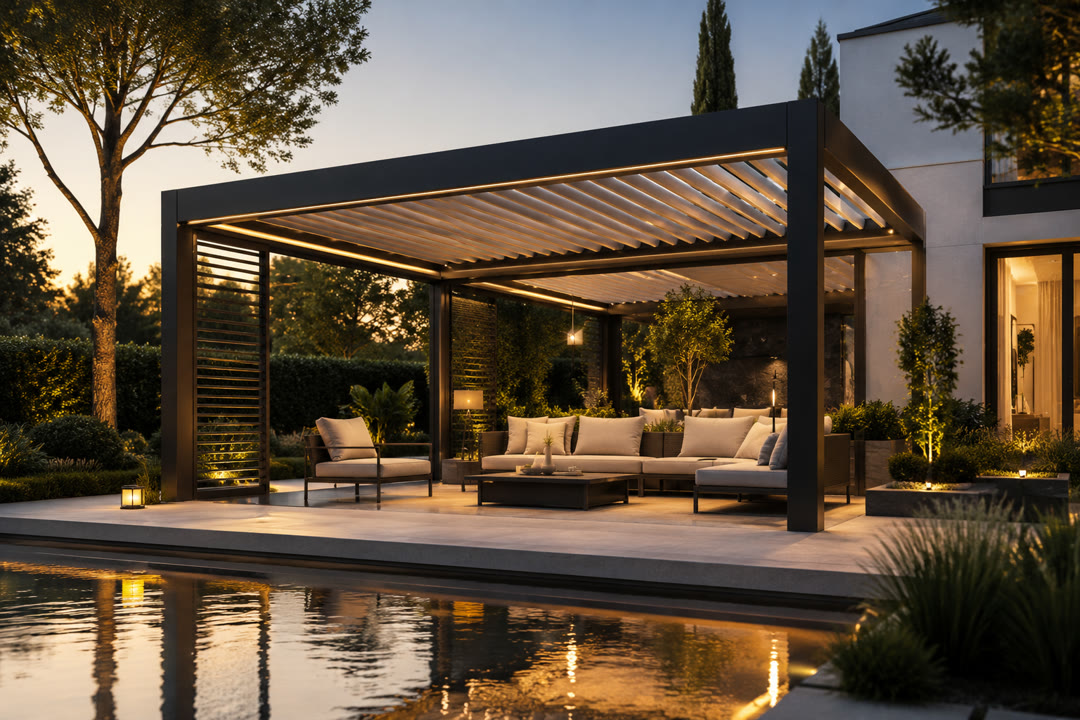
Modern Louvered Pergola with LED Lighting (4×3 m)
by Makeit_official
Assemble a bioclimatic-style louvered pergola on an existing terrace: adjustable louvered roof, a louvered privacy screen on one side, and warm LED strip lighting all around. A premium outdoor room in one to two weekends — no specialist skills, just careful measuring and a friend to help lift. Before ordering, confirm the kit's wind and load rating matches your site and check local permit rules — this guide walks you through both.
Structure
Louvered pergola kit 4×3 m
1 kit — anthracite aluminium, rotating roof louvers, incl. fixings
3200
Louvered privacy wall panel
1 panel — matching side element for the 3 m bay
650
Anchoring
Wedge anchors M10×100
16 pcs — for solid concrete base
35

Stainless shim plates
1 assortment pack
15
Electrical
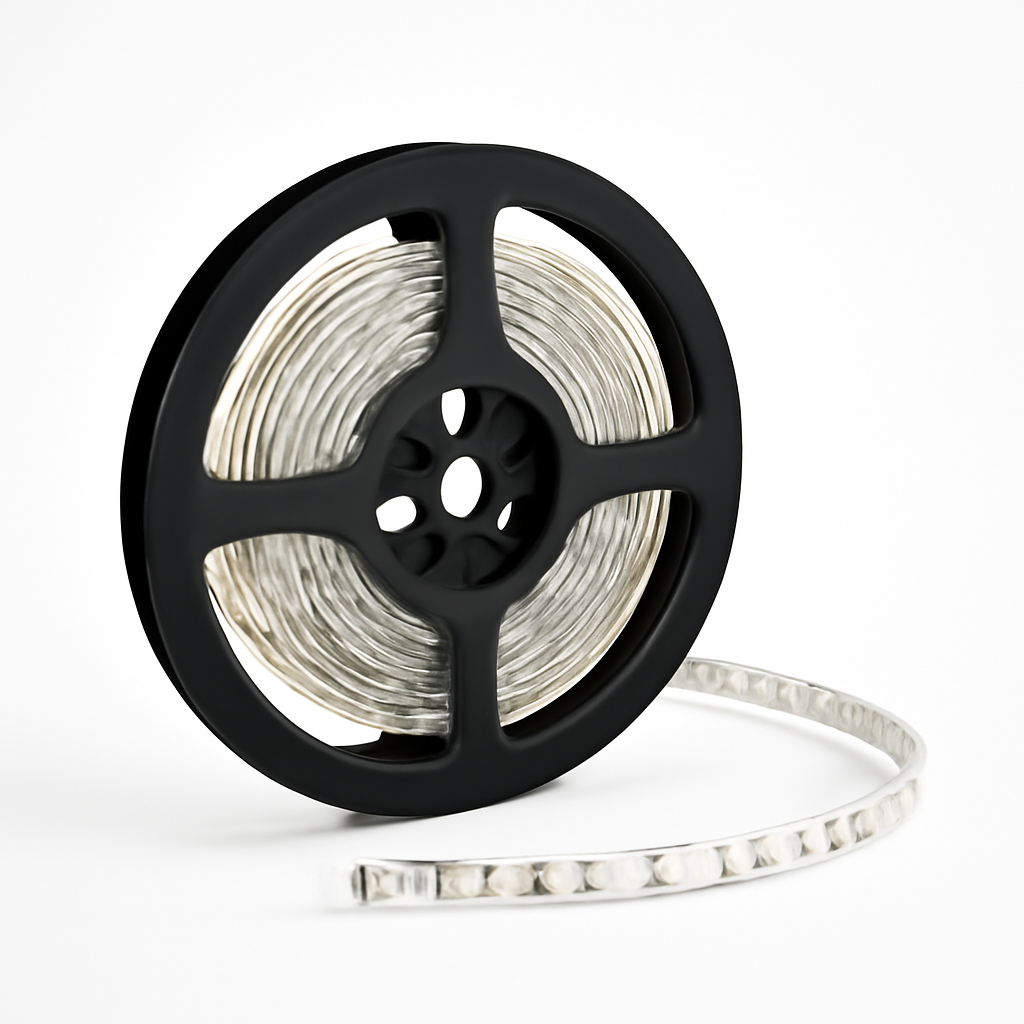
LED strip 24 V IP65, warm white
15 m — fits the 4×3 perimeter with feed loop
75
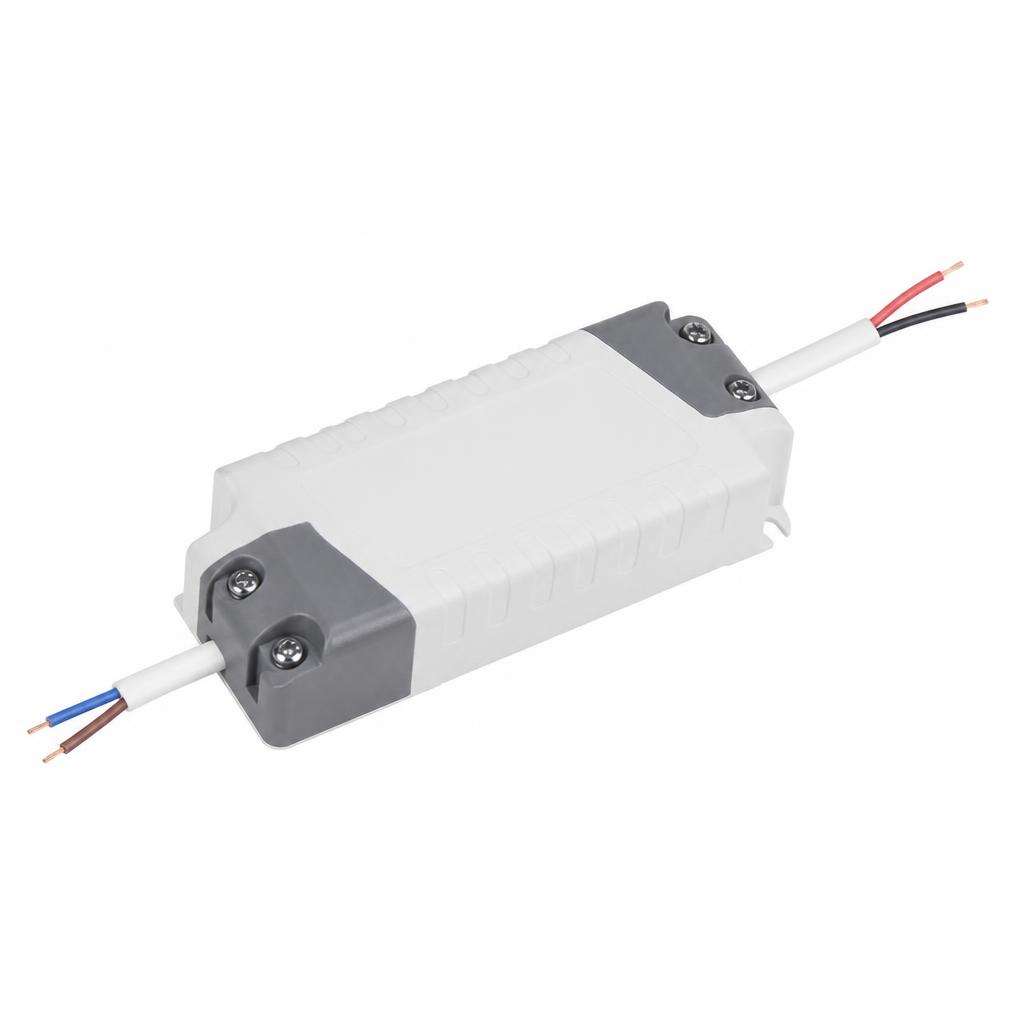
LED driver 24 V / 100 W, dimmable, IP-rated box
1
65
IP65 strip connectors & cable
1 set + 10 m cable
40
Consumables
Exterior silicone, anthracite
2 cartridges
18
Threadlocker (medium)
1 bottle
9

Isopropyl alcohol & cloths
1
12
Step 1 of 8
Plan the site & check the rules
PLAN SITE & CHECK RULES
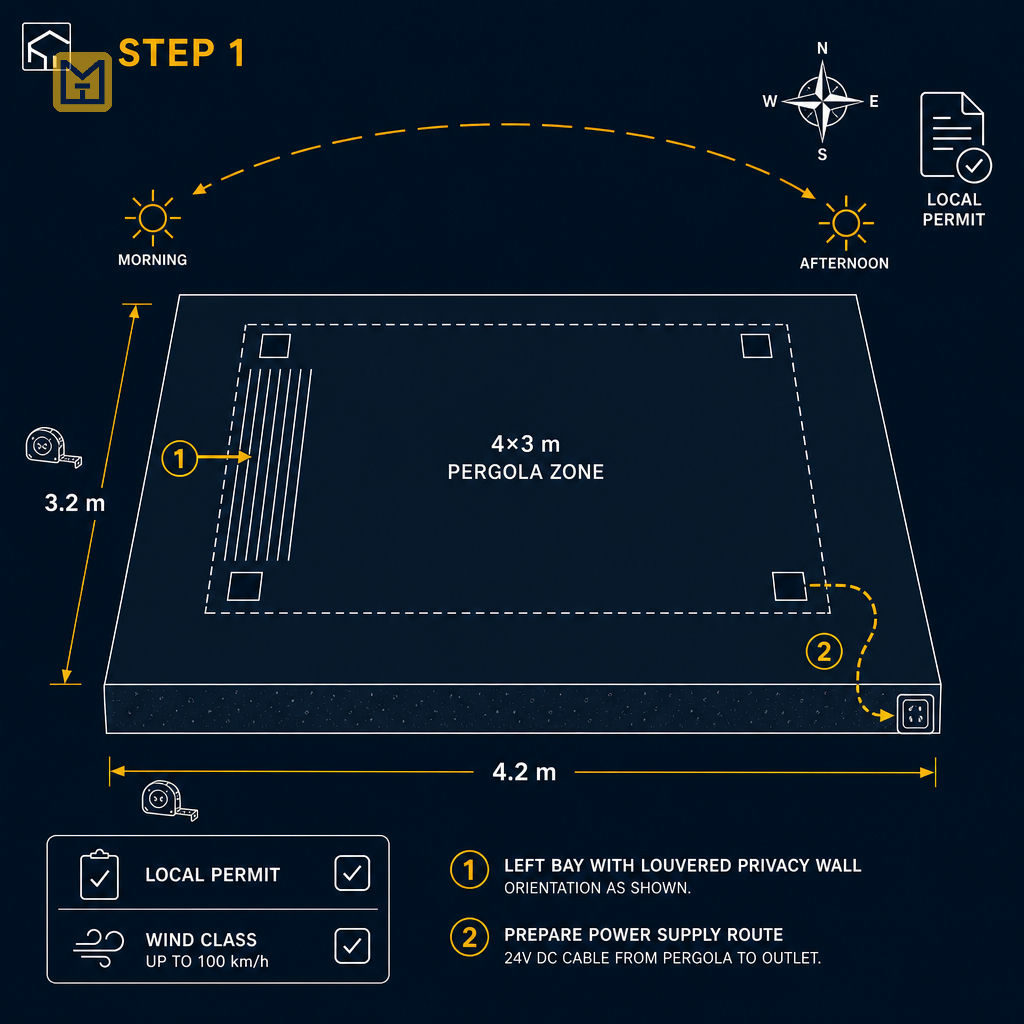
- ✓Measure terrace: confirm 4.2×3.2 m minimum
- ✓Verify local permit rules and wind class
- ✓Mark cable route to power outlet
Instructions
• Measure the terrace and confirm a level, load-bearing base (concrete slab or solid pavers) of at least 4.2 × 3.2 m. • Check local rules: many municipalities allow pergolas up to ~30 m² without a permit — confirm yours before ordering. Also verify your region's design wind speed and, where applicable, ground snow load: most kit pergolas are rated to a stated wind class and a maximum uniform distributed load (UDL) — match both your site's wind speed and snow load to the kit spec before purchasing. • Pick the orientation: roof louvers should rotate against the low evening sun; the louvered privacy wall goes on the exposed (neighbour/wind) side — on our build, the left side. • Plan the LED power route: nearest outdoor socket or wall duct for the 24 V driver.
Tip
Photograph the terrace and measure twice — kit pergolas cannot be trimmed to fit.
Time & Waiting
Active work
2–3 hours
People
1 person
Swipe or use ← → keys
Want to follow this guide step by step or log your own build?
Open in the Makeit App