
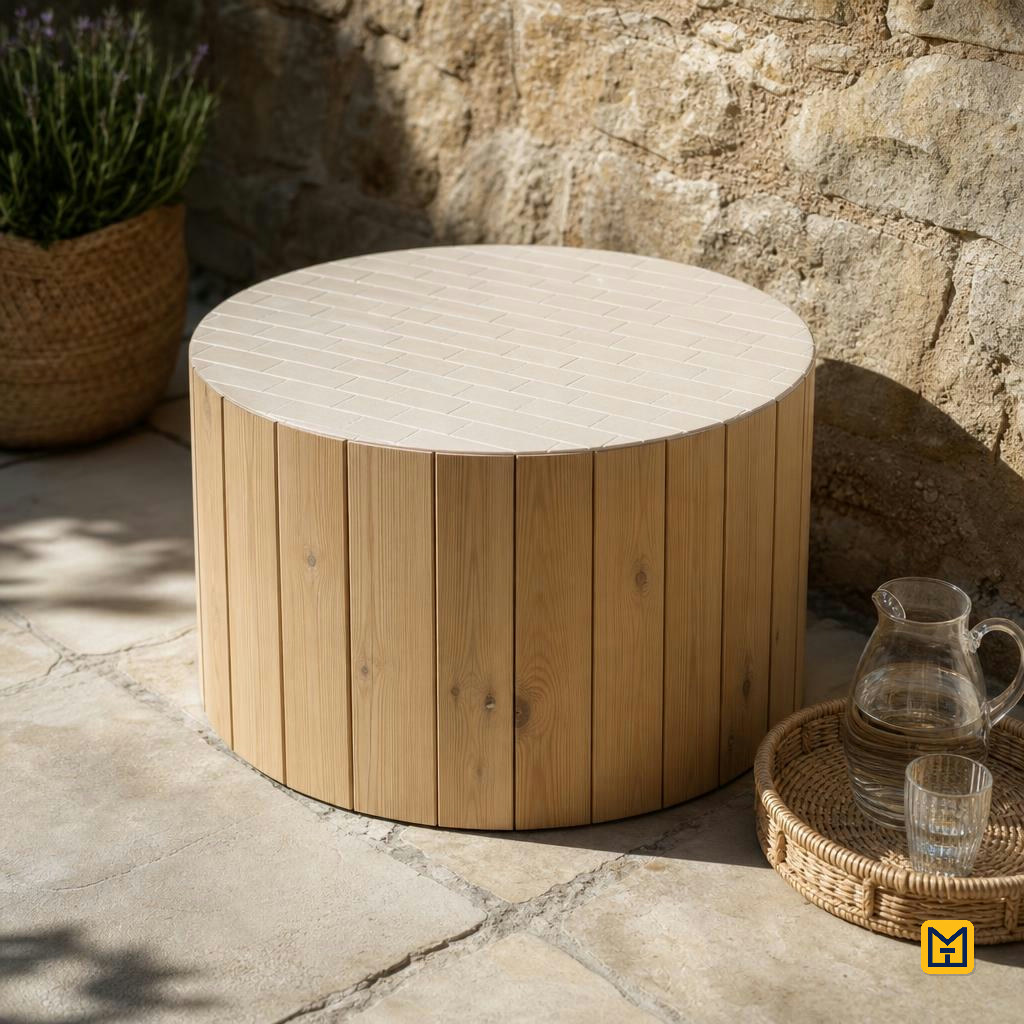
Cable Reel Side Table — Tiled Top & Vertical Timber Panel Sides
by Makeit_official
Turn a salvaged round wooden cable reel into a drum-shaped garden side table by cladding the curved drum with narrow vertical timber battens and tiling the circular top with small brick-format porcelain tiles. It suits a confident DIYer with a weekend or two to spare and a covered patio to stand it on.
Surface Preparation & Structural Clean-up
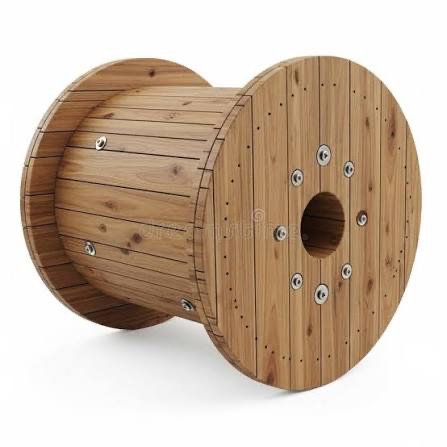
Wooden cable reel
1 reel, sound and dry — measure and record [MEASURE: top disc diameter] and [MEASURE: drum height between the two discs] (the table body)
20
Sanding discs / sheets
Assorted 80, 120 and 180 grit to fit your sander (cleaning back weathered timber)
8
Exterior wood filler
1 tub, 250 g, natural/pine tone (filling splits and old nail holes in the discs)
8
Wood hardener or exterior PVA primer
500 ml (stabilising any soft or punky patches of reel timber) — only needed if the screwdriver test in Step 1 finds soft timber; skip if the reel is sound
10
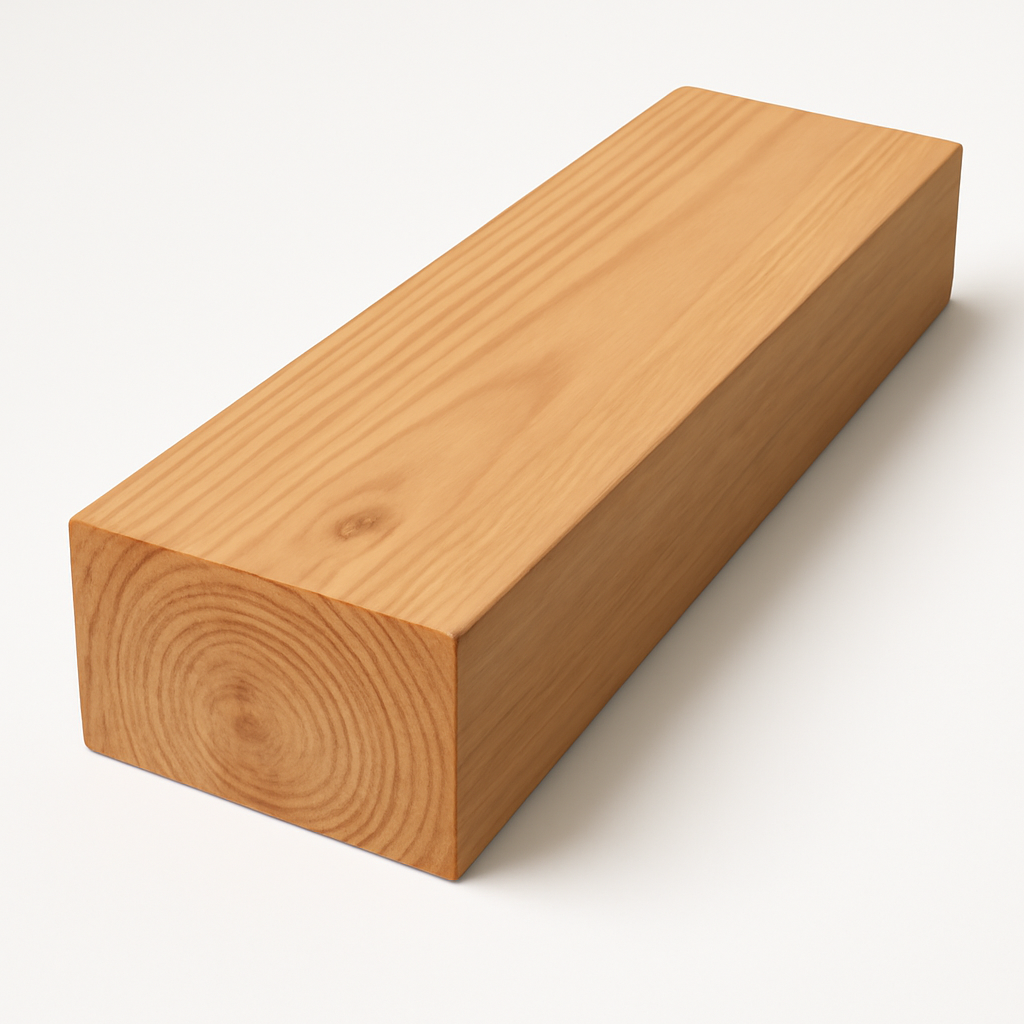
Timber offcuts for packing
A few scraps of 6–18 mm exterior ply (shimming the top face flat if it is dished)
5
Vertical Timber Panel Cladding
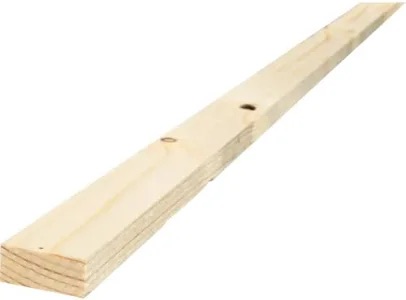
Planed timber battens
Square-edge PAR softwood or treated redwood, 80 mm wide × 18 mm thick, cut to [MEASURE: drum height]. Quantity = (top disc diameter in mm × 3.14) ÷ 80 mm, rounded up, plus 4 spares (the vertical drum cladding)
5
Exterior wood adhesive
1 × 300 ml polyurethane or D4 exterior glue (bonding battens to the curved drum)
10
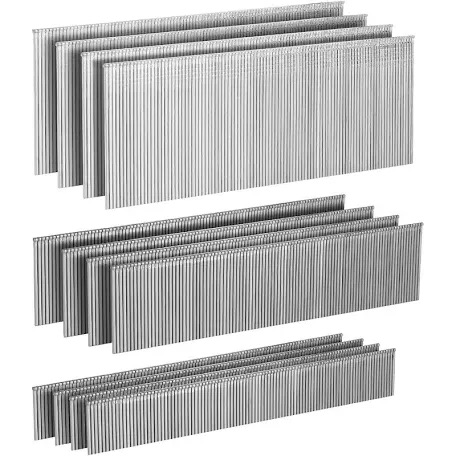
Stainless steel brad nails or panel pins
1 box, 30 mm long (pinning each batten while the glue cures)
8
Exterior flexible caulk
1 × 300 ml cartridge, natural/oak tone (closing fine seams between battens)
6
Clear pale decking oil
1 × 750 ml tin, natural/clear (first and second coats on all timber)
20
Tiled Top
Exterior plywood or cement board
1 sheet piece, 12 mm exterior ply or 6 mm cement board, cut to a disc of [MEASURE: top disc diameter] (flat, sound tiling substrate)
8

Stainless steel countersunk screws
30 × 4.0 × 40 mm (fixing the substrate disc down to the reel top)
7
Brick-format porcelain tiles
Frost-resistant, approx. 50 × 25 mm, pale cream/stone tone — enough for the top area (3.14 × radius²) plus 20% for cuts (the tabletop surface)
35
Flexible exterior tile adhesive
1 × 5 kg bag or tub, S1 flexible, suitable for timber substrates — covers roughly 1 m² at 6 mm notch; buy 2 bags if the top disc is over 1 m² (bedding the tiles)
16
Tile spacers
1 bag, 2 mm cross spacers (keeping the grout lines even)
3
Fine-grain exterior grout
1 × 2.5 kg bag, pale buff or off-white, frost-resistant (filling the joints)
12
Finishing & Sealing
Grout haze remover
500 ml, tile-safe (clearing the cement film off the tile faces)
10
Exterior grout sealer
250 ml impregnating sealer — apply only after the grout has fully cured (check the grout bag; typically 24–72 hours) (weatherproofing the grout lines)
11
Lint-free cloths
Pack of 5 (applying oil and buffing off surplus)
4
Step 1 of 7
Measure the reel and write the cut list
MATERIALS
TOOLS
Tape measure
Pencil and chalk line
Straightedge or long spirit level
MEASURE & WRITE CUT LIST
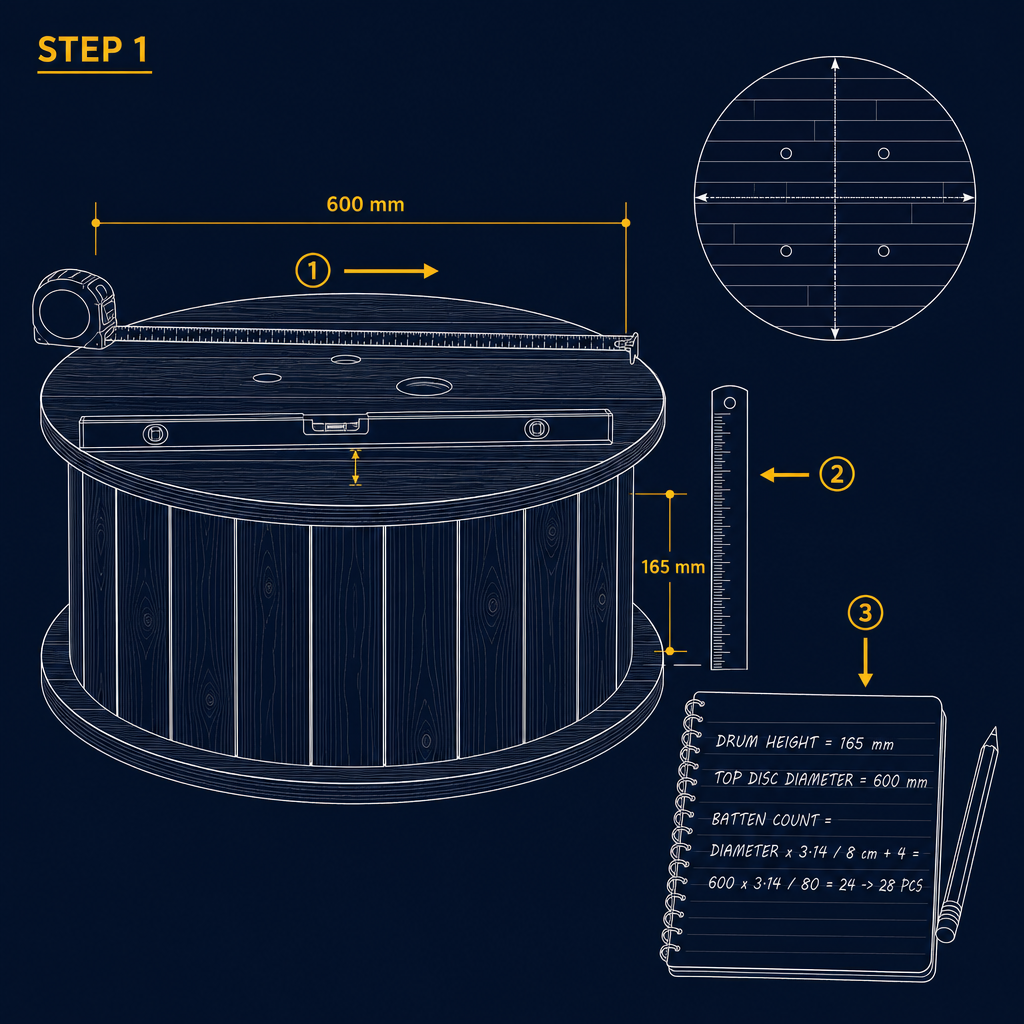
- ✓Measure drum height at four points
- ✓Record top disc diameter across two axes
- ✓Write full batten cut list on notepad
Instructions
• Measure the drum height (the clear gap between the two discs) at four points around the reel — record the smallest as [MEASURE: drum height]. • Measure the top disc across two axes at right angles and record the average as [MEASURE: top disc diameter]. • Batten count = top disc diameter × 3.14 ÷ 8 cm, rounded up, plus 4 spares; each cut to [MEASURE: drum height]. • Tile quantity = 3.14 × (diameter ÷ 2)², plus 20% for perimeter cuts and breakages. • Lay a straightedge across the top disc — note any dip over 3 mm, which means a substrate disc is essential.
Batten count = (top disc diameter in mm × 3.14) ÷ 80 mm, rounded up, plus 4 spares. Each batten cut to [MEASURE: drum height].
Tip
Always fit the substrate disc — it is required in every case as the tiling base. Use the straightedge check only to work out how much ply packing you need under it: note any dip over 3 mm and shim accordingly.
Time & Waiting
Active work
30 minutes
People
1 person
Swipe or use ← → keys
Want to follow this guide step by step or log your own build?
Open in the Makeit App