
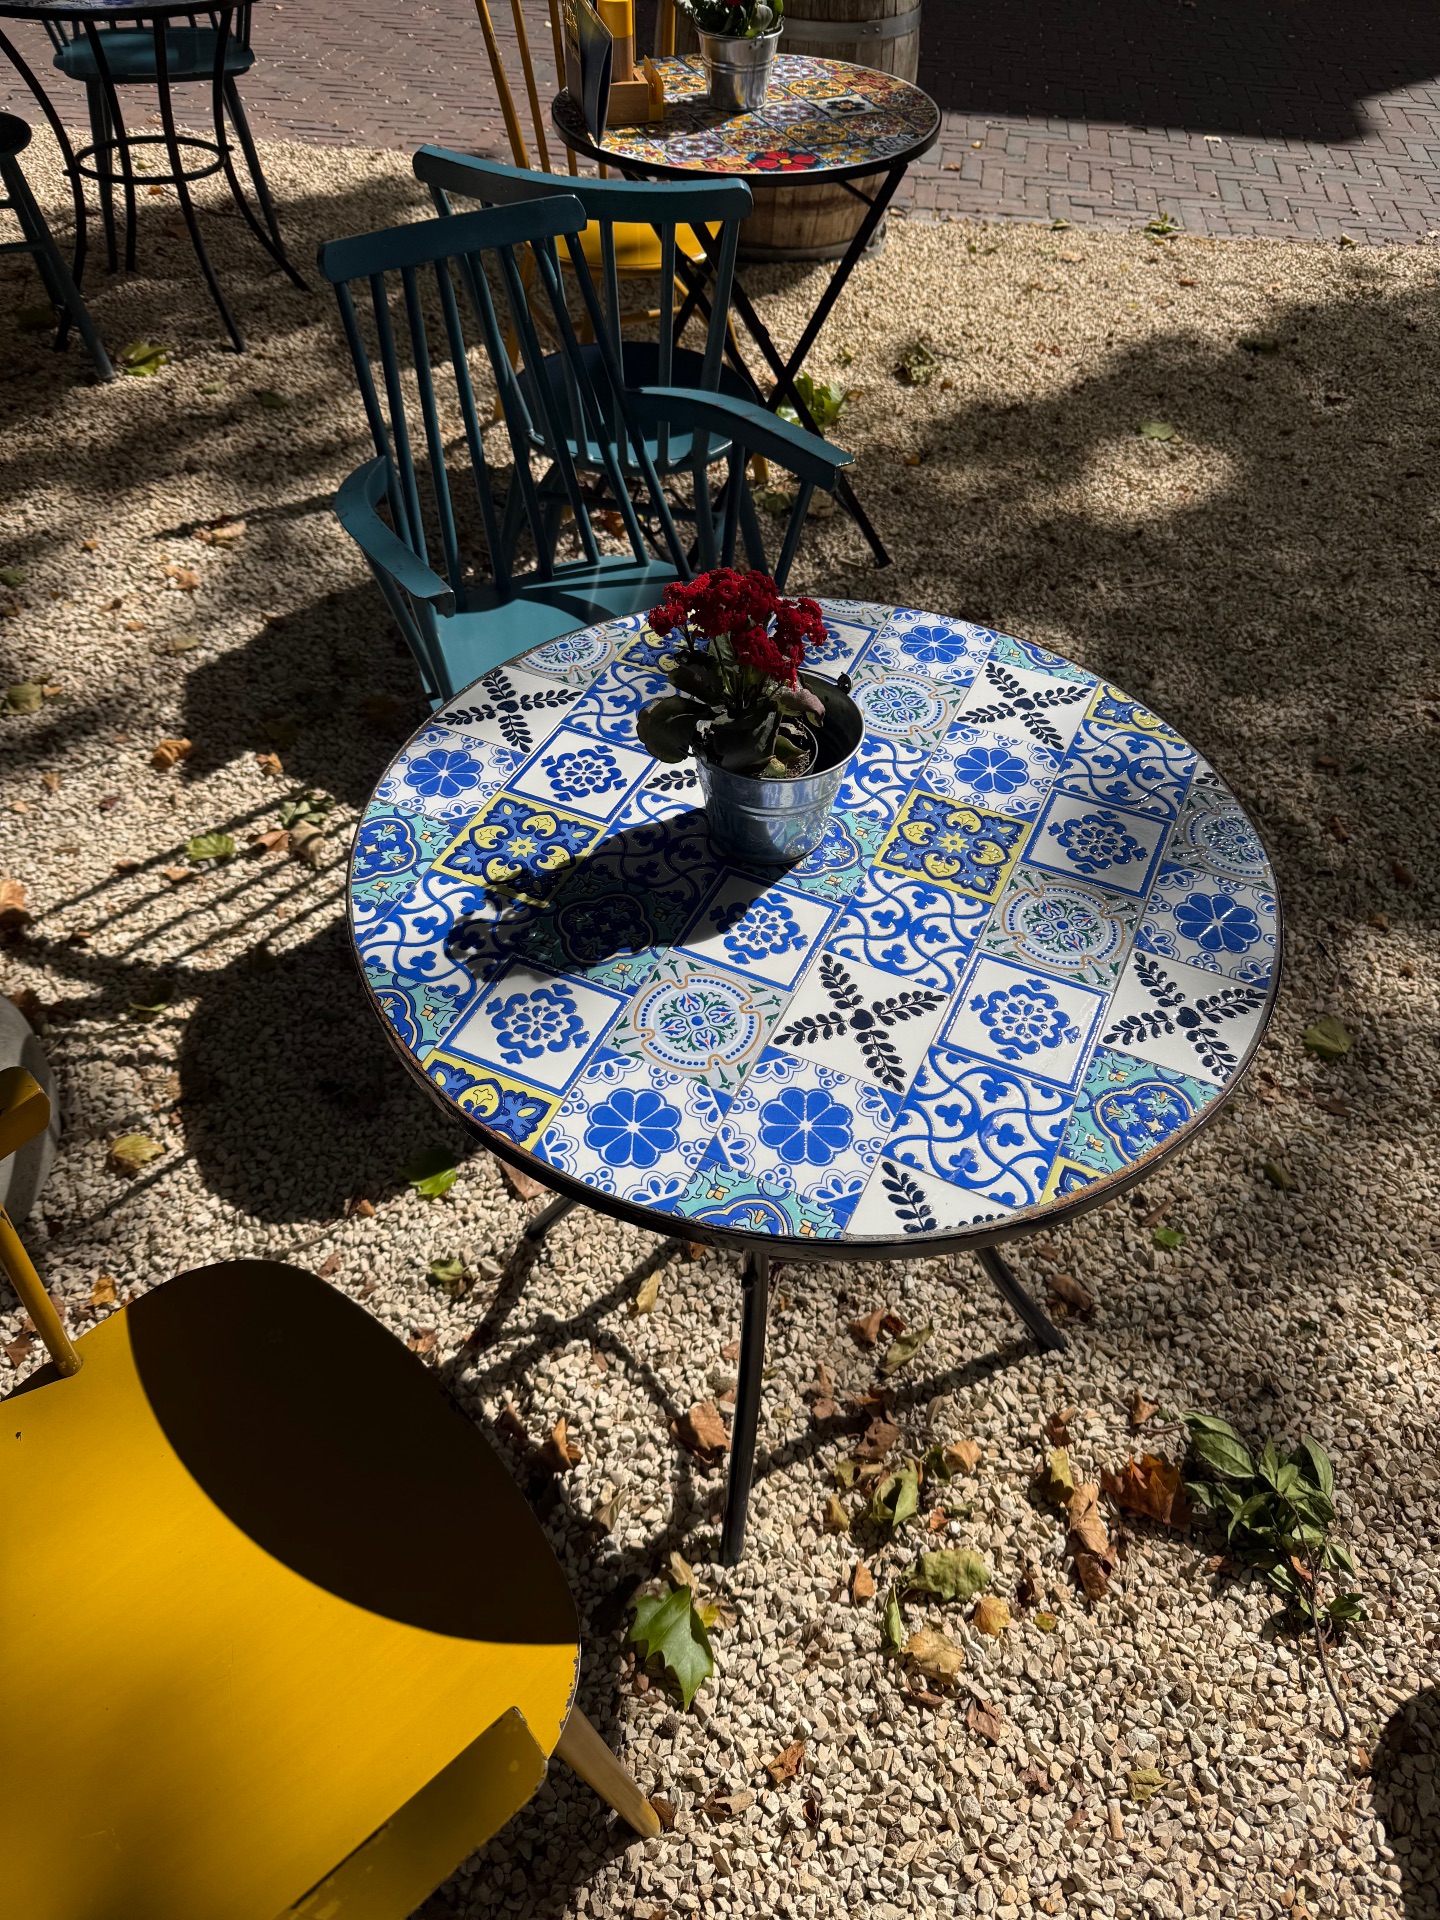
Retiling a Round Metal Café Table Top
by Makeit_official
Restore a tired round metal bistro table by stripping its old surface and laying a fresh field of glazed patterned tiles, finished with edge trim and sealed grout. Ideal for someone with basic DIY confidence who wants a striking mosaic-style café table for a patio or garden.
Substrate & Prep
Rust converter/primer
1 small tin, metal-safe (treats the steel top pan before tiling)
12
Wire brush or wire wheel
1 (for stripping old paint/rust from the metal pan)
6
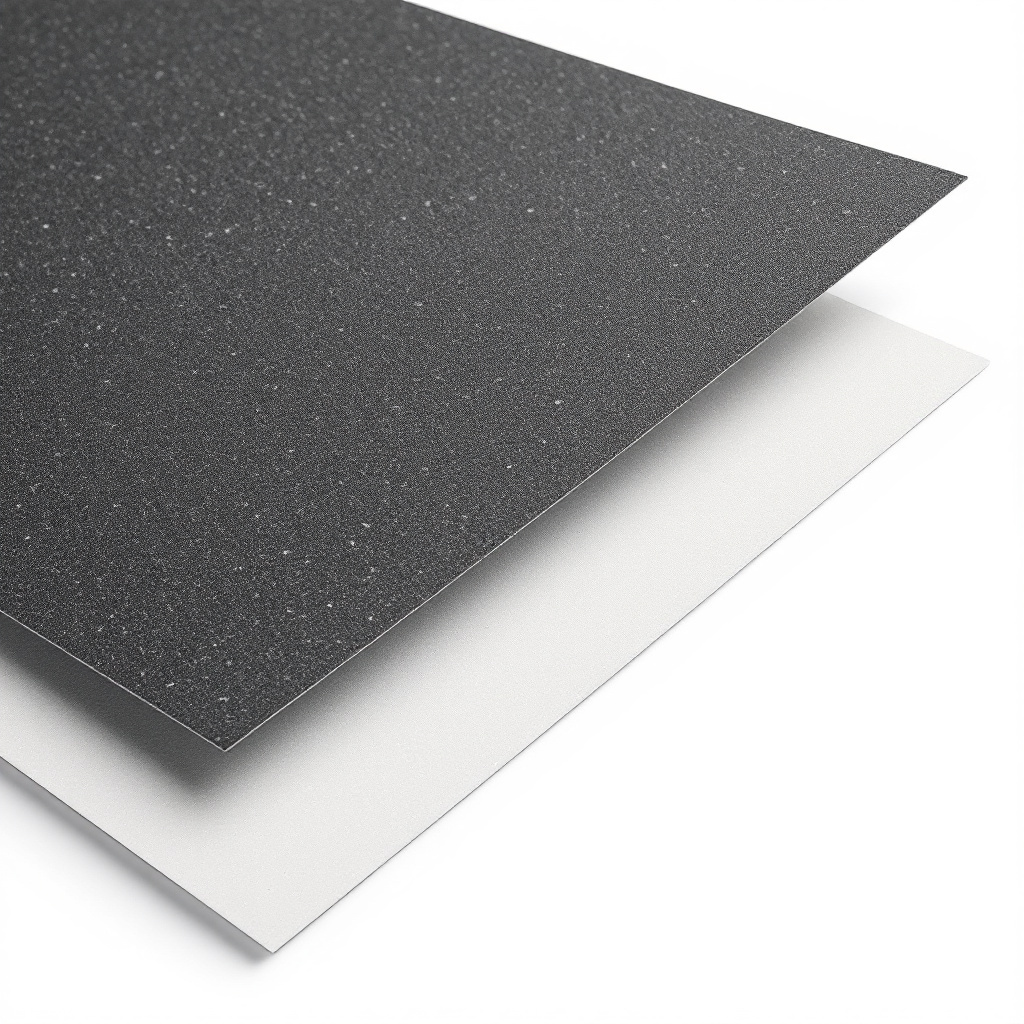
Fine sandpaper
1 pack, 120–180 grit (keys the surface before priming)
5
Tiling
Glazed patterned ceramic tiles
enough to cover [MEASURE: table top diameter] in tile module [MEASURE: chosen tile size, e.g. 5x5 cm], plus 10-15% extra for perimeter cutting waste, mixed patterns
35
Flexible tile adhesive (S1, exterior-rated)
1 tub, ~2–3 kg (bonds tiles directly to the primed metal substrate — NOT standard cement adhesive)
15
Notched trowel
1, 4–6 mm notch (spreads adhesive evenly)
7
Tile spacers
1 pack, 2 mm (sets consistent grout joints)
3
Grout & Sealing
Exterior-rated grout
1 bag, ~1 kg, colour [ASK USER or default white]
10

Grout float
1 (packs grout into joints)
6
Tile & grout sealer
1 small bottle (protects grout from frost/water outdoors)
10
Trim & Reassembly
Dark metal edge trim strip
1 length, matched to top circumference [MEASURE: table top diameter × π] (protects tile edge, matches original rim)
15
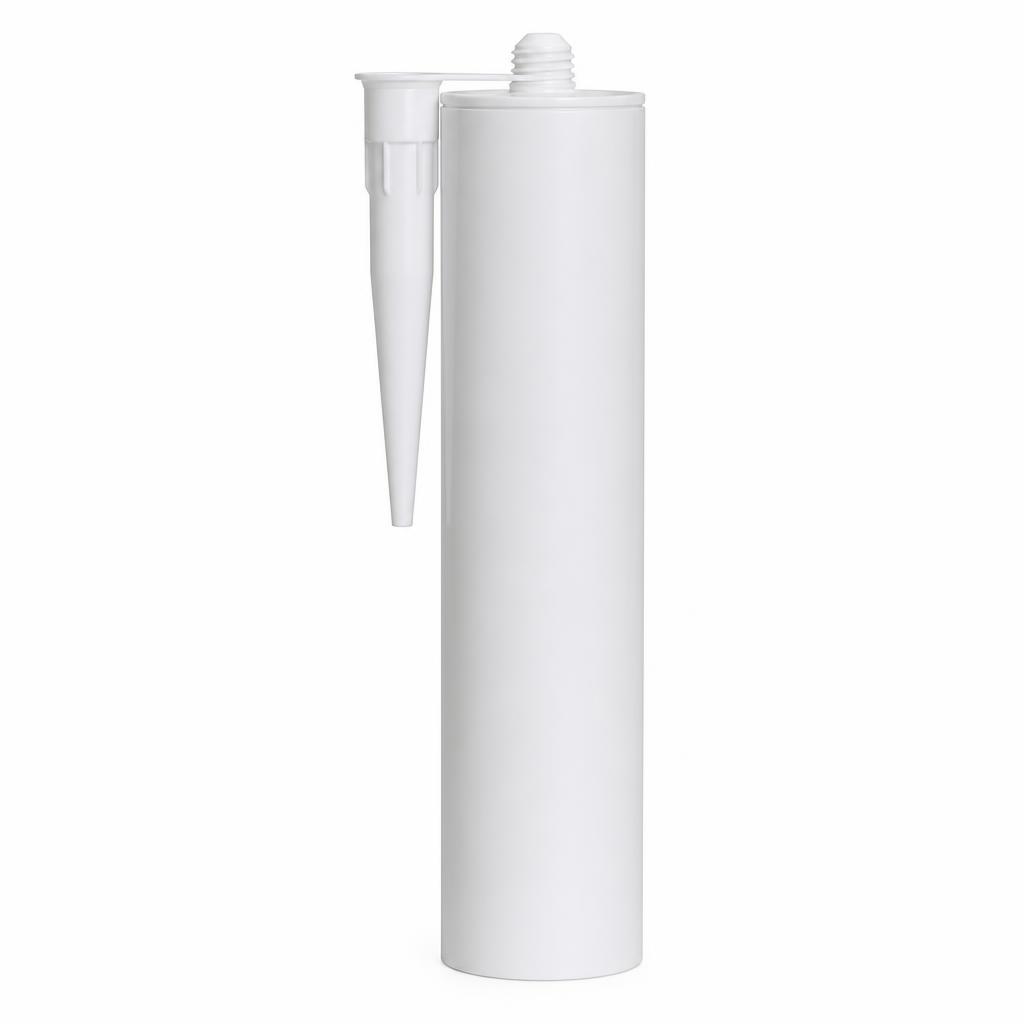
Exterior silicone sealant
1 tube, dark grey/black (seats trim and seals against water ingress)
6
M6 bolts + washers
4, if top reattaches to base with fixings (assumes bolt-on top — confirm before starting)
3
Step 1 of 9
Materials & tile layout planning
TOOLS
Chalk line or string & pencil
PLAN TILE LAYOUT ON TABLE
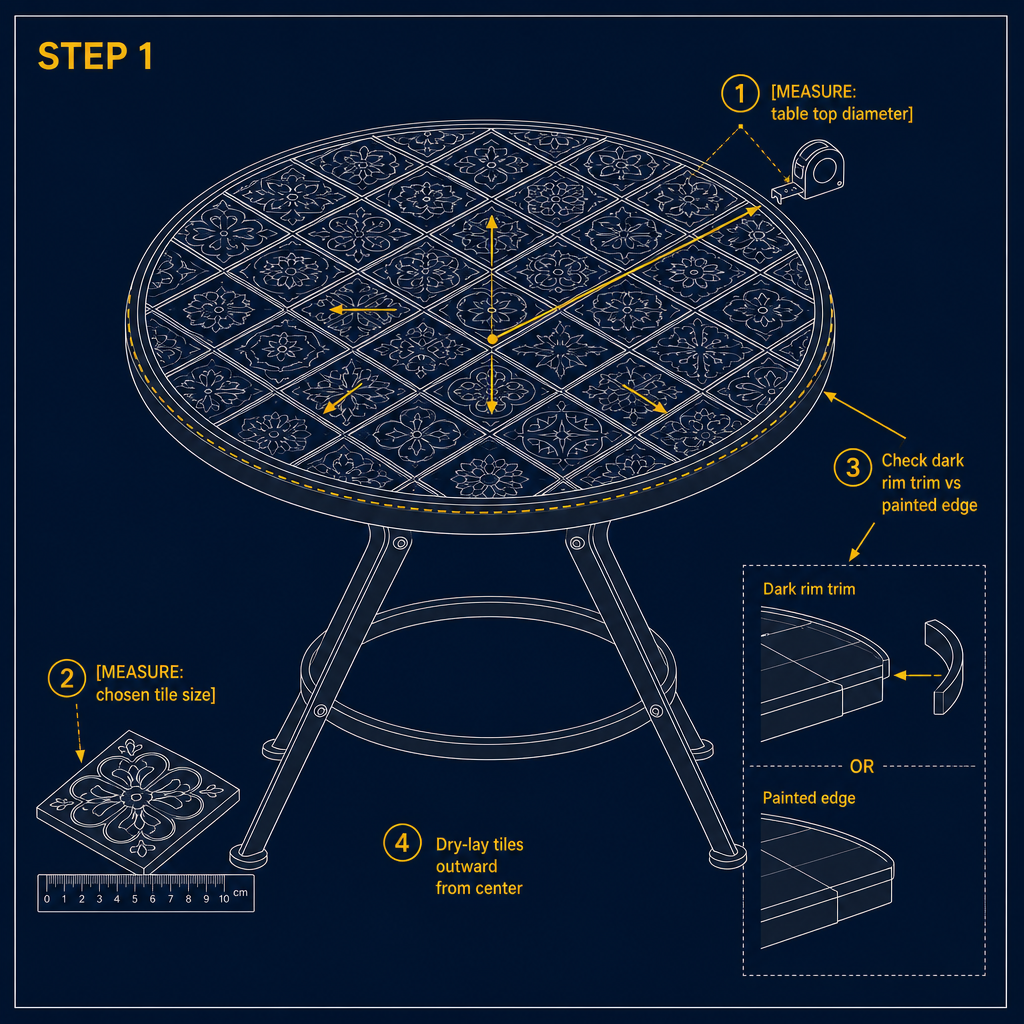
- ✓Measure table top diameter
- ✓Choose and confirm tile module size
- ✓Dry-lay tiles from center outward
Instructions
• Measure the table top diameter — write this down as [MEASURE: table top diameter], every later cut depends on it • Choose your tile module size (e.g. small mosaic squares) and confirm it as [MEASURE: chosen tile size] • Confirm whether the dark rim is a separate trim to be re-fitted after tiling, or a painted edge — this changes where the tile field must stop • Confirm how the top currently attaches to the base (original fixings, or bolt-on) so you know whether M6 bolts and washers are needed at reassembly • Lay tiles out dry on a flat floor in the same diameter to preview the perimeter cuts before committing
Time & Waiting
Active work
1 hour
People
1 person
Swipe or use ← → keys
Want to follow this guide step by step or log your own build?
Open in the Makeit App