
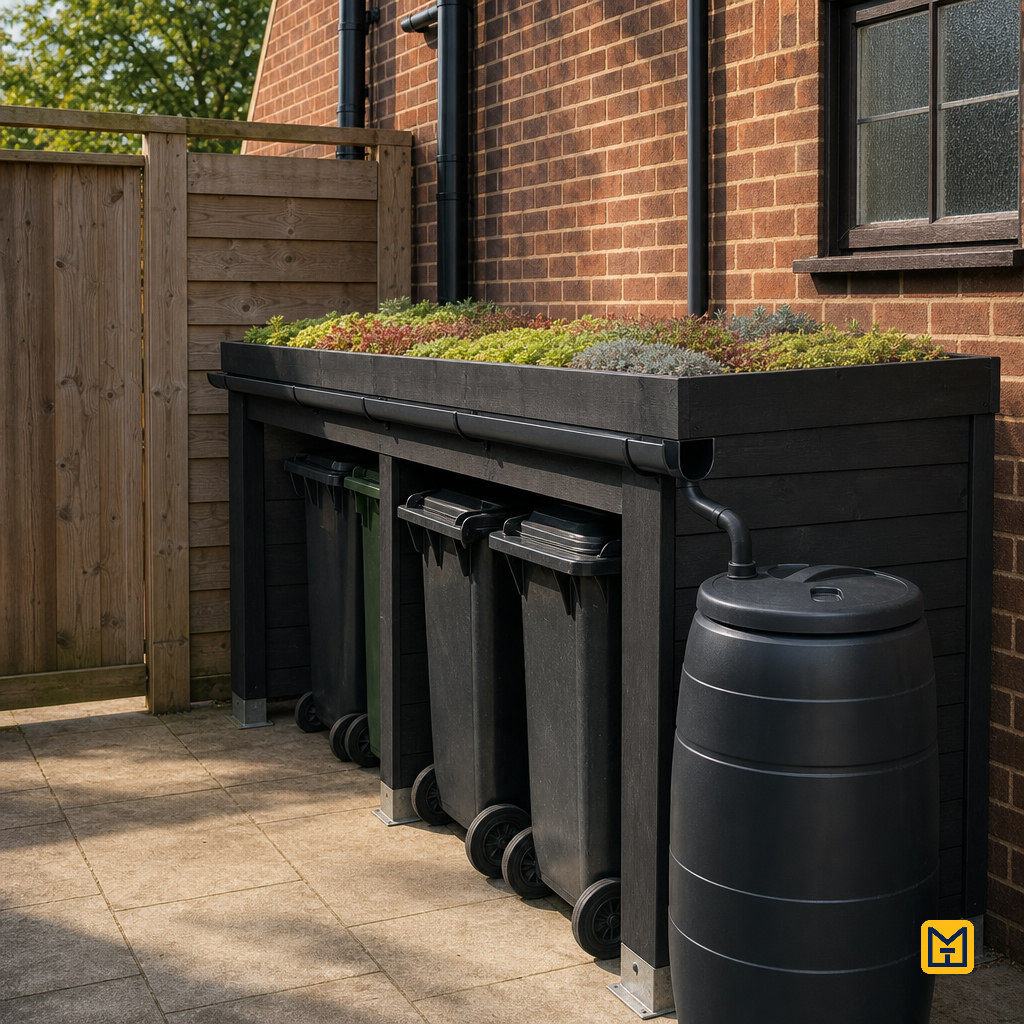
3-Bin Shelter with Living Sedum Roof and Water Butt
by Makeit_official
Build a freestanding timber shelter that hides three 240-litre wheelie bins behind dark-stained cladding, topped with a planted sedum trough that drains through a gutter into a water butt. It suits a competent DIYer with basic timber skills and an existing area of level paving to stand it on.
Timber Frame
Pressure-treated posts 100 × 100 mm
3 lengths of 2.4 m (cut into four 120 cm corner uprights, allowing for kerf and squaring)
39
Pressure-treated rails 75 × 50 mm
4 lengths of 3.0 m (top and bottom rails, back studs, roof joists)
31
Galvanised bolt-down post feet
4 feet with fixing holes (hold posts on existing paving)
34
Masonry anchor bolts 10 × 80 mm
16 bolts (four per post foot, into paving slabs)
10
Galvanised structural screws 100 mm
box of 100 (all frame joints)
14

Exterior wood adhesive
310 ml cartridge (frame joints and trough joints)
8
Timber Cladding
Rough-sawn cladding boards 100 × 19 mm
approx. 50 m total, e.g. 14 lengths of 3.6 m — each 3.6 m length yields four 85 cm side boards or one 186 cm back board plus offcut; allow for waste
100
Dark exterior wood stain
2.5 L in dark oak / near-black (two coats on all timber)
30
Galvanised ring-shank nails 60 mm
1 kg box (fixing cladding boards to frame)
12
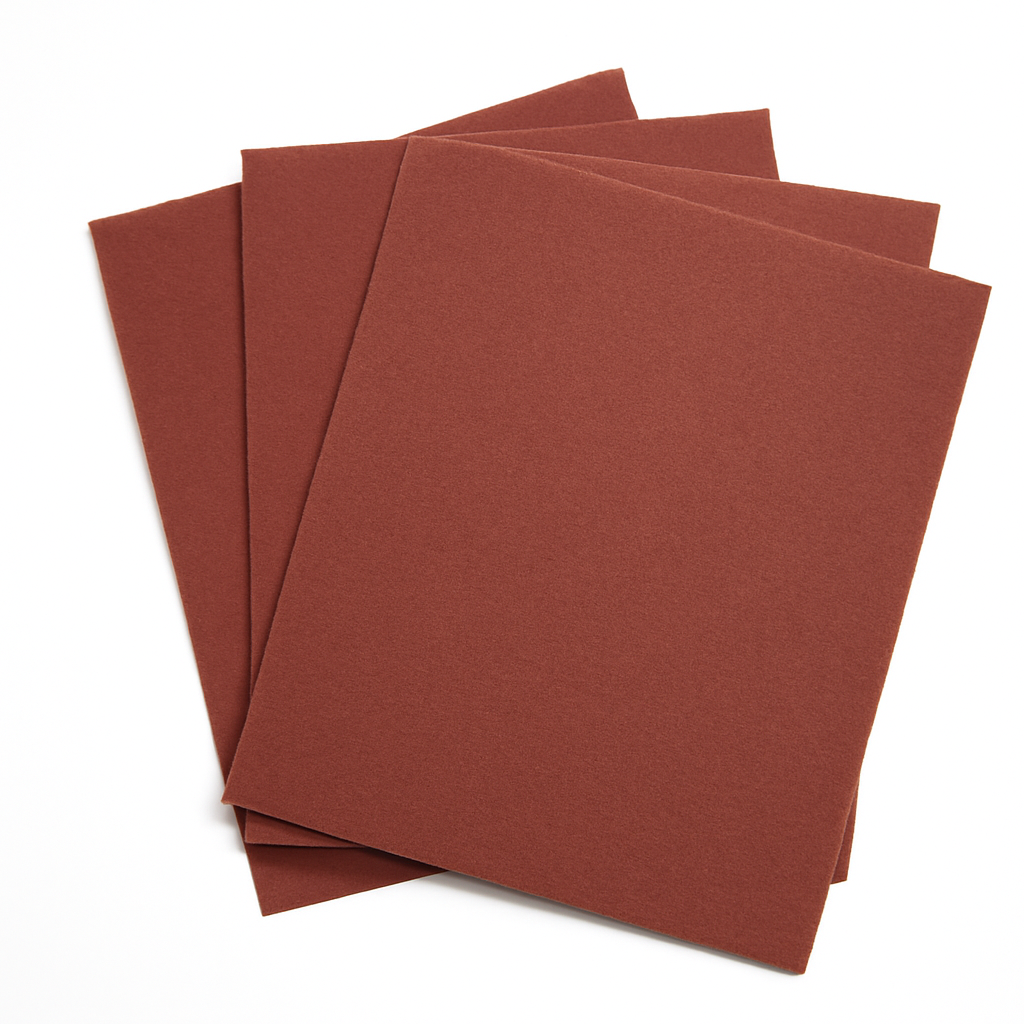
Sandpaper
80 and 120 grit sheets (easing sawn edges before staining)
6
Living Roof Trough
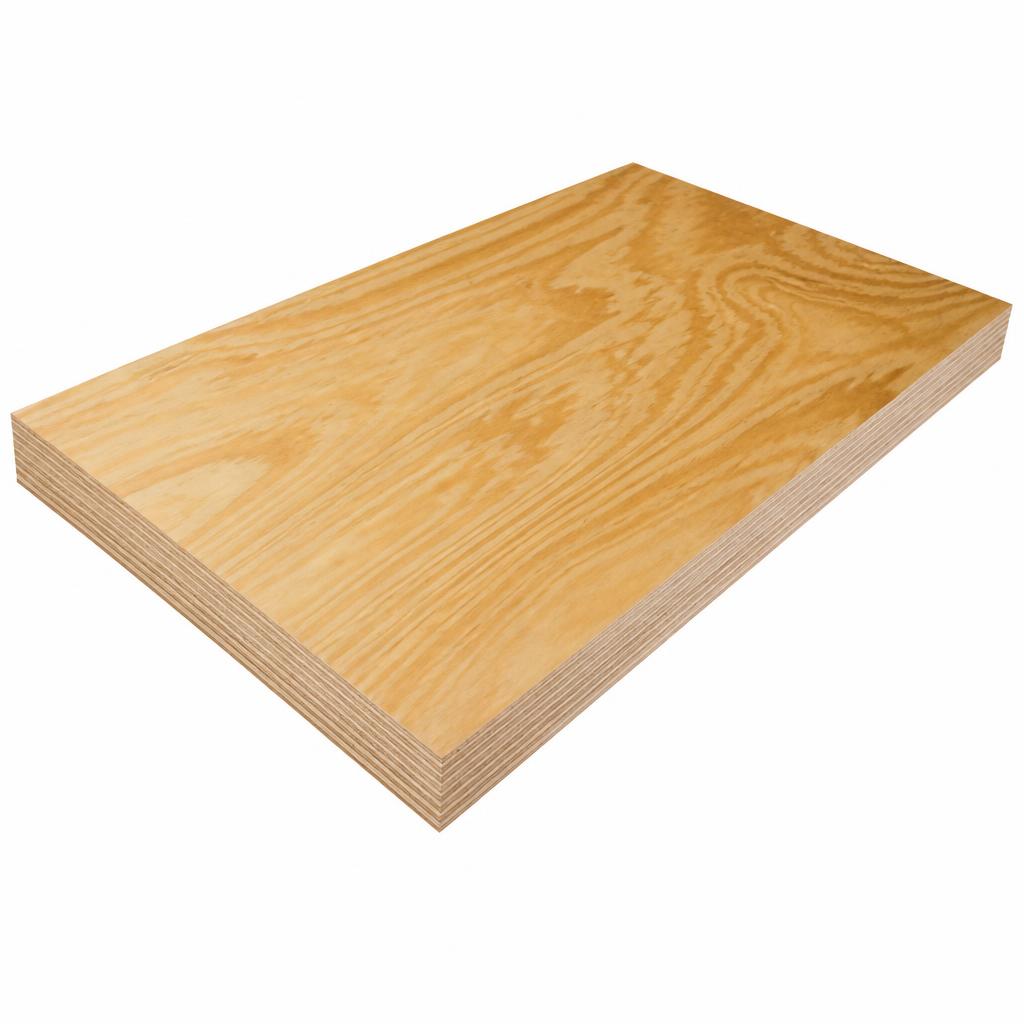
Exterior-grade plywood 18 mm
2 sheets 2440 × 1220 mm (base cut 2000 × 950 mm from one sheet; sides 2000 × 170 mm and ends 915 × 170 mm from the second)
95
Treated batten 45 × 45 mm
1 length of 0.6 m minimum (cut into four 15 cm internal corner reinforcements)
5
Pond liner
1 piece 2.7 × 1.7 m, EPDM or 0.5 mm PVC (waterproofs the trough, allows fold-over and stapling to the outer faces)
35
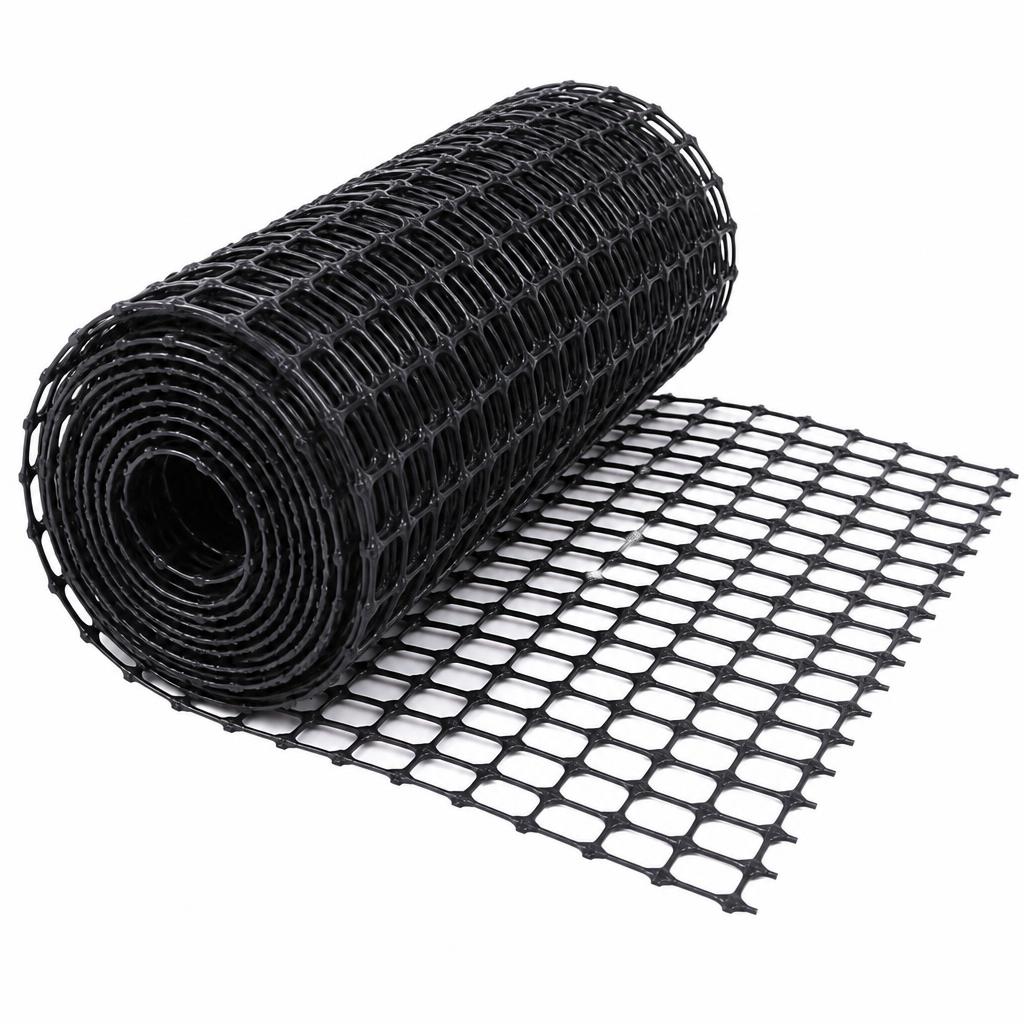
Plastic drainage mesh
8 squares approx. 10 × 10 cm (one over each drainage hole)
6
Green-roof substrate
200 L lightweight sedum growing medium (4 × 50 L bags) — allows a settled 10 cm depth over 200 × 95 cm
38
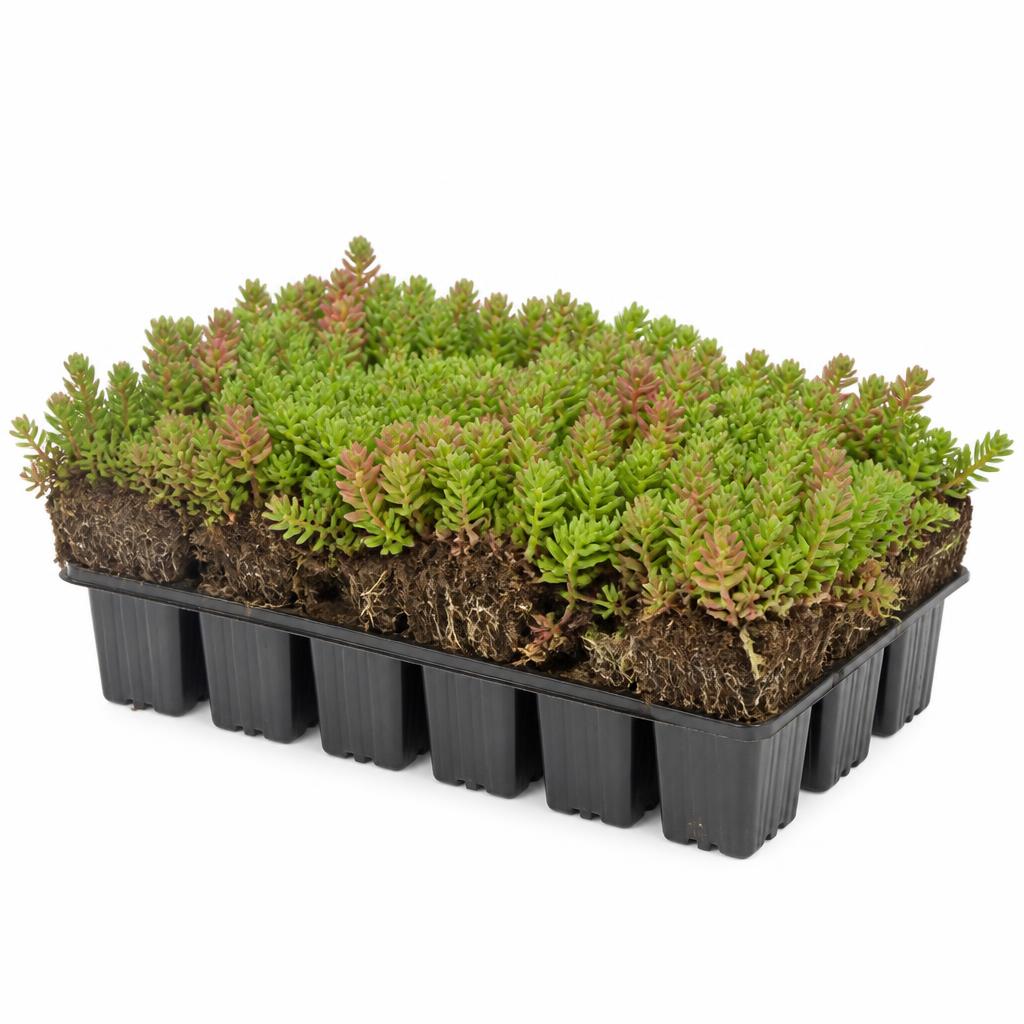
Sedum plug plants
55 mixed sedum plugs (roof planting at 20 cm staggered spacing over 1.9 m²)
38
Galvanised screws 50 mm
box of 200 (trough assembly and brackets)
10
Galvanised L-brackets 60 mm
4 brackets (fix trough down to the corner posts)
8
Roof Drainage and Gutter
Half-round plastic gutter
1 length of 2 m, cut to 180 cm (catches roof drainage)
10
Gutter brackets
4 fascia brackets to suit half-round gutter
10
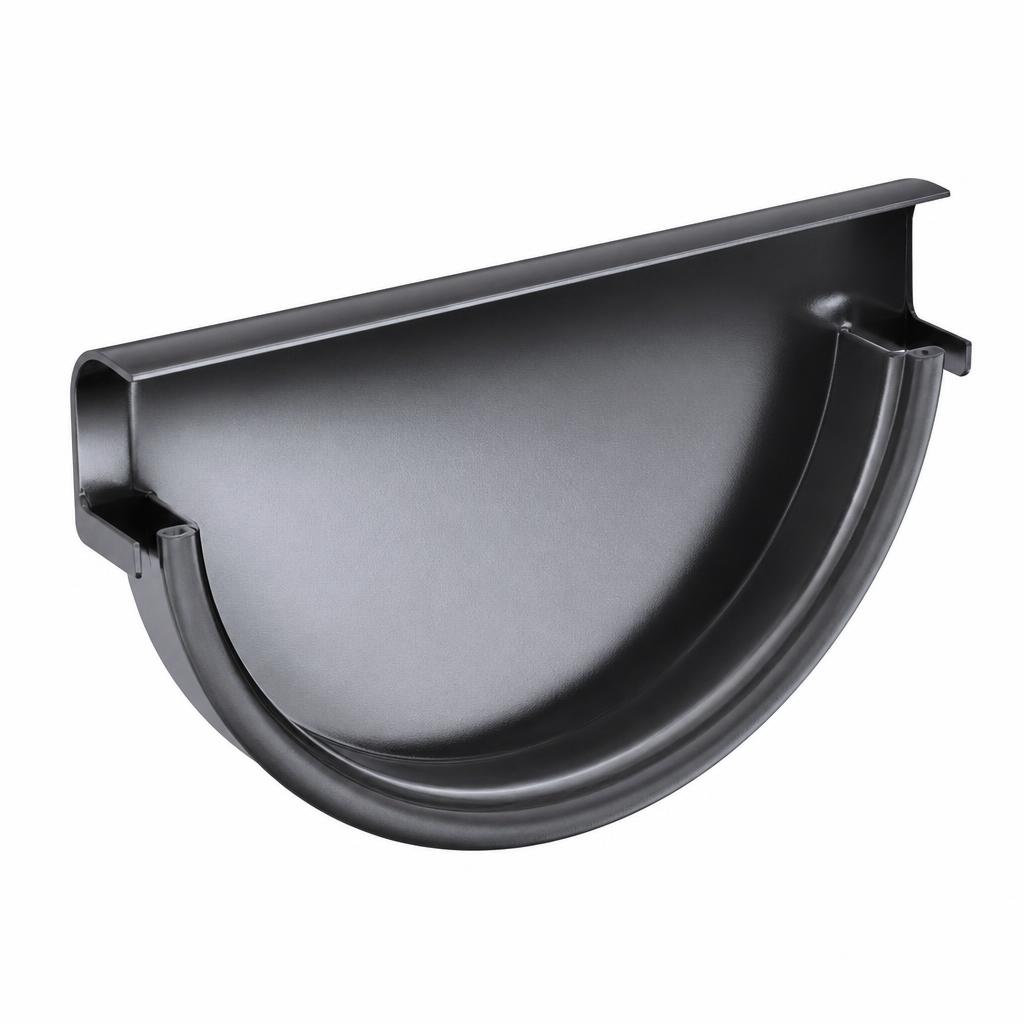
Gutter stop end
1 cap for the high end of the run
4
Gutter outlet and downpipe
1 running outlet plus 50 cm of downpipe (feeds the butt)
16
Gutter sealant
1 tube of exterior-grade sealant
8
Water Butt
Plastic water butt with lid
150 L black butt with removable lid (rainwater storage)
48
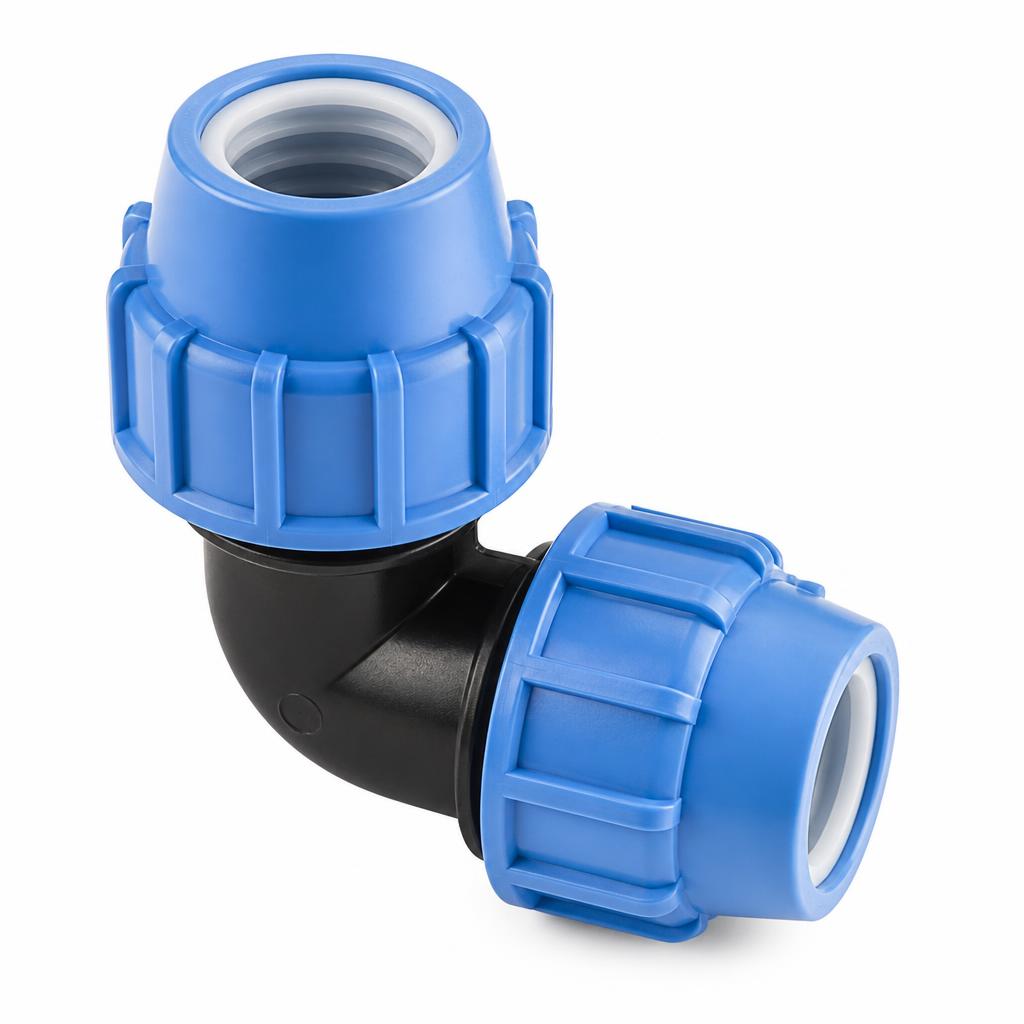
Water butt tap
1 brass or plastic tap with rubber washers (if not supplied with butt)
8
Downpipe connector
1 flexible connector or lid inlet grommet (downpipe into butt)
8
Step 1 of 10
Measure your bins and cut the complete parts list
MATERIALS
TOOLS
Circular saw or mitre saw→ fine crosscut blade
Tape measure
Speed square
PPE set→ glasses, gloves, FFP2 mask
MEASURE AND CUT PARTS
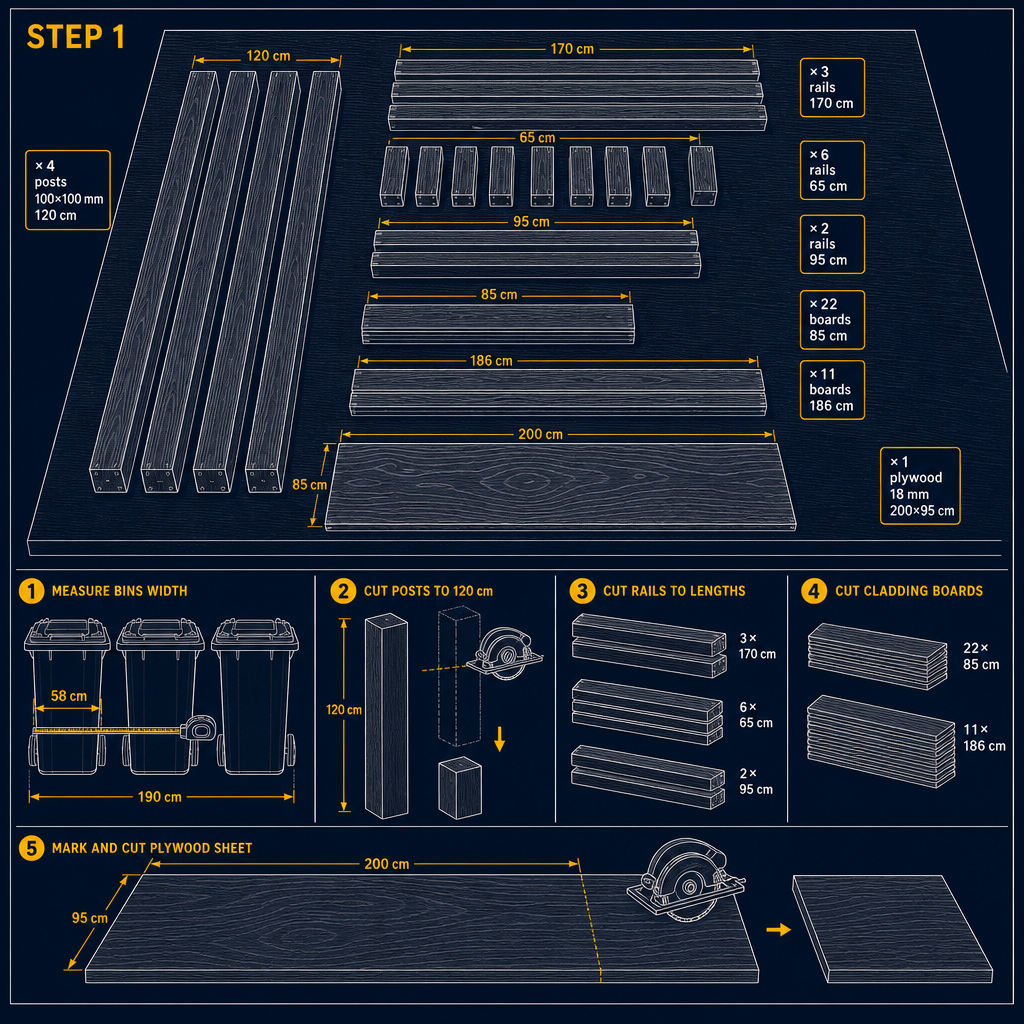
- ✓Measure three bins confirming 190 cm total
- ✓Cut all posts, rails, and boards to length
- ✓Label each timber group before assembly
Instructions
• Measure your three bins side by side; standard 240 L bins are 58 cm wide, so 190 cm overall width fits three with room to wheel. • Cut four posts from the 100 × 100 mm timber at 120 cm each (corner uprights). • Cut 75 × 50 mm rails: three at 170 cm (back top, back bottom, front top), six at 65 cm (four side rails plus two roof joists), two vertical back studs at 92.5 cm — the clear gap between the back top rail underside (117.5 cm) and the bottom rail top (25 cm) is 92.5 cm; check on the built frame before cutting. • Cut cladding: 22 boards at 85 cm for the sides, 11 boards at 186 cm for the back. • Cut plywood: one base 200 × 95 cm, two sides 200 × 15 cm, two ends 91.5 × 15 cm, plus four battens 15 cm. • PPE — safety glasses, gloves, hearing protection and an FFP2 mask; treated timber dust is an irritant.
Check height as well as width: a 240 L bin is about 108 cm tall and needs its lid to open. With the frame top at 120 cm and the trough sitting above it, the bins must be pulled forward to open — confirm this works for you, or raise the posts to 140 cm before cutting.
Tip
The trough sides run the full 200 cm length and the two ends fit BETWEEN them, so cut ends at 950 − 2 × 18 = 914 mm (91.4 cm). All trough sides and ends are 17 cm tall.
Time & Waiting
Active work
2-3 hours
People
1 person
Swipe or use ← → keys
Want to follow this guide step by step or log your own build?
Open in the Makeit App