
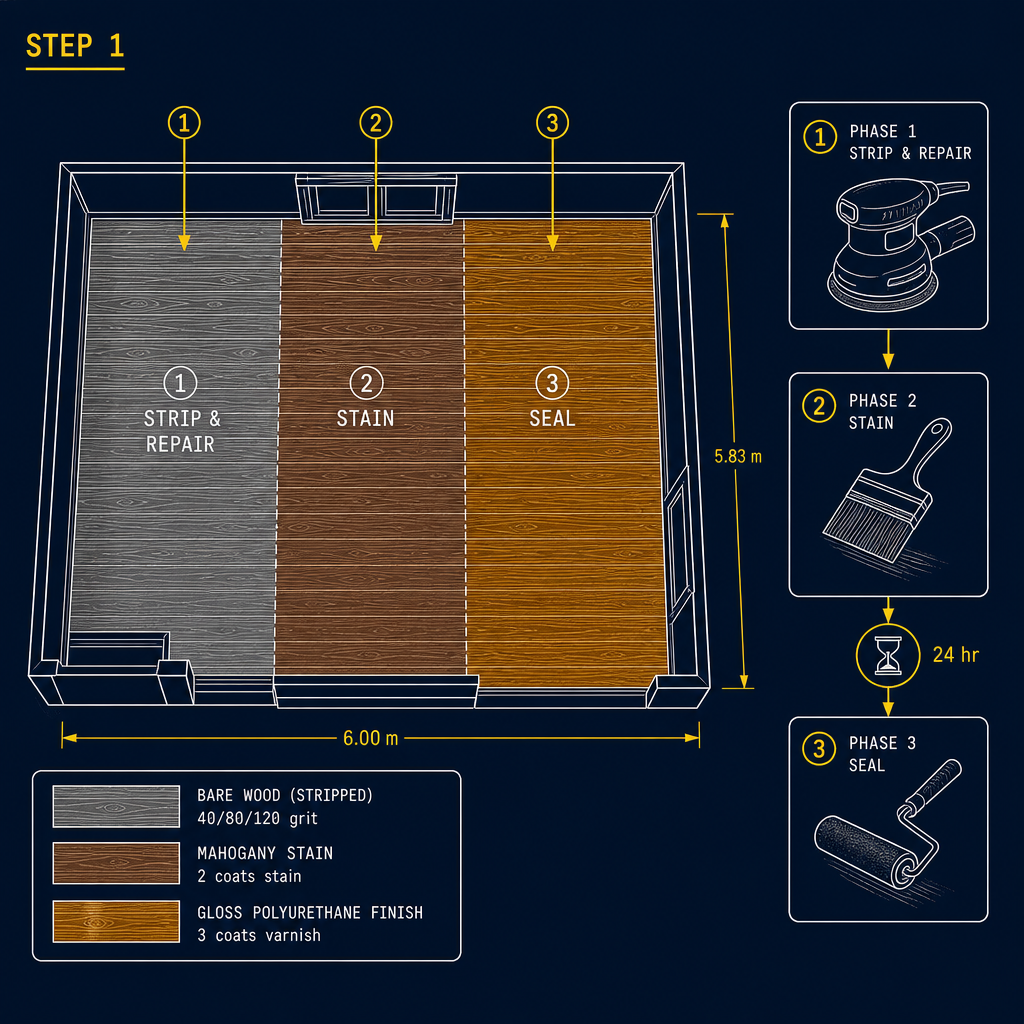
Mahogany Floor Refurbishment — 35 m² Orbital & Detail Sander Method
by Nikos Papadopoulos
Sand back, stain, and seal a 35 m² worn or scratched wooden floor to a rich mahogany tone. Uses an electric random orbital sander and detail sander plus hand tools. Ideal for DIYers with some experience who cannot access a drum sander.
Sanding
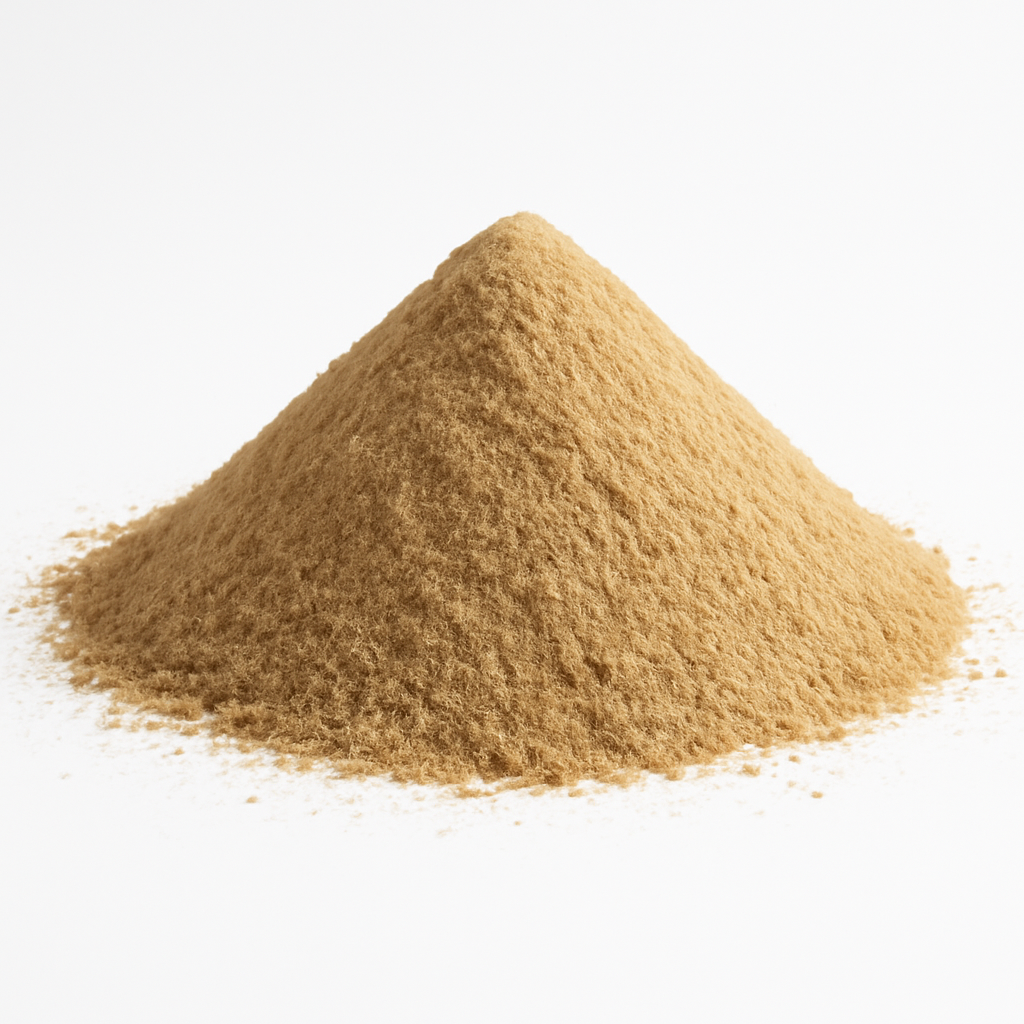
Sandpaper sheets — 40 grit
30 sheets, 230 × 280 mm (coarse cut, removes old finish and deep scratches)
Sandpaper sheets — 80 grit
30 sheets, 230 × 280 mm (medium cut, smooths after coarse pass)
Sandpaper sheets — 120 grit
20 sheets, 230 × 280 mm (fine cut, prepares surface for stain)
Sanding block — rubber or cork
2 blocks, fits standard 230 × 280 mm sheet folded in thirds (keeps pressure even)
Detail sanding sponge — 80 and 120 grit
4 sponges (for corners, edges, and hard-to-reach areas)
Cleaning and Prep
Wood floor cleaner / degreaser
1 L bottle, water-based, suitable for bare wood (removes dust, wax residue before staining)
Microfibre tack cloths
20 cloths (wipe away every dust particle between coats)
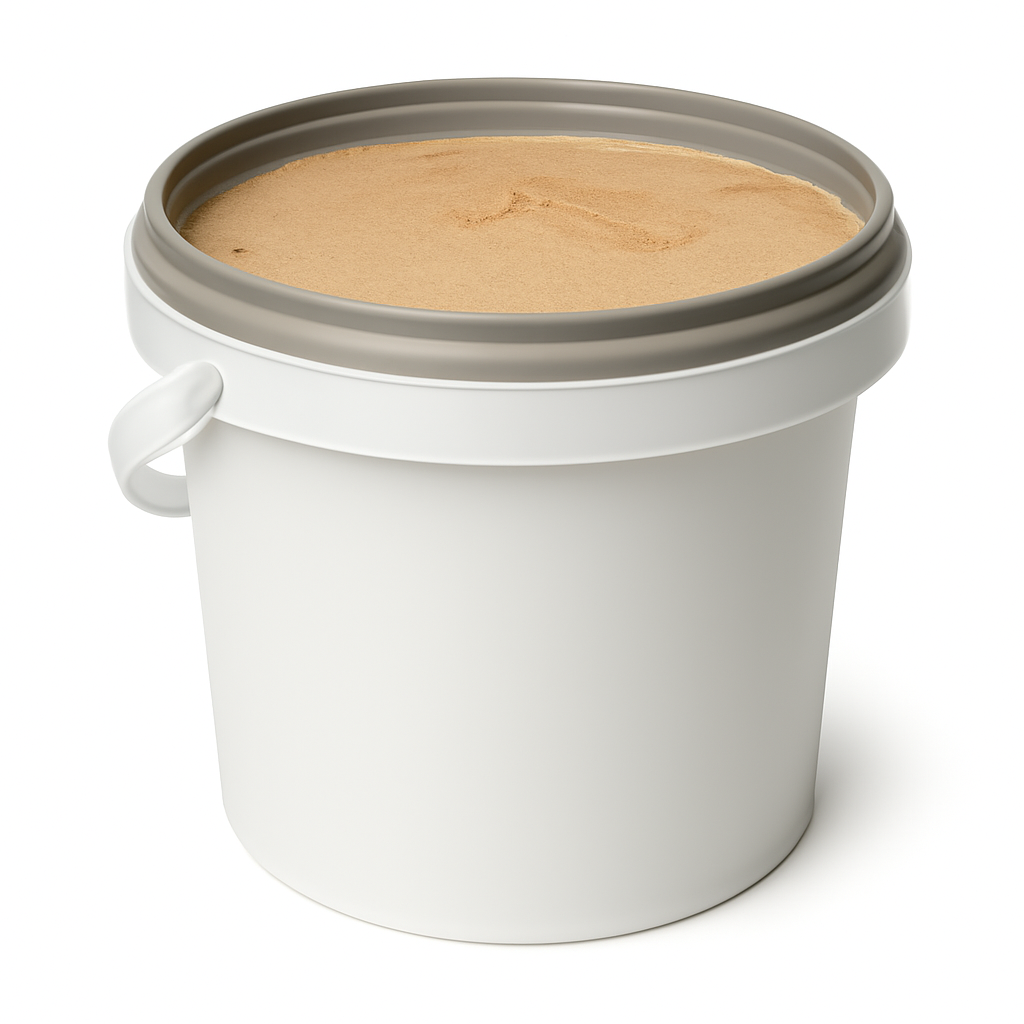
Wood filler — natural or light oak tone
500 g tub, flexible, sandable (fills gaps, cracks, and deep gouges before staining)
Stain
Oil-based wood stain — mahogany colour
2 L tin (covers approximately 20–25 m² per litre on bare wood — buy 2 tins to be safe for 35 m²)
White spirit / mineral turpentine
500 ml bottle (thins stain if needed, cleans brushes after oil-based stain)
Finish
Polyurethane floor varnish — satin or gloss finish
10 L (two 5 L tins), water-based or oil-based (3 coats on 35 m² — 1 L covers roughly 10–12 m² per coat, ~3 L per coat)
Application
Natural bristle brush — 75 mm wide
2 brushes (apply stain and varnish along edges and corners)
Foam roller — short nap, 180 mm wide
1 roller frame + 6 replacement foam sleeves (apply stain and varnish across open floor area)
Paint tray
2 plastic trays (one for stain, one for varnish)
Painter's tape — 50 mm wide
3 rolls (protects skirting boards and door frames during staining and varnishing)
Protection
Disposable nitrile gloves
1 box of 50 (wear throughout — stain and varnish are very hard to remove from skin)
Dust sheets / drop cloths
4 large sheets (cover furniture, doorways, and vents to contain sanding dust)
Knee pads
1 pair, foam or gel (you will spend many hours on the floor — protect your knees)
Step 1 of 8
Overview — understand the full process
OVERVIEW — FULL PROCESS
- ✓Identify all three project phases
- ✓Note drying time between each phase
- ✓Plan sanding grits 40, 80, 120 sequence
Instructions
• You are stripping, staining, and sealing a 35 m² wooden floor to a mahogany tone in three distinct phases. • Phase 1: strip and repair — remove old finish and fill all damage down to bare wood. • Phase 2: stain — apply two coats of mahogany stain along the wood grain, drying fully between coats. • Phase 3: seal — apply three coats of polyurethane varnish, lightly sanding between each coat. • Total drying time between all coats means this project spans 3–4 weekends — plan accordingly.
Swipe or use ← → keys
Want to follow this guide step by step or log your own build?
Open in the Makeit App