
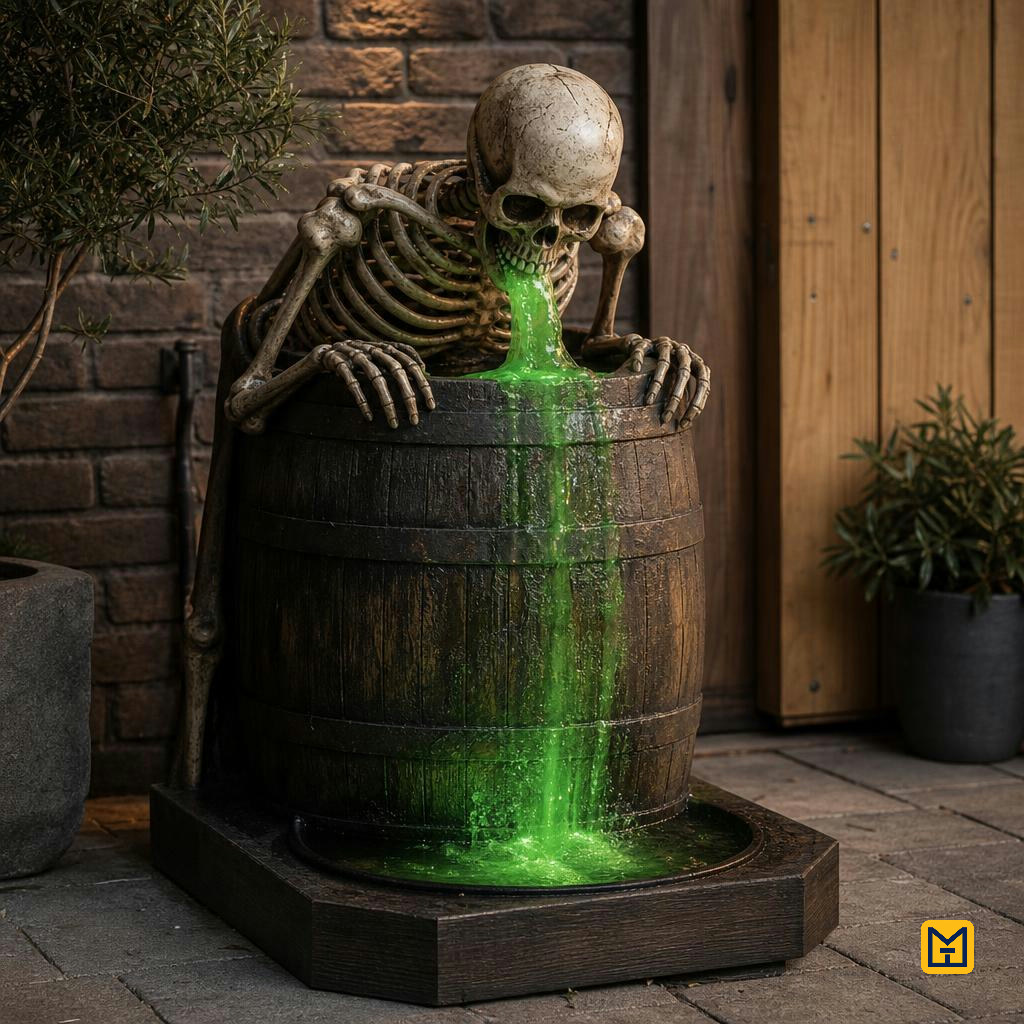
Biohazard Barrel Vomiting Skeleton
by Makeit_official
A Halloween prop featuring a skeleton slumped over a barrel, appearing to vomit glowing green liquid powered by a small submersible water pump. Note: although the active work is only a few hours, expanding foam and spray paint need to cure between stages, so allow at least two days overall. The build involves mains-powered equipment near an open water reservoir and must be run only from an RCD/GFCI-protected outdoor socket.
Structure
Plastic or wooden barrel with removable lid (or large lidded bucket), min. 30 L
1
30
Plastic skeleton
1 full size
23
Biohazard stencil or sticker
1
4
Foam & Sculpting
Expanding insulation foam (spray can)
2–3 cans
6
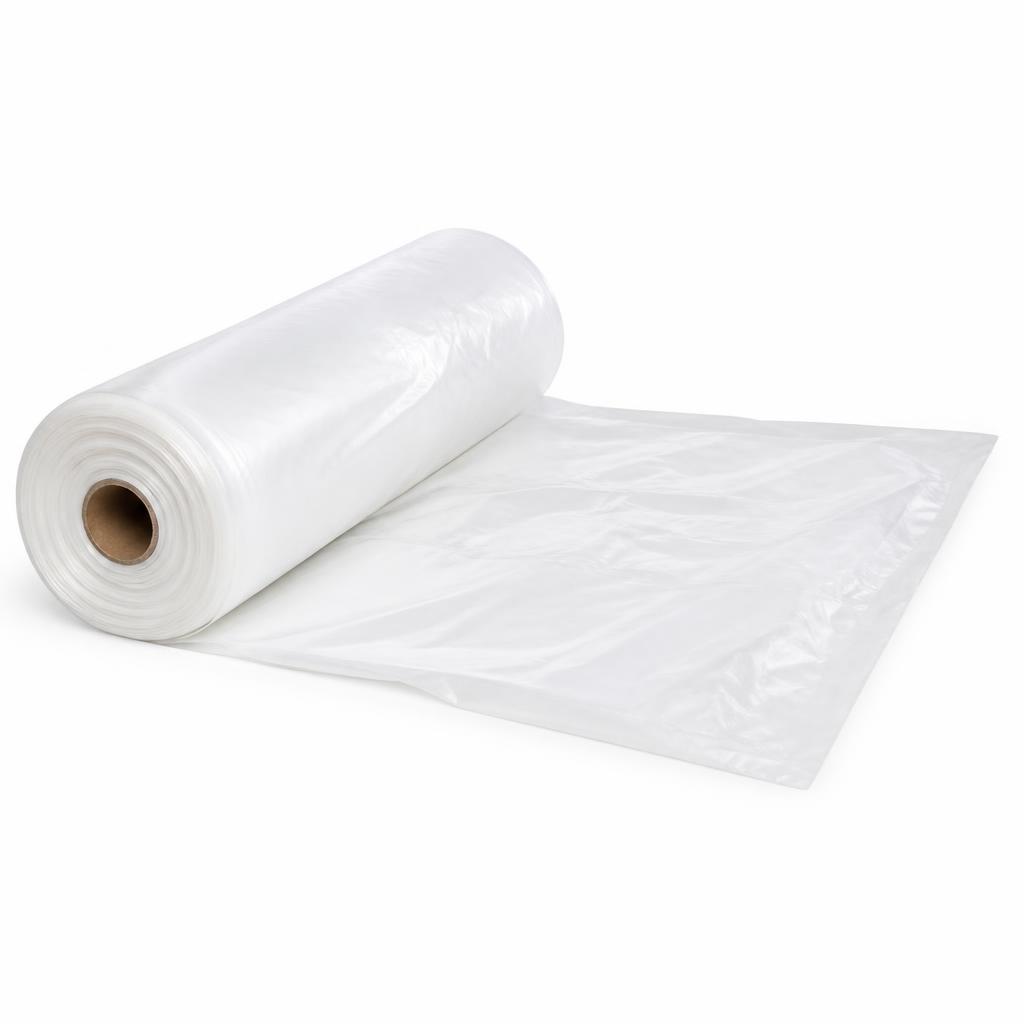
Plastic sheeting or bin bags (foam/paint drip protection), plus nitrile gloves, safety glasses and a spray-paint respirator/dust mask
a few sheets + 1 set PPE
2
Liquid & Lighting
Small submersible water pump, min. 1.5 m head height, outdoor/pond rated, low-voltage (12 V) preferred
1
15
Clear flexible tubing, internal diameter matched to your pump outlet (typically 8–10 mm)
approx. 1 m
4
UV or green LED strip / neon flex light, 12 V outdoor-rated (IP65), with matching 12 V mains driver and connectors
approx. 1 m + 1 driver
12
Green water-based dye or glow-in-dark pigment
small bottle
6
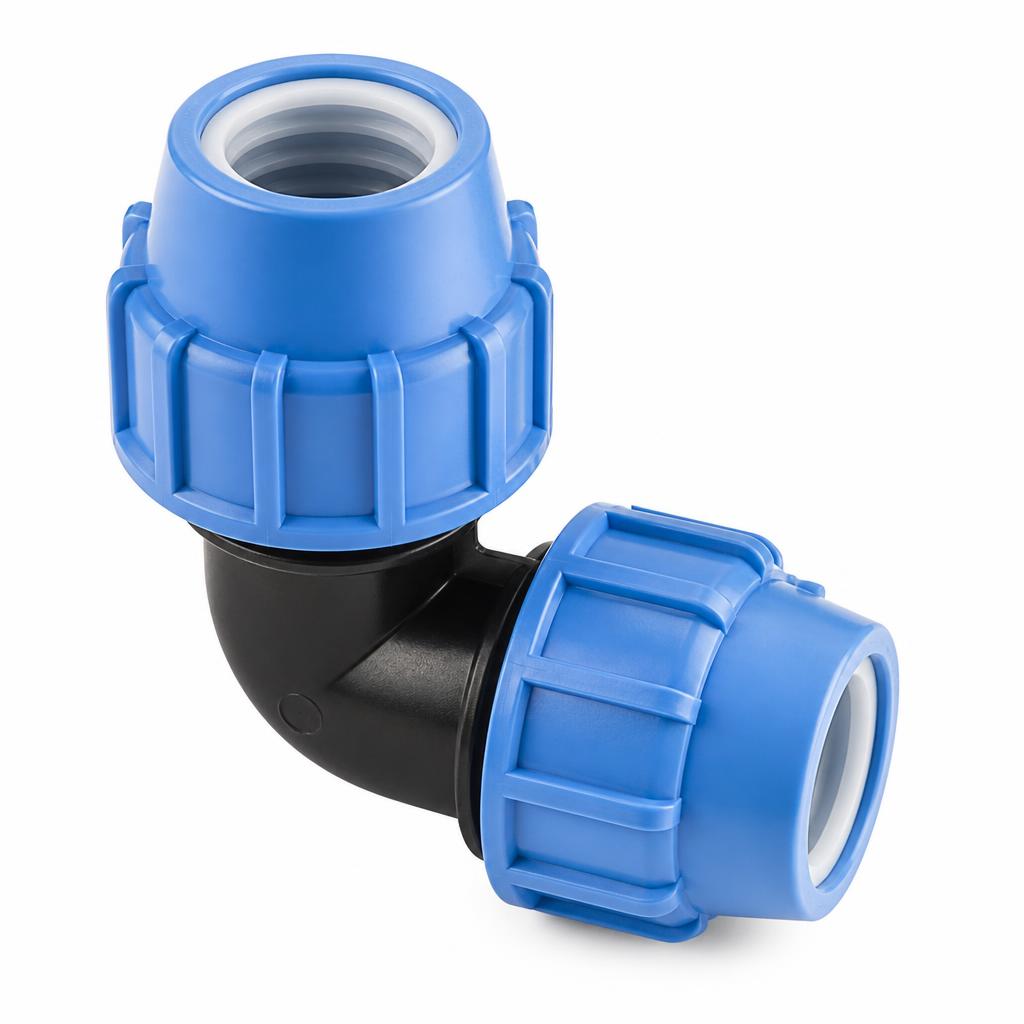
Water — fill barrel to at least the pump's minimum submersion depth (typically 15–20 L); the stream must fall back into the barrel opening or a hidden catch tray so it recirculates and the pump never runs dry
approx. 15–20 L
Finishing
Spray paint — black, dark grey, rust tones
2–3 cans
5
Green acrylic craft paint
1 small pot
3
Weathering wash or brown/black acrylic (ageing effect)
1 small pot
3
Step 1 of 5
Gather materials and plan the pose
Instructions
• Collect all materials and decide exactly how the skeleton will slump — the standard pose is hunched forward over the barrel opening, elbows on the rim, both hands gripping the rim, head tipped down so the jaw points into the barrel mouth. • Decide where the vomit stream exits: through the skeleton's open jaw, routed via a tube hidden along the spine or inside the ribcage. • Plan the 'BIOHAZARD' text and biohazard symbol placement on the barrel exterior — sketch the layout or print a stencil at this stage so it's ready for the painting step. • Test-fit the skeleton over the barrel and check that the jaw sits directly above the barrel opening (or a hidden catch tray) so the liquid falls back into the reservoir. Adjust the barrel height (stack on a crate if needed) so the pose reads clearly. Note the height from the barrel base to the jaw — your pump's head rating must exceed it.
Swipe or use ← → keys
Want to follow this guide step by step or log your own build?
Open in the Makeit App